Skip to main content

Your 2026 Makeup Routine: A Step-by-Step Guide for Radiant Skin
The world of beauty changes fast—but a great makeup routine never goes out of style. Whether you’re getting back to basics or refreshing your current process, this step-by-step guide breaks down the ultimate 2025 makeup routine using clean, skin-loving products from RMS Beauty.
Step 1: Start With a Clean Skincare Base
The secret to flawless makeup is healthy skin. A modern makeup routine in 2025 starts with gentle, effective cleansing and hydration.
-
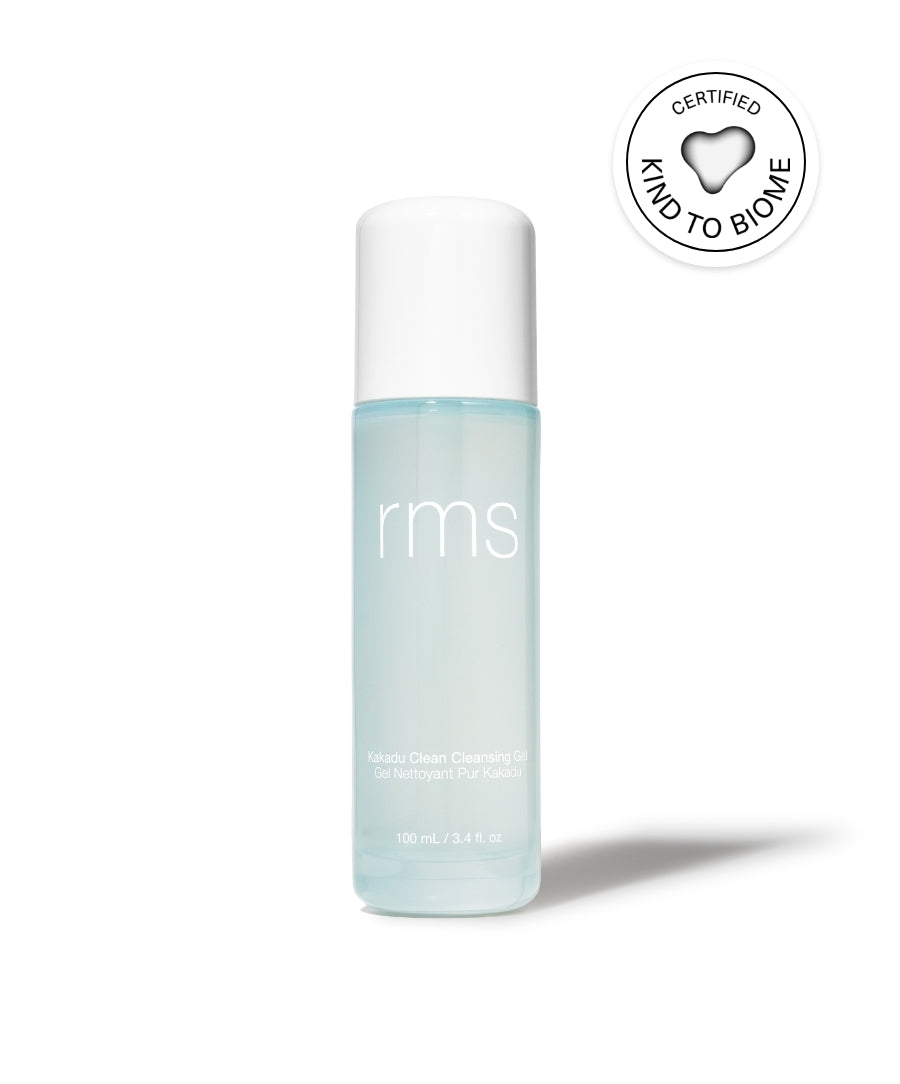
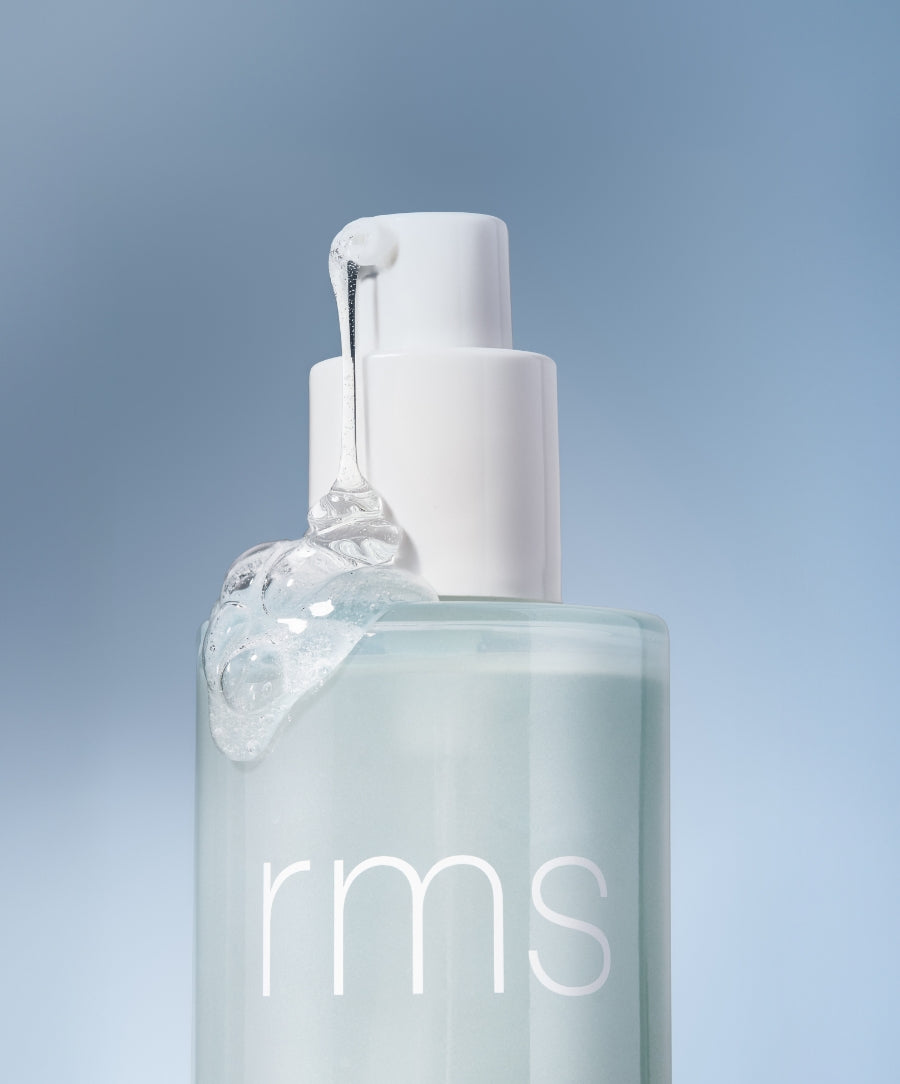
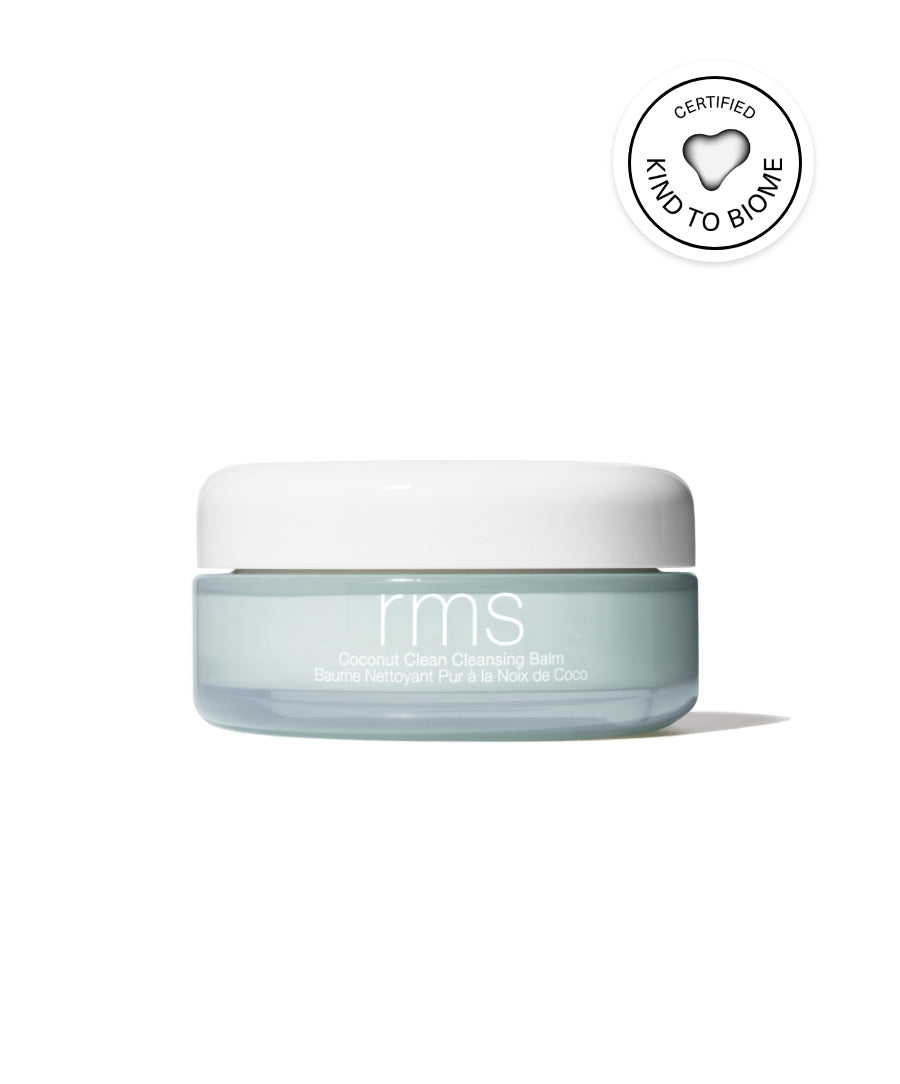
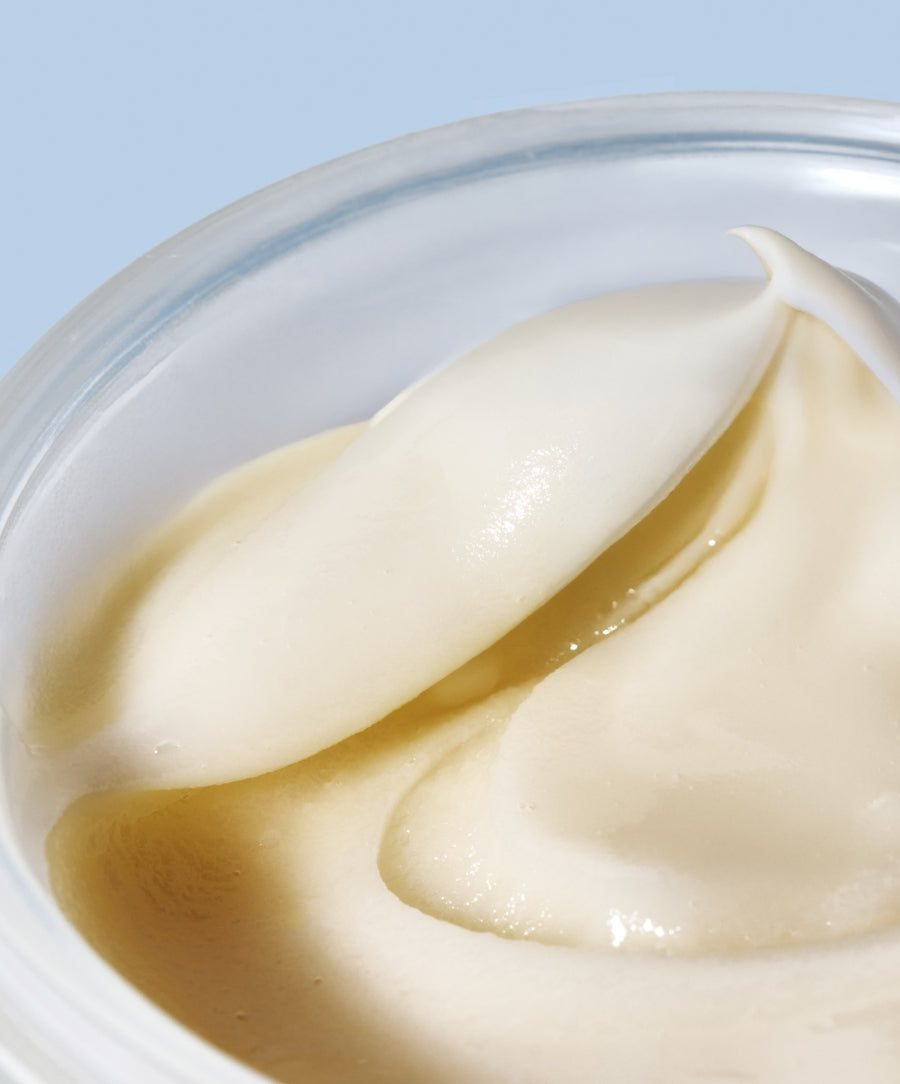
Cleanse: Use RMS Beauty’s Kakadu Clean Cleansing Gel for a vitamin C-rich refresh, or Coconut Clean Cleansing Balm to melt away makeup and impurities.
-
Hydrate & Prep: Follow with Kakadu Beauty Oil, infused with Kakadu Plum, wildcrafted Buriti Oil, and adaptogenic herbs to balance, hydrate, and prep your skin with radiant, microbiome-safe nourishment.
Step 2: Prime Your Skin
Before foundation, apply “Re” Evolve Radiance Locking Primer to smooth texture and improve longevity. Bonus: It’s packed with Tightenyl™, a plant-based skin-firming complex ideal for your 2025 skincare-meets-makeup routine.

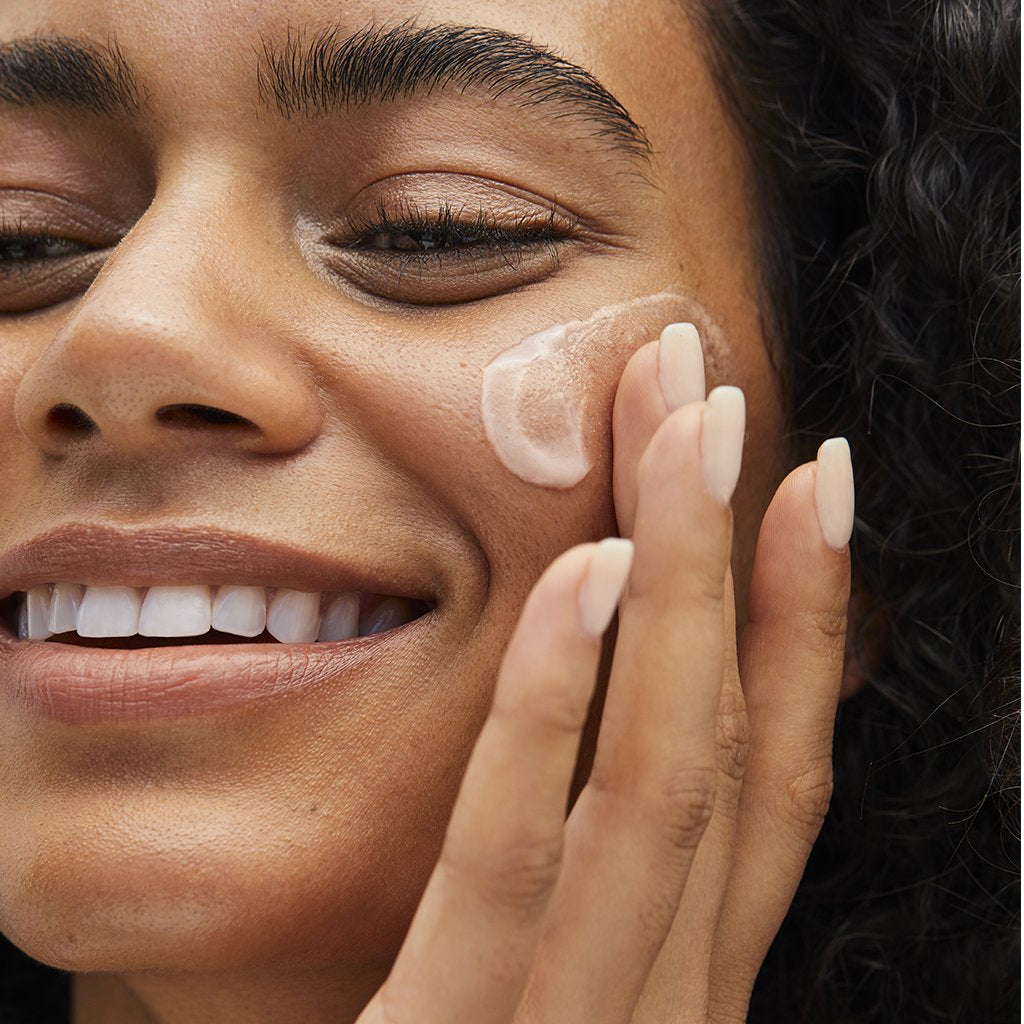
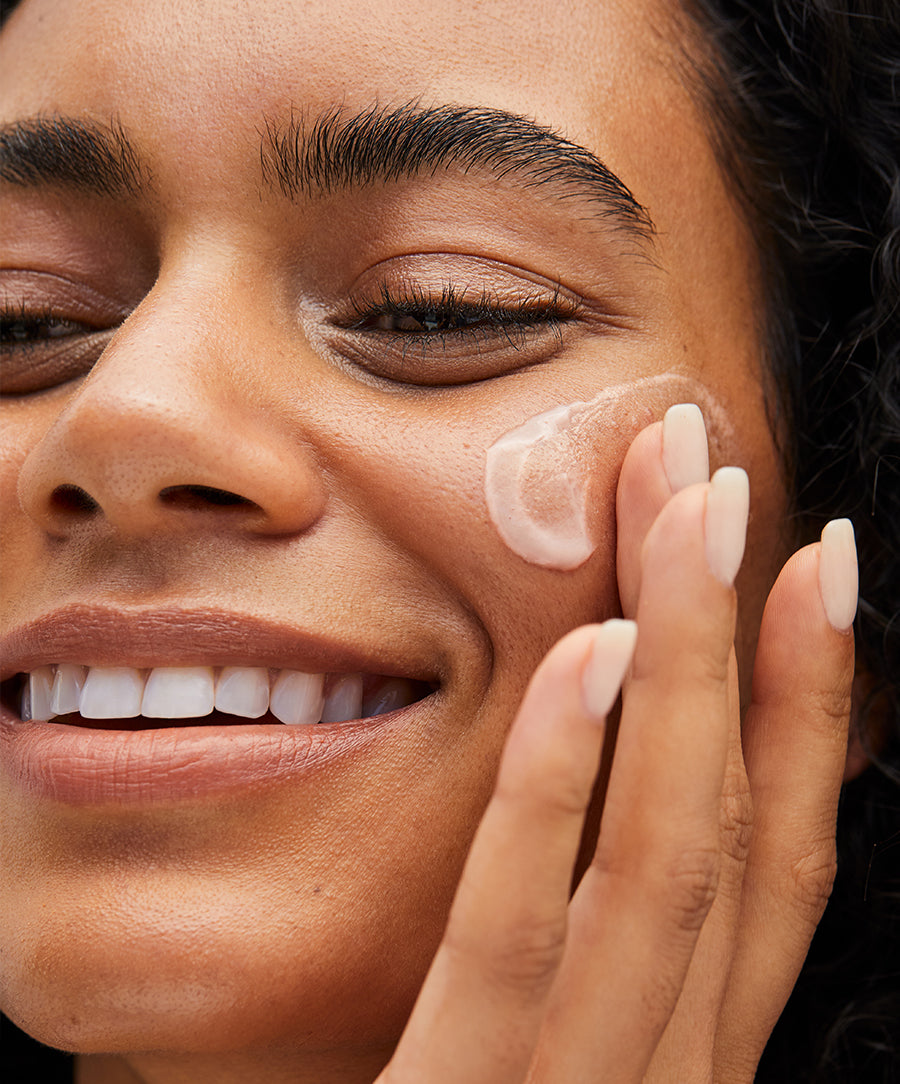
Step 3: Apply Foundation & Concealer
Forget cakey, heavy coverage—this year’s trend is breathable, buildable skin.
-
Foundation: UnCoverup Cream Foundation provides natural, flexible coverage with ingredients that love your skin back.
-
Concealer: Choose from two RMS favorites:
-
UnCoverup Concealer – the OG creamy multitasker
-
Revitalize Hydra Concealer – our new hybrid formula that hydrates, smooths, and brightens while delivering all-day wear
Apply sparingly where needed and blend outward with the Skin2Skin Beauty Sponge for a seamless, skin-like finish.
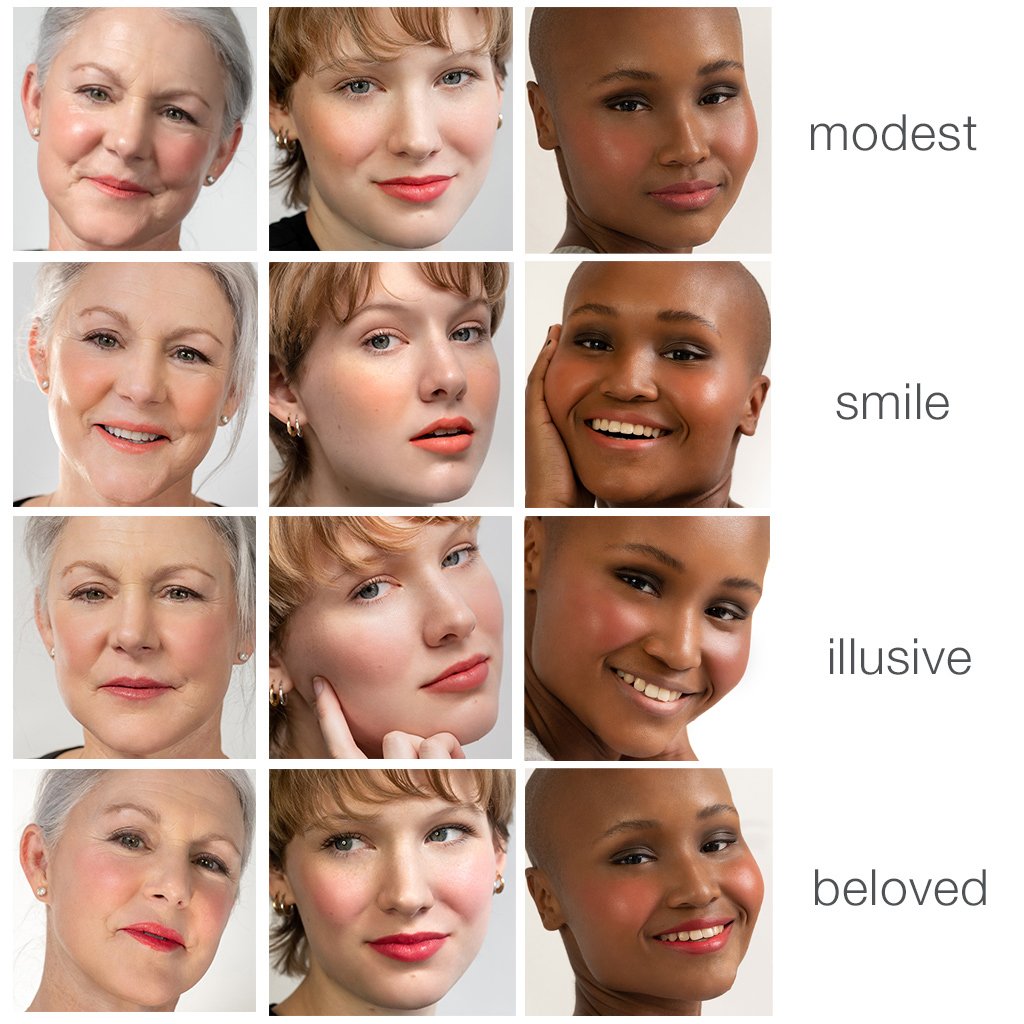
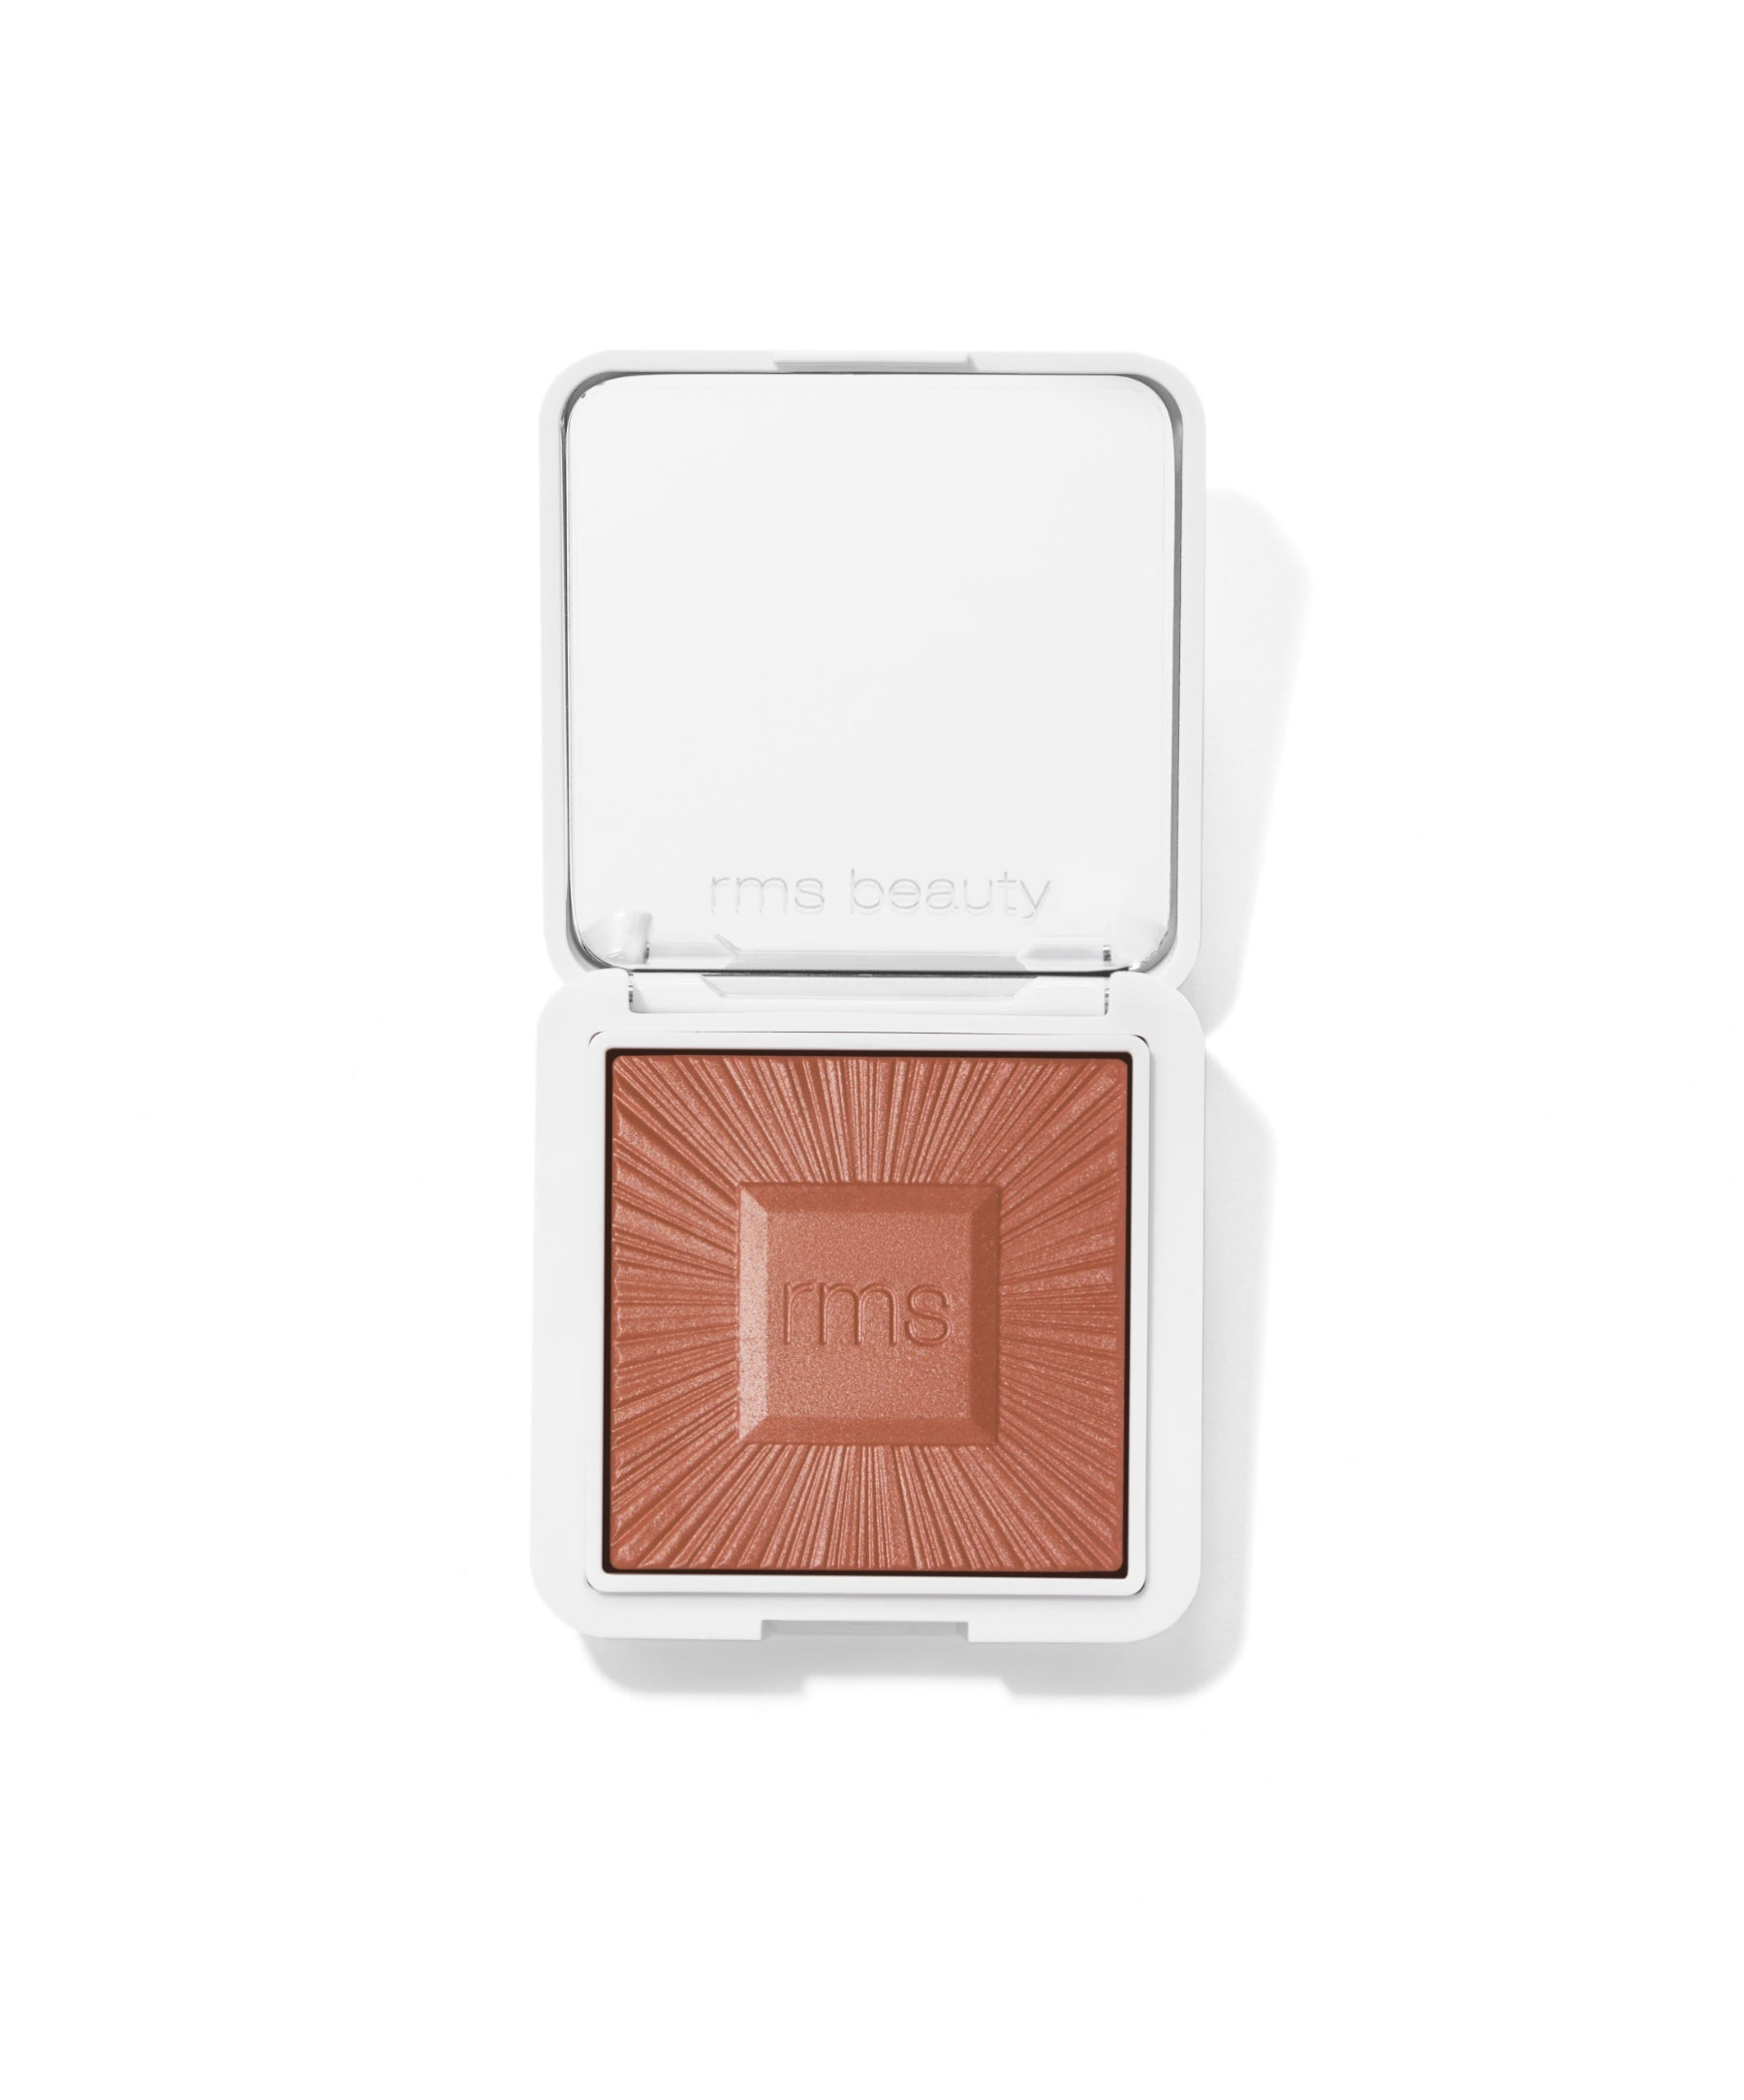
Step 4: Warm Up With Bronzer & Blush
A healthy flush and a touch of warmth bring life to your 2025 beauty look.
-
Add bronzer to cheekbones, nose bridge, and lids for a sun-kissed effect.
-
Apply blush high on the apples of your cheeks for a lifted look. Try Lip2Cheek for a two-in-one tint that nourishes while you wear it.
Step 5: Illuminate Naturally
No 2025 glow is complete without a luminizer. RMS Beauty’s original Luminizer adds light-reflecting radiance to high points of the face—no glitter, no frost, just glow.

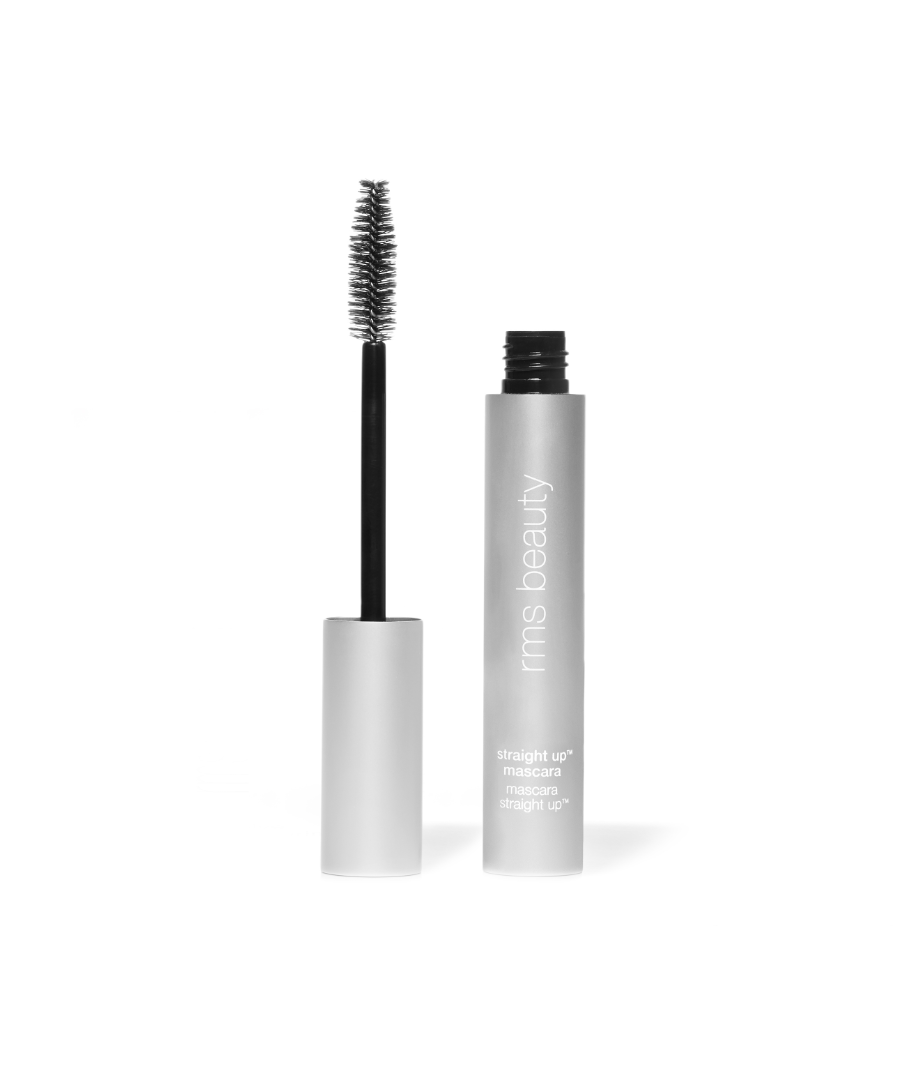
Step 6: Define Your Eyes
-
Shadow: Sweep a single tone or a tap of luminizer across lids for easy dimension.
-
Liner: Use a soft pencil to enhance the lash line without overlining.
-
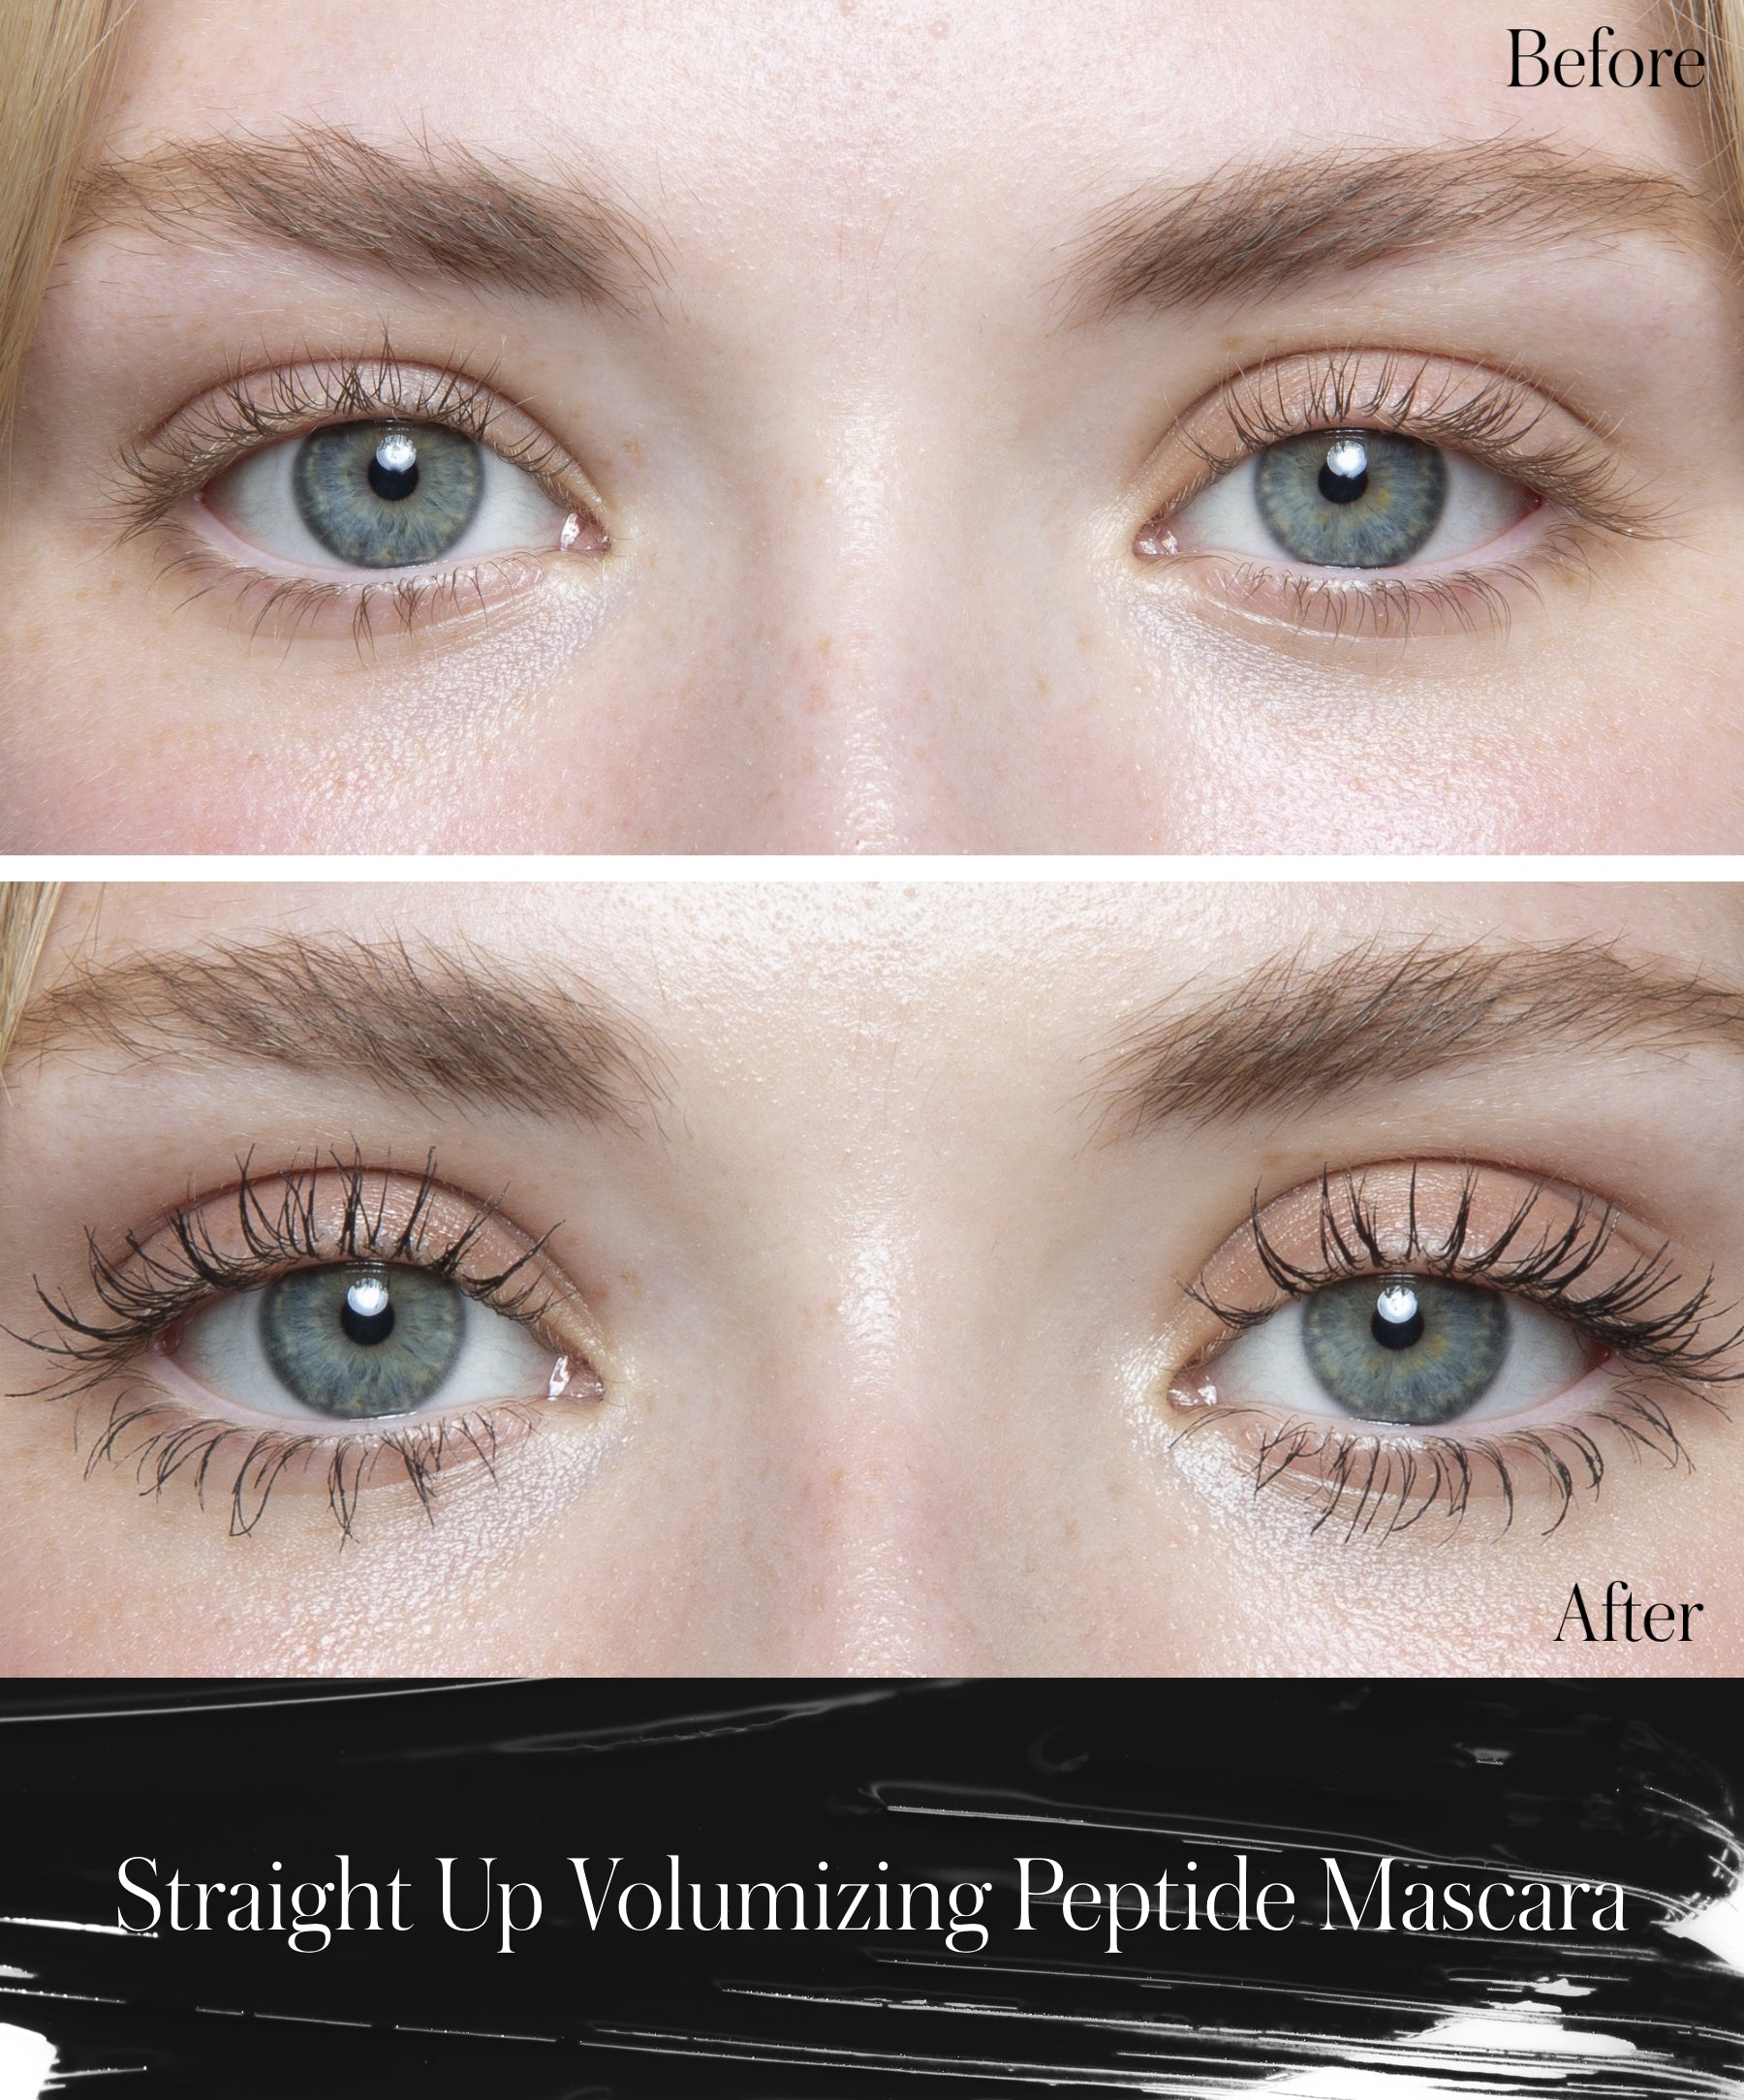
Mascara: Finish with Straight Up Volumizing Peptide Mascara—clean, buildable, and peptide-powered for healthier lashes.
Step 7: Perfect Your Pout
-
Prep: Exfoliate and hydrate lips before application.
-
Line: Define with a lip liner that matches your natural lip tone.
-
Finish: Use Lip2Cheek or your favorite RMS lipstick. Add gloss if desired for comfort or shine.
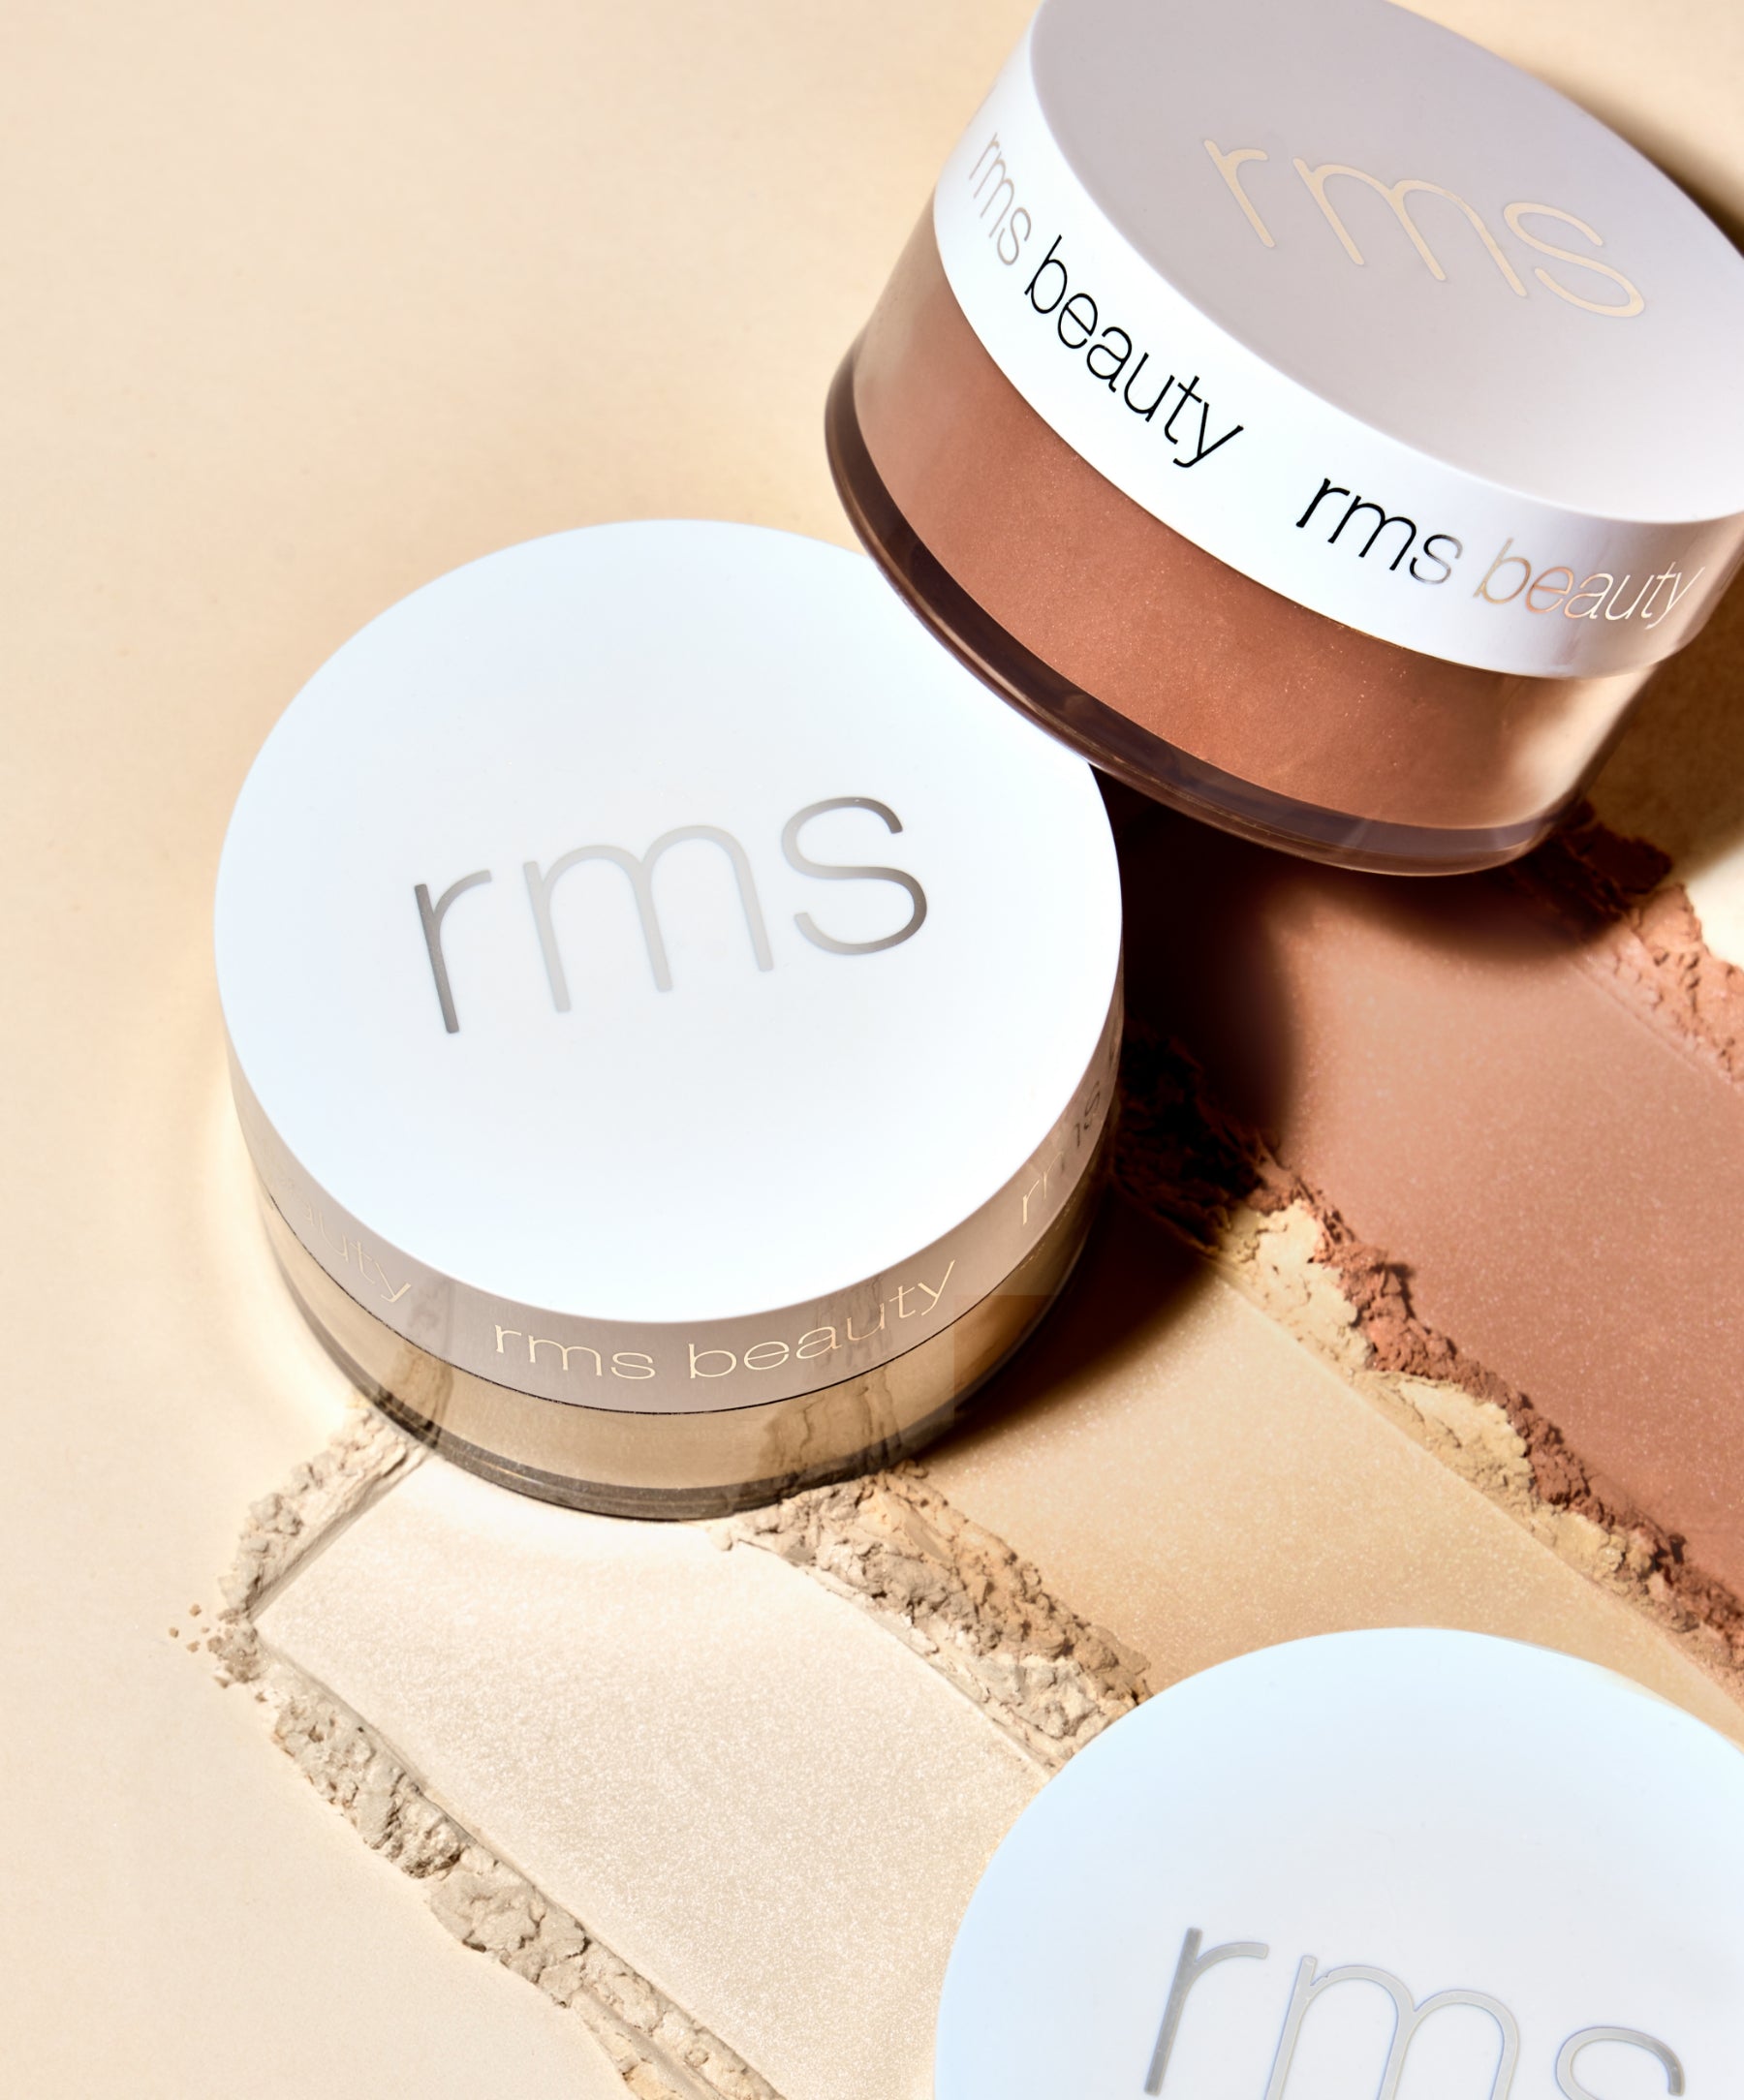
Step 8: Set With Powder (Optional—but Powerful)
Powder helps lock in your 2025 makeup routine without compromising glow:
-
UnPowder for a lightweight, oil-absorbing finish
-
Hydra Setting Powder for hydrating, soft-focus perfection
Dust lightly on the T-zone, under eyes, or wherever needed.
Final Thoughts on Your 2025 Makeup Routine
Your makeup routine in 2025 should be simple, effective, and rooted in clean beauty. With the right skincare base and multi-tasking products that perform beautifully, RMS Beauty helps you build a radiant, skin-first routine that looks and feels like you—only glowier.
Sources:
Structure and function of the epidermal barrier|Science Direct
Shop The Blog
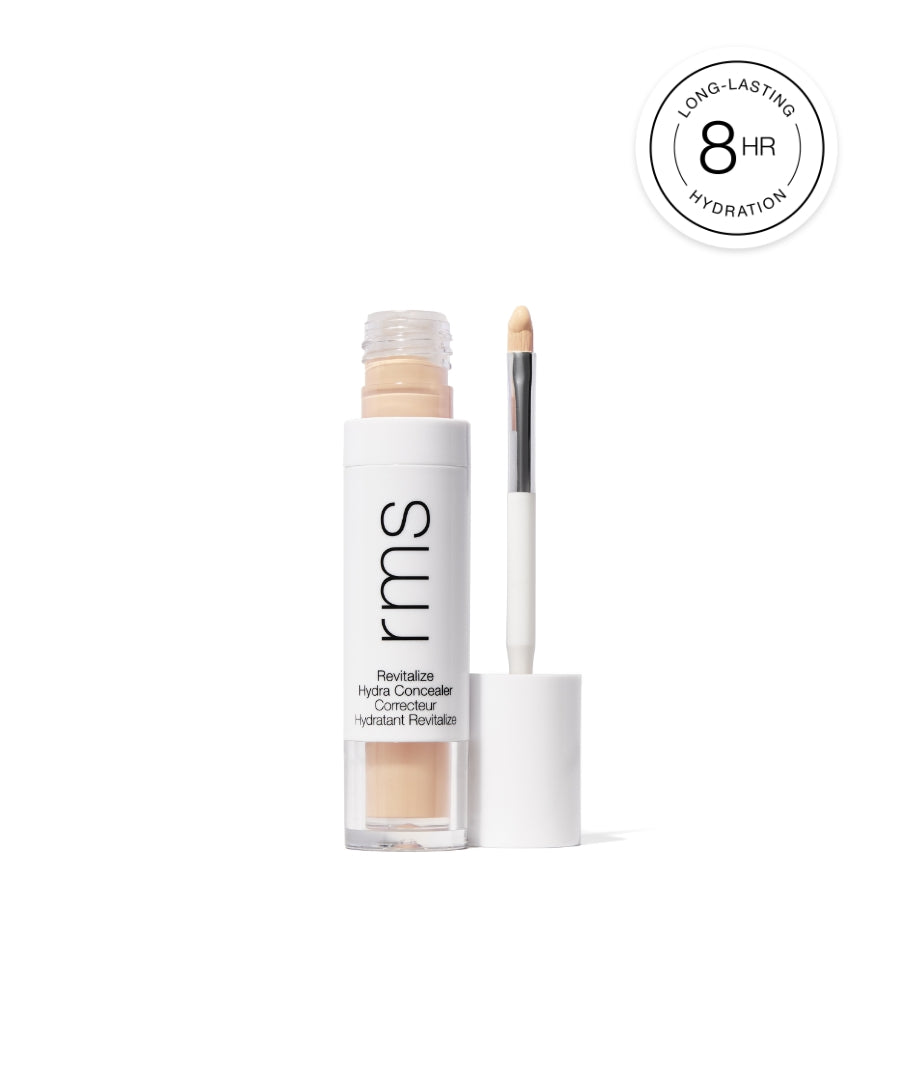
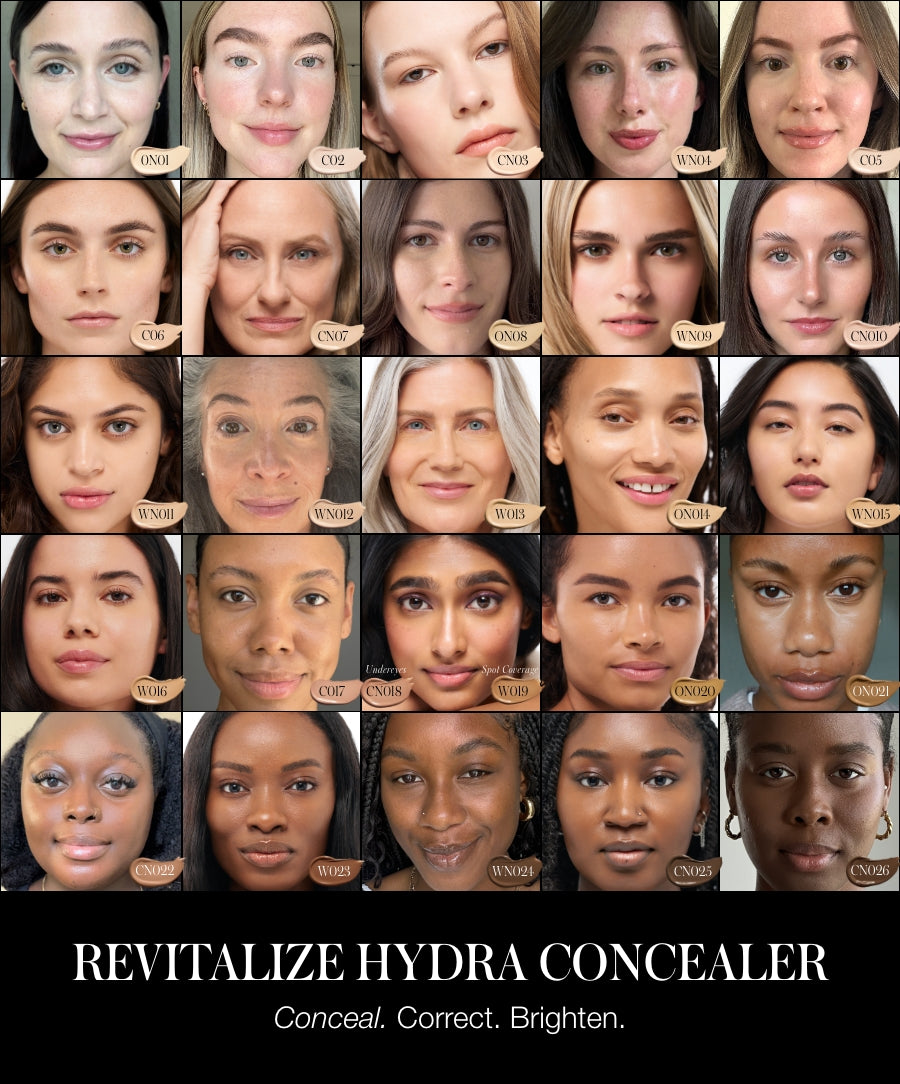
Revitalize Hydra Concealer
ReEvolve Radiance Locking Primer

UnCoverup Concealer

ReDimension Hydra Bronzer
Straight Up™ Volumizing Peptide Mascara
Hydra Setting Powder
Kakadu Clean Cleansing Gel
Coconut Clean Cleansing Balm