Skip to main content

How to Do a Smokey Eye Makeup? Step-by-Step Guide
A good smokey eye is one of those looks that works on everyone, for every occasion. Soft and diffused for a weekday dinner. Dark and dramatic for a night out. The technique is the same either way, and once you learn it, the look becomes second nature. What separates a great smokey eye from a muddy one isn't talent, it's the order of operations and the formulas you reach for. Here's a complete smokey eye tutorial that breaks down the process into clear, repeatable steps, no matter your skill level.
What You Need for Smokey Eye Makeup
Before picking up a brush, the right products make all the difference between a polished smokey eye and a muddy mess. A smokey eye for beginners starts with choosing formulas that blend easily, stay in place, and forgive small mistakes. Here's what belongs in your lineup.
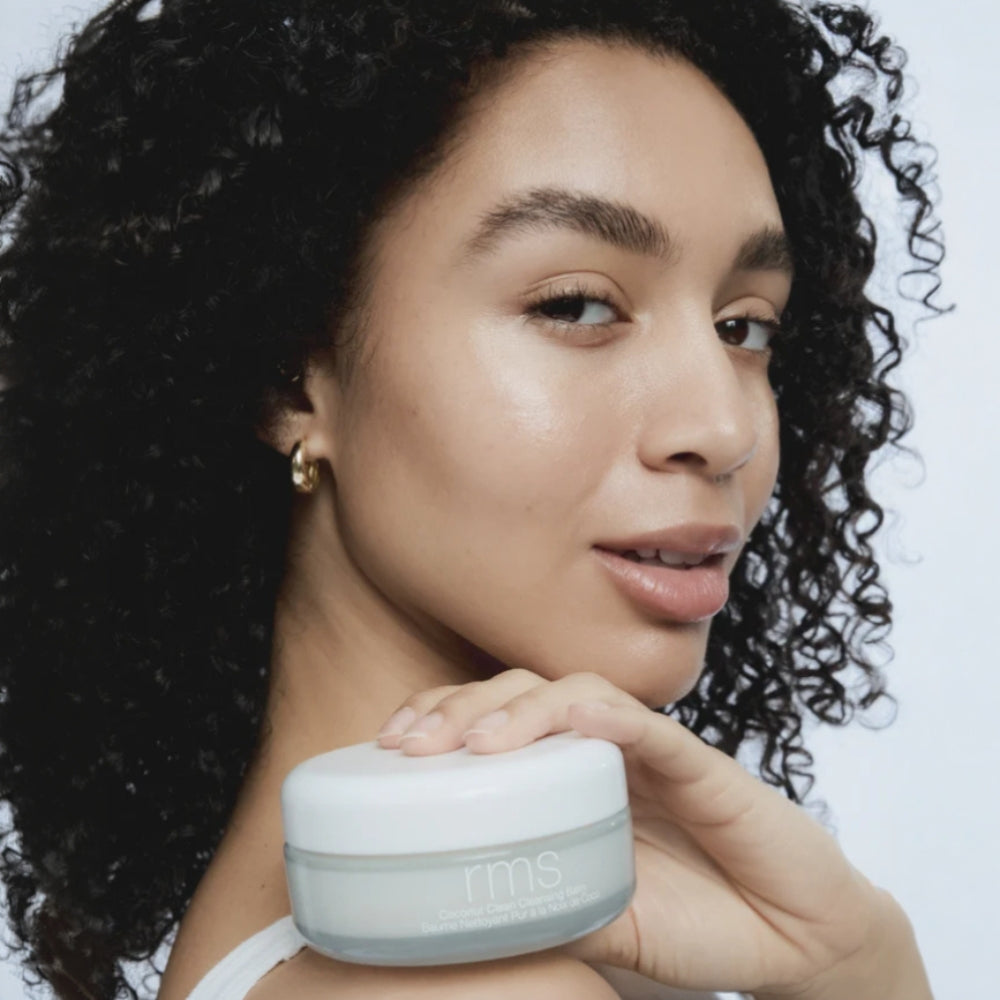
Creaseproof Cream Eyeshadow
Cream formulas are more forgiving than powders for smokey eye makeup because they give you time to blend and build. A long-wearing cream eyeshadow with a luminous, light-reflective finish adds depth without looking flat. For a matte take on the smokey eye, a creaseproof matte cream shadow delivers soft, multidimensional color that stays put for up to 8 hours, based on a consumer study on 30 individuals.
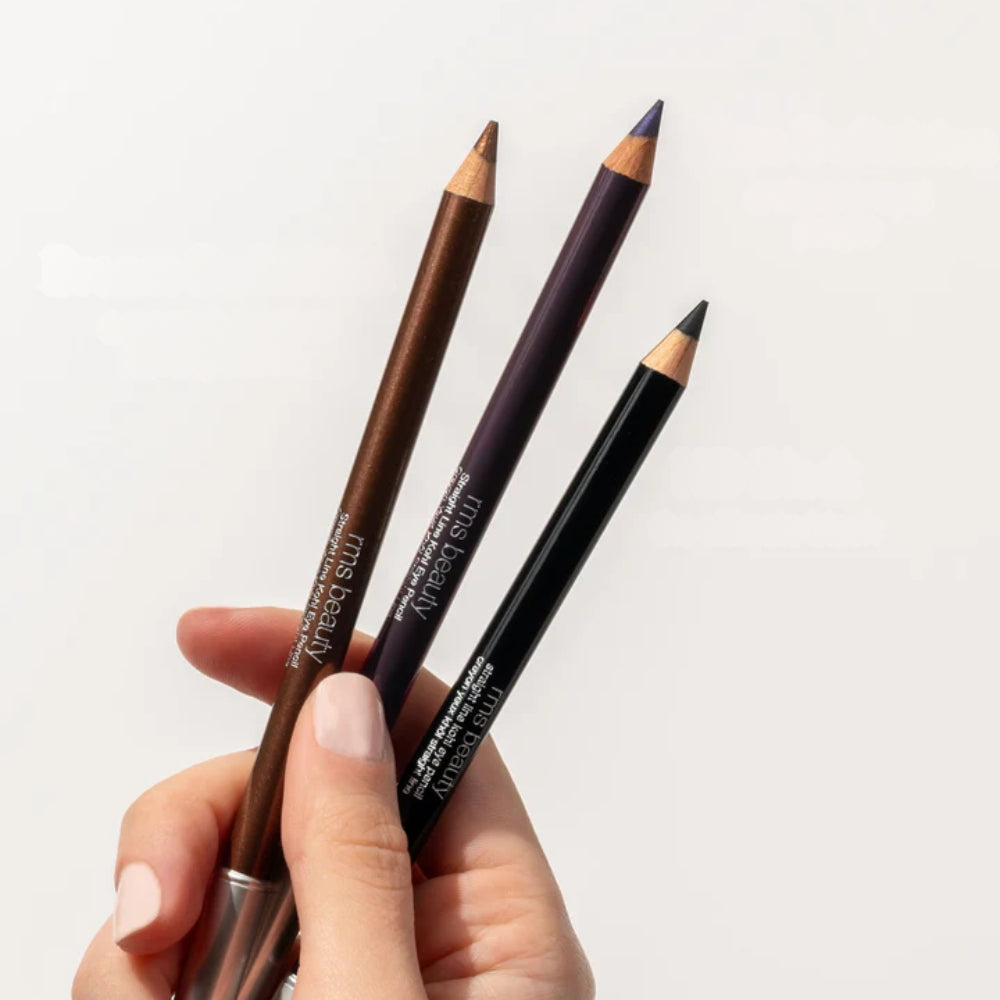
A Kohl Pencil That Smudges on Command
The backbone of any smokey eye is a rich, well-blended liner. A creamy kohl eye pencil with a built-in sponge tip lets you draw a precise line and then smudge on purpose, not by accident. 100% of users in a consumer study agreed that the formula glides on smoothly and blends easily.
Volumizing, Smudge-Proof Mascara
Nothing finishes a smokey eye like bold, defined lashes. A volumizing peptide mascara that delivers 12 hours of dramatic volume and lift without smudging, flaking, or clumping keeps everything looking intentional, not messy.
How to Do a Smokey Eye, Step by Step
Learning how to put on smokey eyeshadow comes down to layering and blending in the right order. Each step below builds on the last, and the whole process takes under ten minutes once you get comfortable.
Step 1. Start With a Clean, Dry Lid
Wipe away any excess moisturizer or residue from your eyelids. A clean lid helps cream shadows grip and stay crease-free all day. A smooth, dry surface is the only prep you need, as well-formulated cream eyeshadows are designed to perform without a separate primer.
Step 2. Apply Your Base Shadow
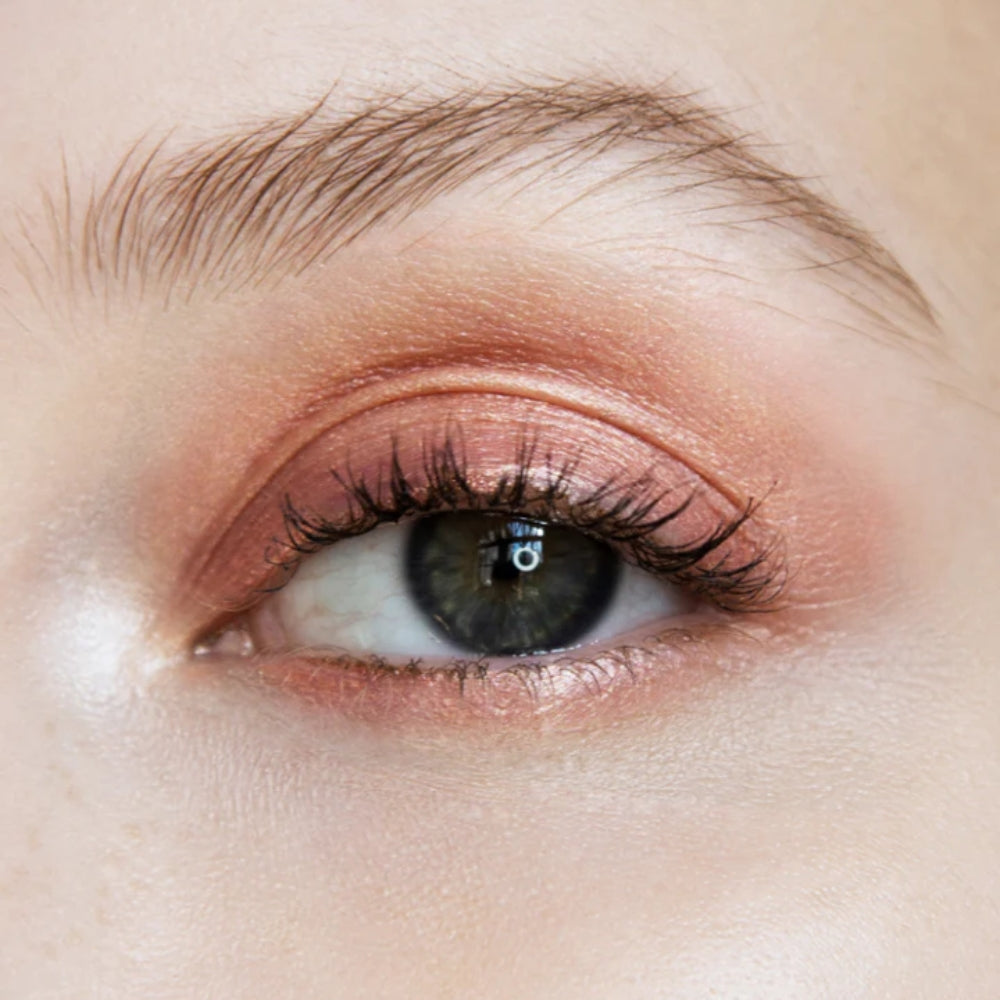
Squeeze a small amount of eyeshadow onto the back of your hand to control how much you pick up. Using a vegan eyeshadow brush or your fingertip, pat a mid-tone shade across the entire lid, from lash line to crease. Blend the edges while the product is still workable.
Step 3. Deepen the Outer Corner and Crease
Layer a darker shade into the outer V of the eye and along the crease. Use small, circular motions to blend the transition between your base color and the deeper shade. Concentrate the darkest pigment at the outer corner and let the color fade toward the center of the lid.
Step 4. Line and Smudge the Lash Line
Run your kohl pencil along the upper lash line, staying as close to the roots as possible. Use the sponge tip on the opposite end to smudge the line outward. Rose-Marie Swift, RMS Beauty founder, calls this the "sexy smudge," and the technique works for every eye shape. For added intensity, line the lower lash line at the outer third and smudge downward.
Step 5. Build, Blend, and Finish With Mascara
Step back and check the balance. Add more depth where needed, but always blend after each addition. Finish with two coats of mascara, wiggling the wand from base to tip to separate and coat every lash. Hold the wand horizontally for the most lift.
Smokey Eye Looks for Every Occasion
One smokey eye technique, many outcomes. The chart below shows how to adjust your product choices and intensity for three distinct looks.
| Look | Shadow Choice | Liner Approach | Finish |
|---|---|---|---|
| Soft Daytime Smoke | Neutral cream shadow on the lid, blended up | Smudged pencil on upper lash line only | One coat of mascara |
| Classic Evening Smokey Eye | Dark matte shadow layered at the outer corner and crease | Lined upper and lower lash line, smudged | Two coats of mascara |
| Bold, Jewel-Toned Smoke | Rich metallic or jewel-toned eyeshadow palette with matte and satin finishes | Full upper and lower lash line, blended and smoked out | Two to three coats of mascara |
The Soft, Everyday Smoke
Not every smokey eye needs to be dramatic. A single wash of neutral cream shadow, blended at the edges and paired with smudged liner on the upper lash line, creates a polished look in five minutes. An easy smokey eye tutorial starts here, with one shade and one pencil.
The Classic Night-Out Smokey Eye
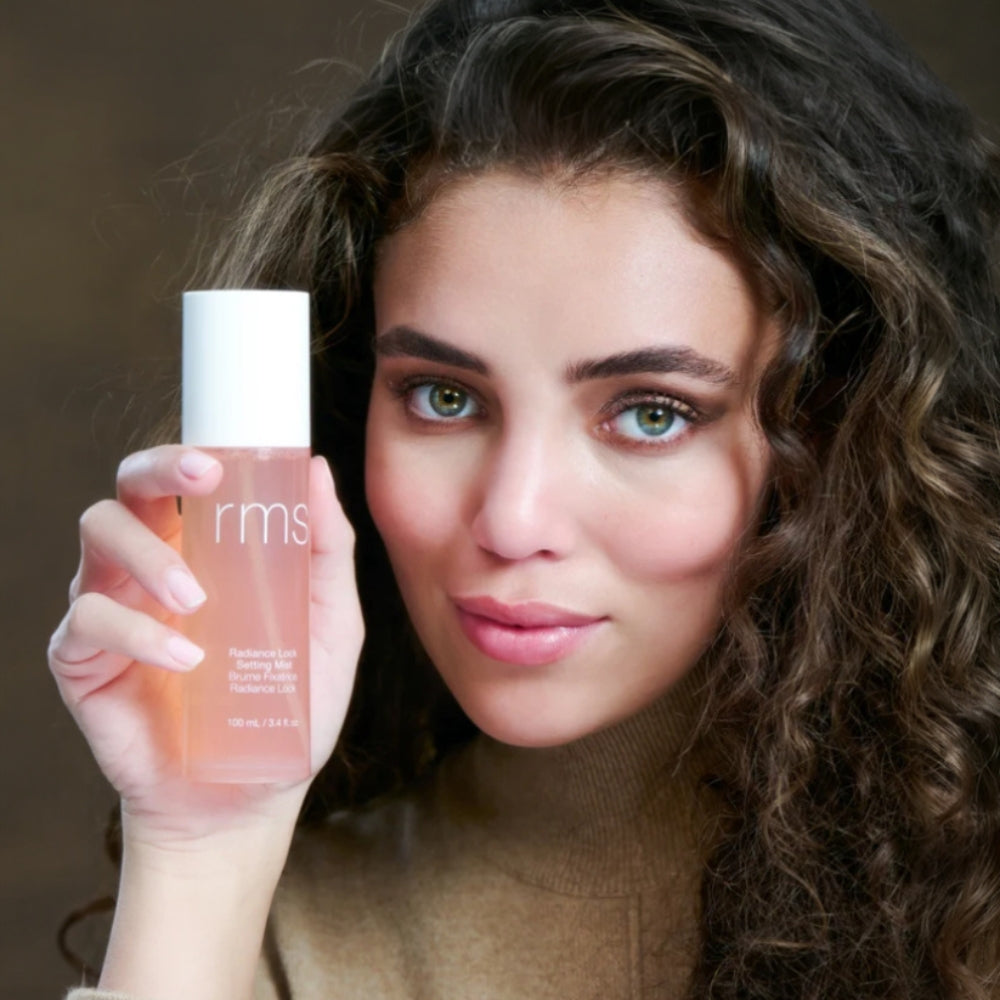
Layer two to three shades from light to dark, building depth at the outer corner and crease. Line both the upper and lower lash lines and smudge well. Lock the entire look in place with an alcohol-free setting mist that holds makeup for up to 8 hours.
The Jewel-Toned Smokey Eye
Smokey eyes don't have to be black or brown. Deep plum, teal, and bronze shades create a rich, dimensional smokey eye makeup look that flatters every skin tone. Palettes with matte, satin, and metallic finishes in a single quad give you all the shades you need to make smokey eye makeup that feels modern and personal.
Common Smokey Eye Mistakes and How to Fix Them
Even experienced makeup users run into the same handful of problems with smokey eyes. Here's how to course-correct the most common ones.
Applying Too Much Product at Once
A little goes a long way with cream formulas. Start with a thin layer and build up. Squeeze product onto the back of your hand first, then pick up small amounts with a brush or finger. Adding is easy. Removing excess from the lid without disrupting the rest of your makeup is not.
Skipping the Blend
Hard, unblended lines are the fastest way to turn a smokey eye into a smudgy mess. Blend after every layer, every time. Circular motions with a clean brush or fingertip soften edges and create the gradient that makes a smokey eye look intentional.
Forgetting the Lower Lash Line
A finished smokey eye connects the upper and lower lash lines. Skipping the lower lash line leaves the look unfinished. Apply liner to the outer third of the lower lash line and blend with the sponge tip to tie the top and bottom together seamlessly.
Final Thoughts
A great smokey eye comes down to good products, a light hand, and deliberate blending. No complicated techniques, no special training. Once you have the steps down, you can adjust the intensity for any setting, from brunch to a night out. RMS Beauty's ophthalmologist-tested, creaseproof eye formulas, made with skin-loving clean ingredients like Organic Green Tea Extract and Organic Jojoba Oil, give you the performance to pull off the look and the nourishment to feel good about what's on your skin. Shop the full eye collection at rmsbeauty.com.
FAQs
Q. Can beginners do a smokey eye?
Yes. A smokey eye for beginners is entirely doable with cream formulas that blend easily and a smudgeable kohl pencil. Start with one or two shades and build confidence from there.
Q. Do I need an eyeshadow primer for a smokey eye?
Not necessarily. Well-formulated creaseproof cream eyeshadows are designed to last all day on a clean, dry lid without a separate primer.
Q. What is the best eyeshadow finish for a smokey eye?
Matte finishes create depth and definition, while metallic or luminous finishes add dimension. Combining both, such as a matte shade in the crease and a light-reflective shade on the lid, gives the most complete smokey eye result.
Q. How do I keep my smokey eye from smudging all day?
Use smudge-proof, long-wearing formulas and set the finished look with a setting mist. Cream shadows that are formulated to be creaseproof and flake-free hold up well without touch-ups.
Q. Can I do a smokey eye with colors other than black?
Absolutely. Brown, bronze, plum, teal, and jewel tones all create a beautiful smokey eye. Choose shades that complement your skin tone and the occasion.
Q. What brush should I use for a smokey eye?
A soft, rounded eyeshadow brush works well for blending cream and powder shadows across the lid. A smaller, tapered brush helps with detail work in the crease and along the lash line.
Shop The Blog
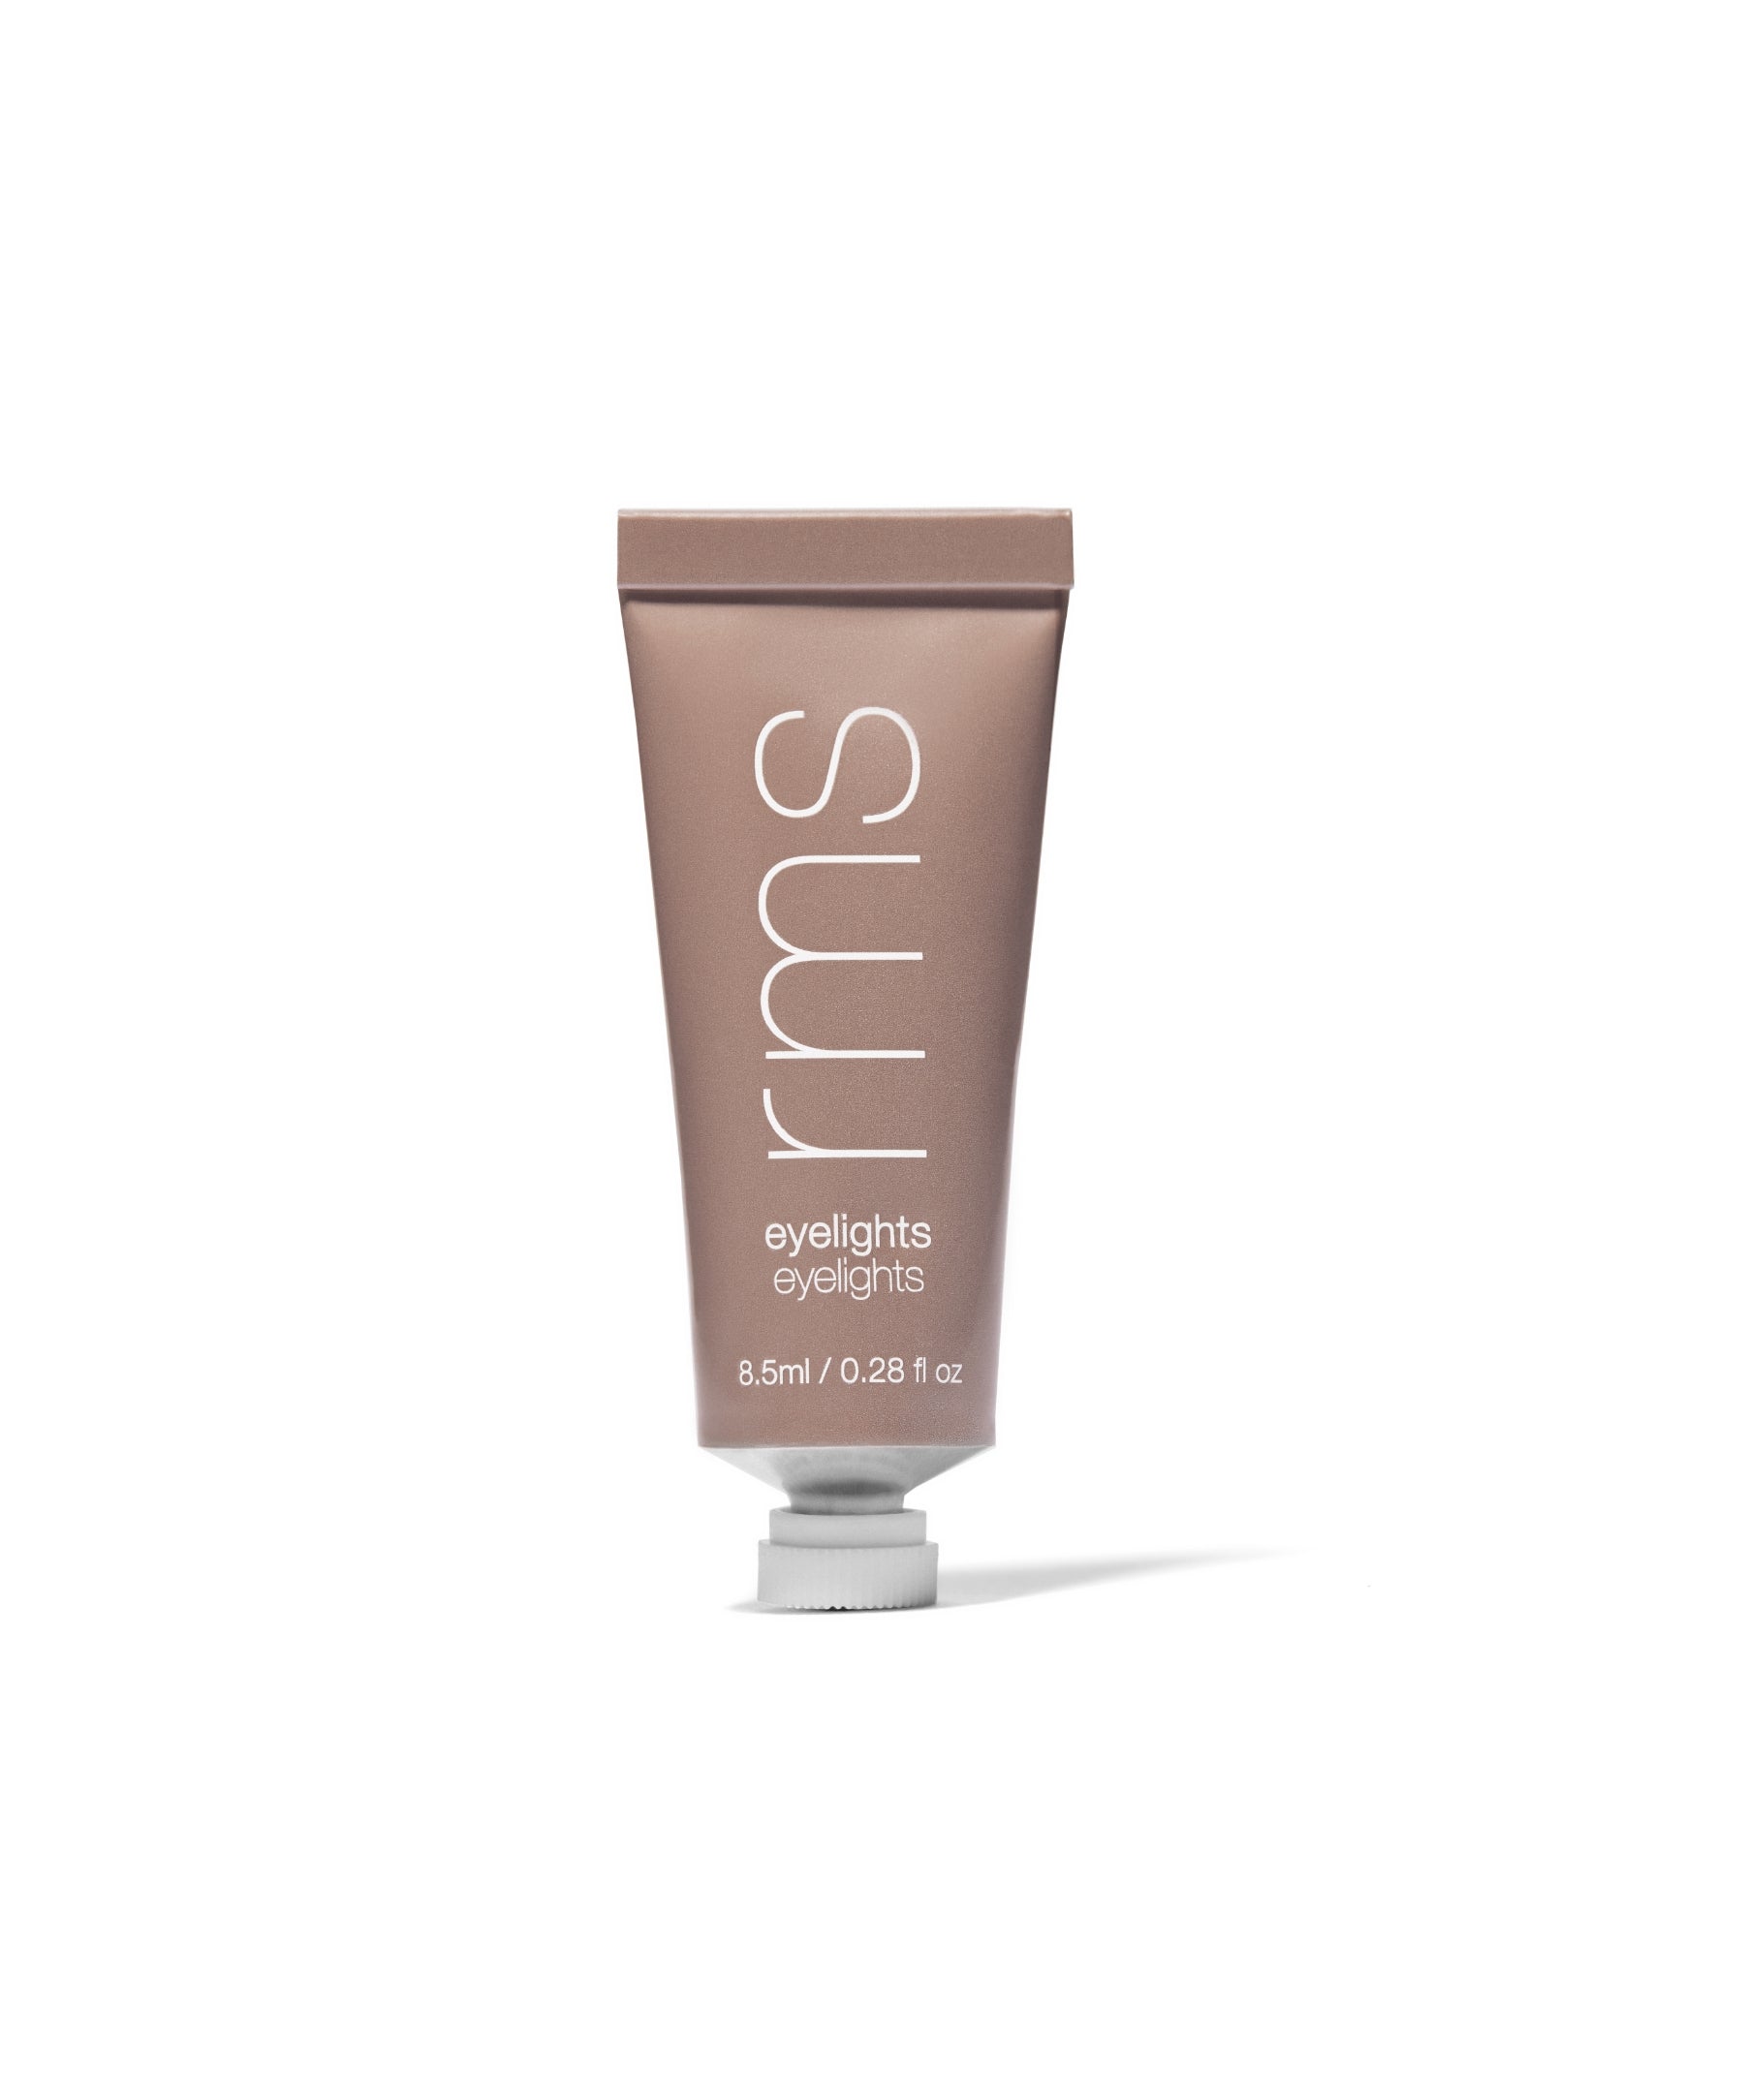
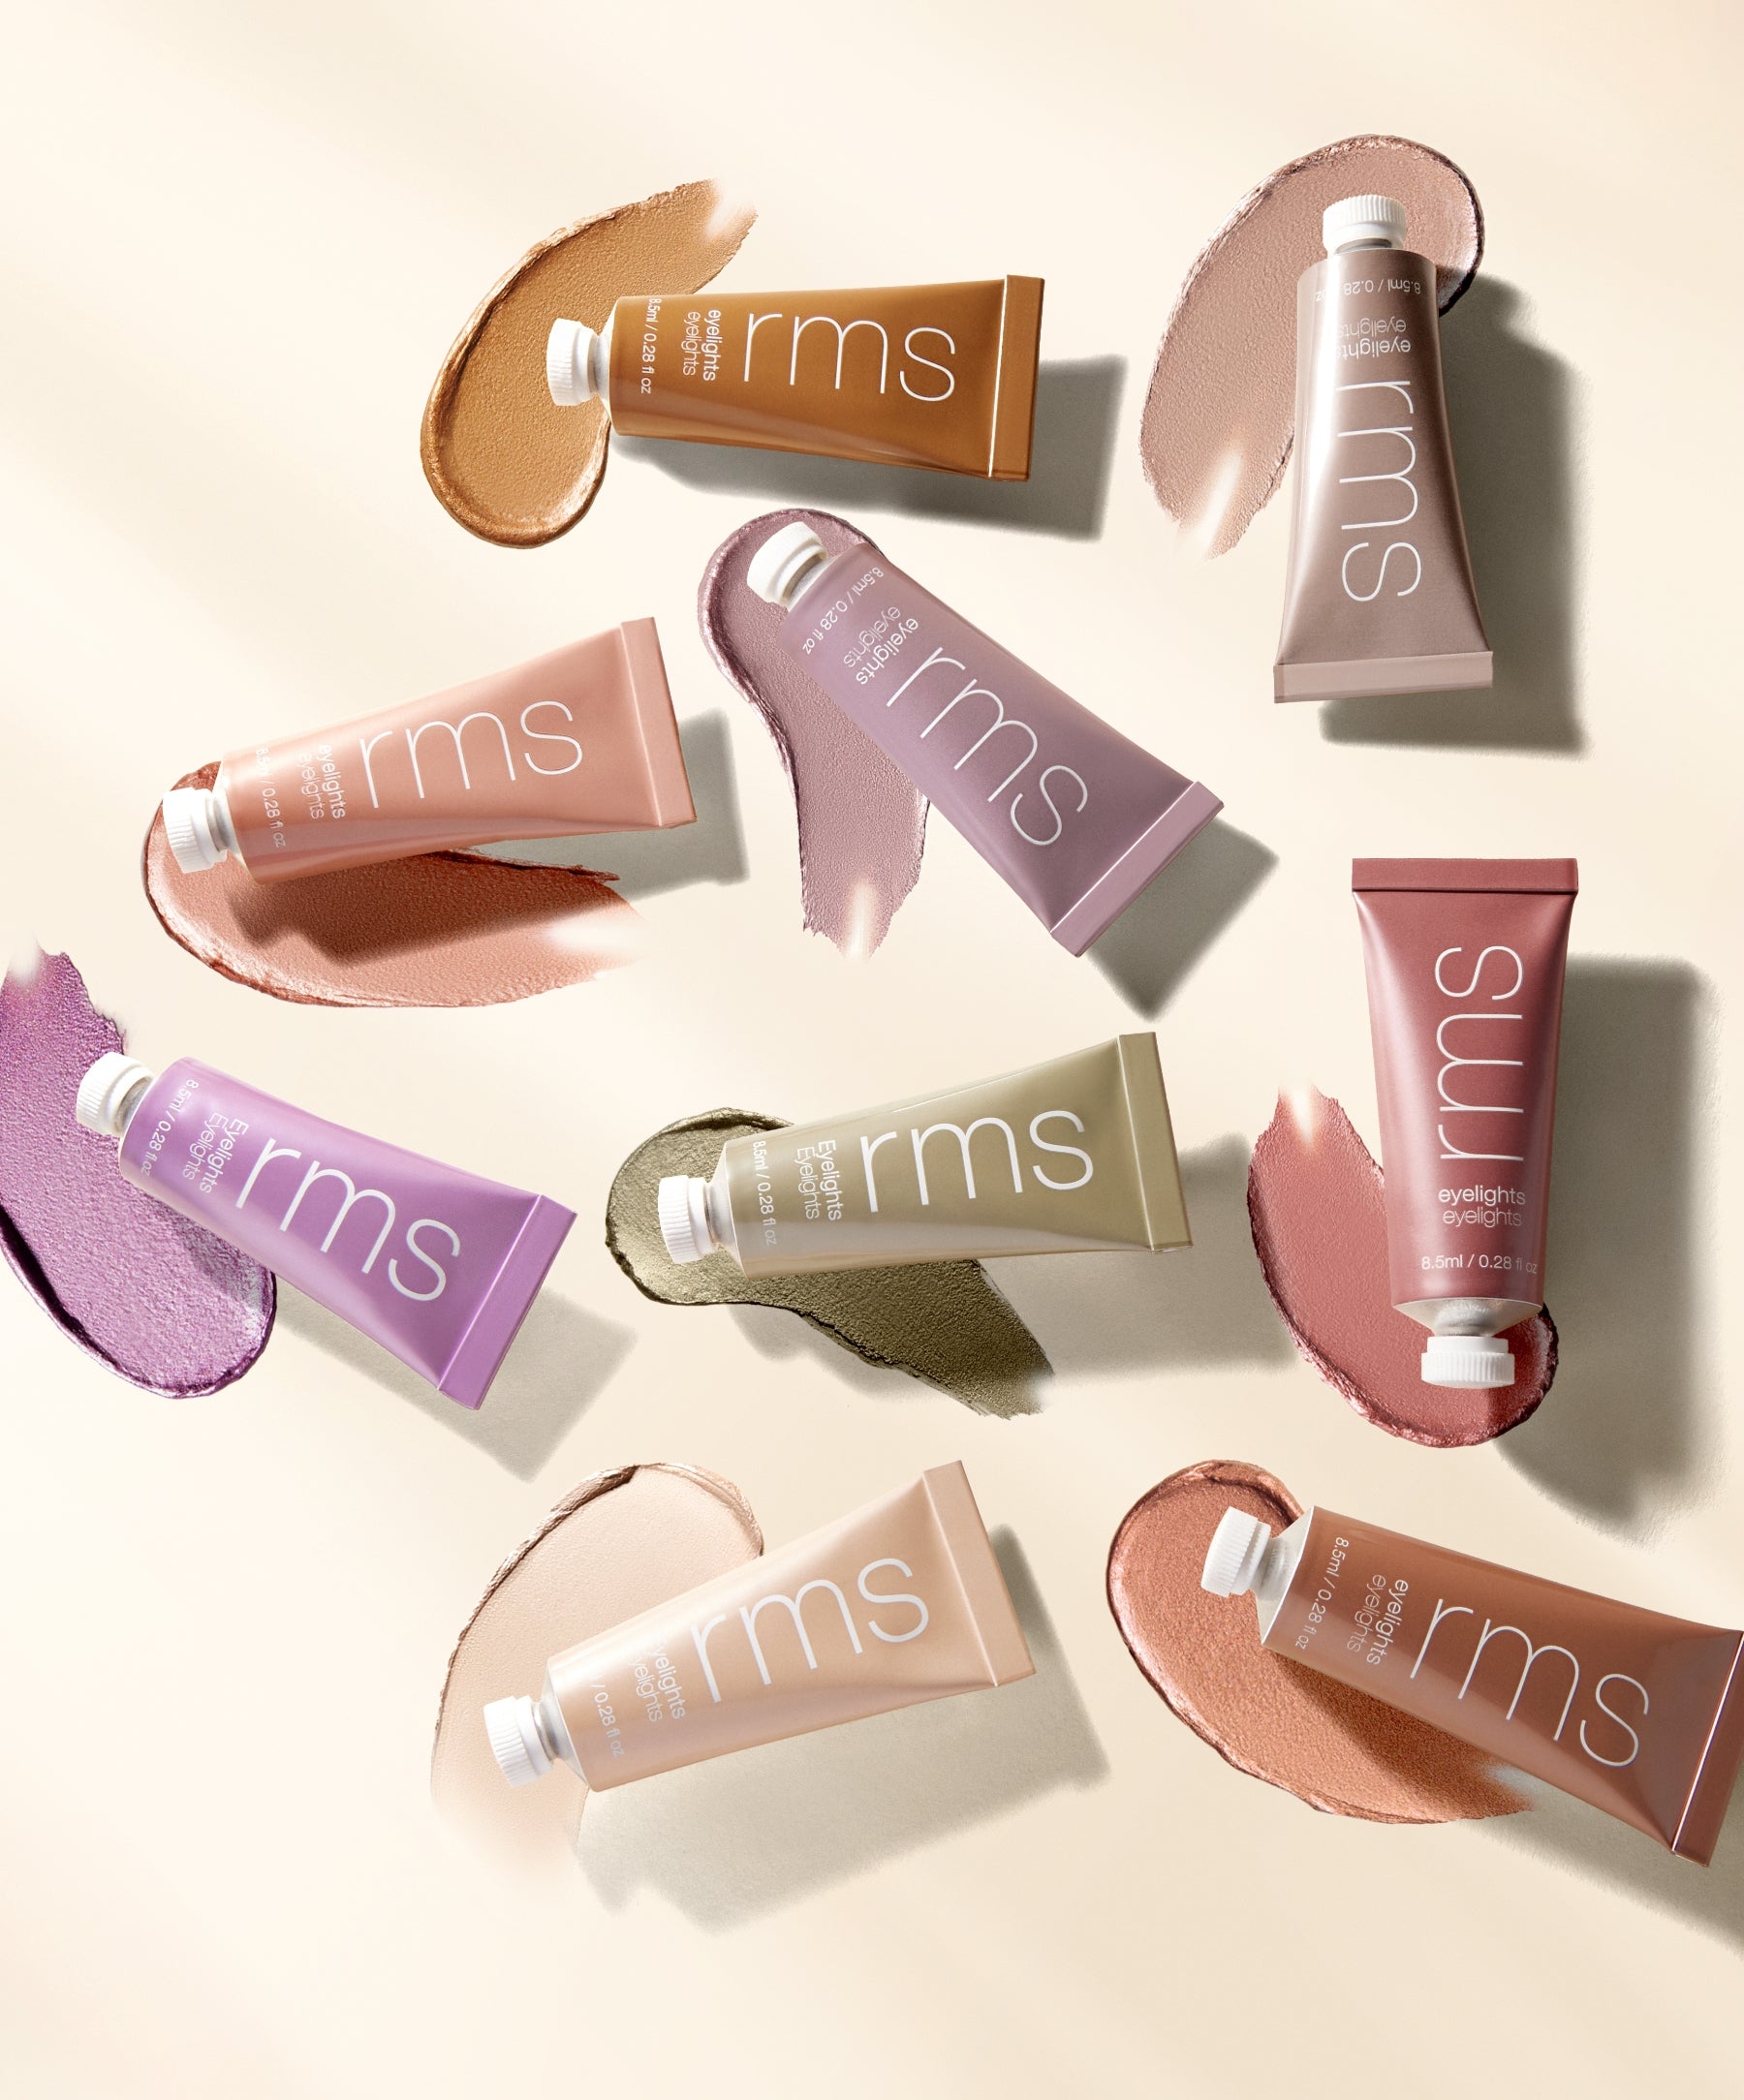
Eyelights Cream Eyeshadow
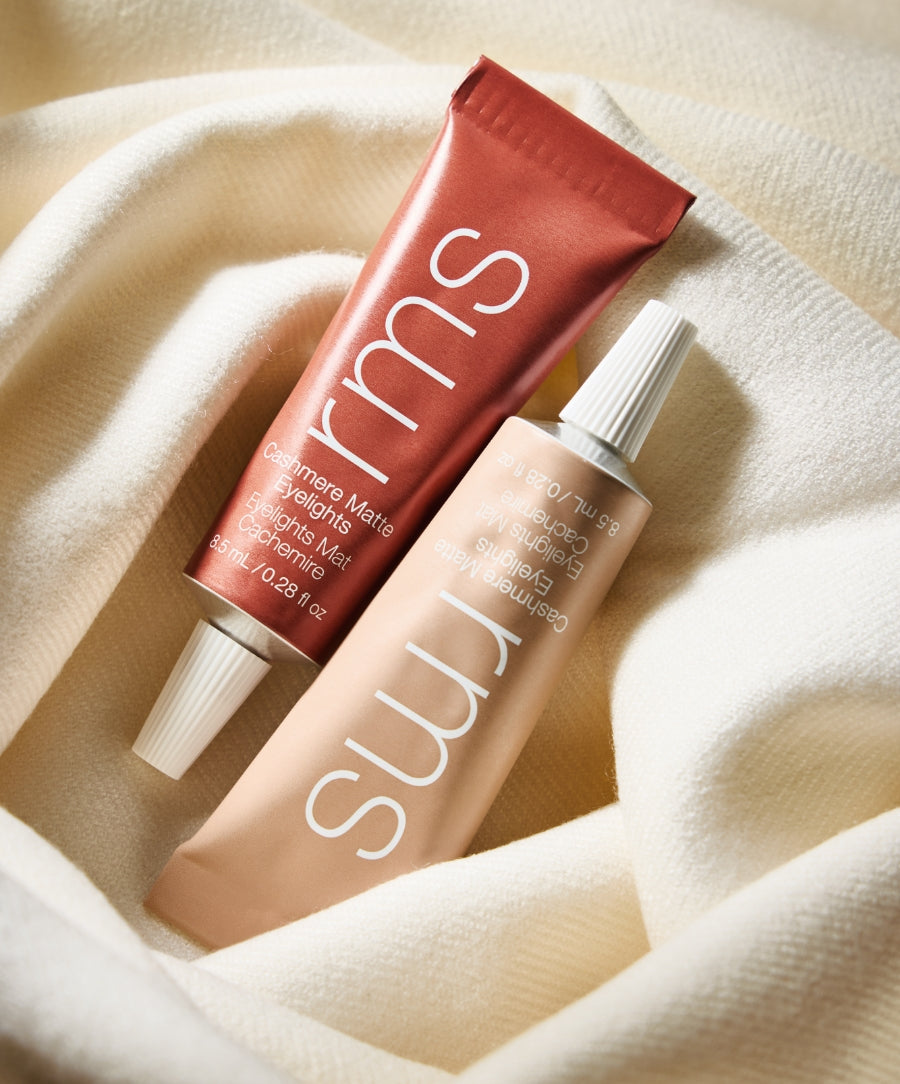
Cashmere Matte Eyelights

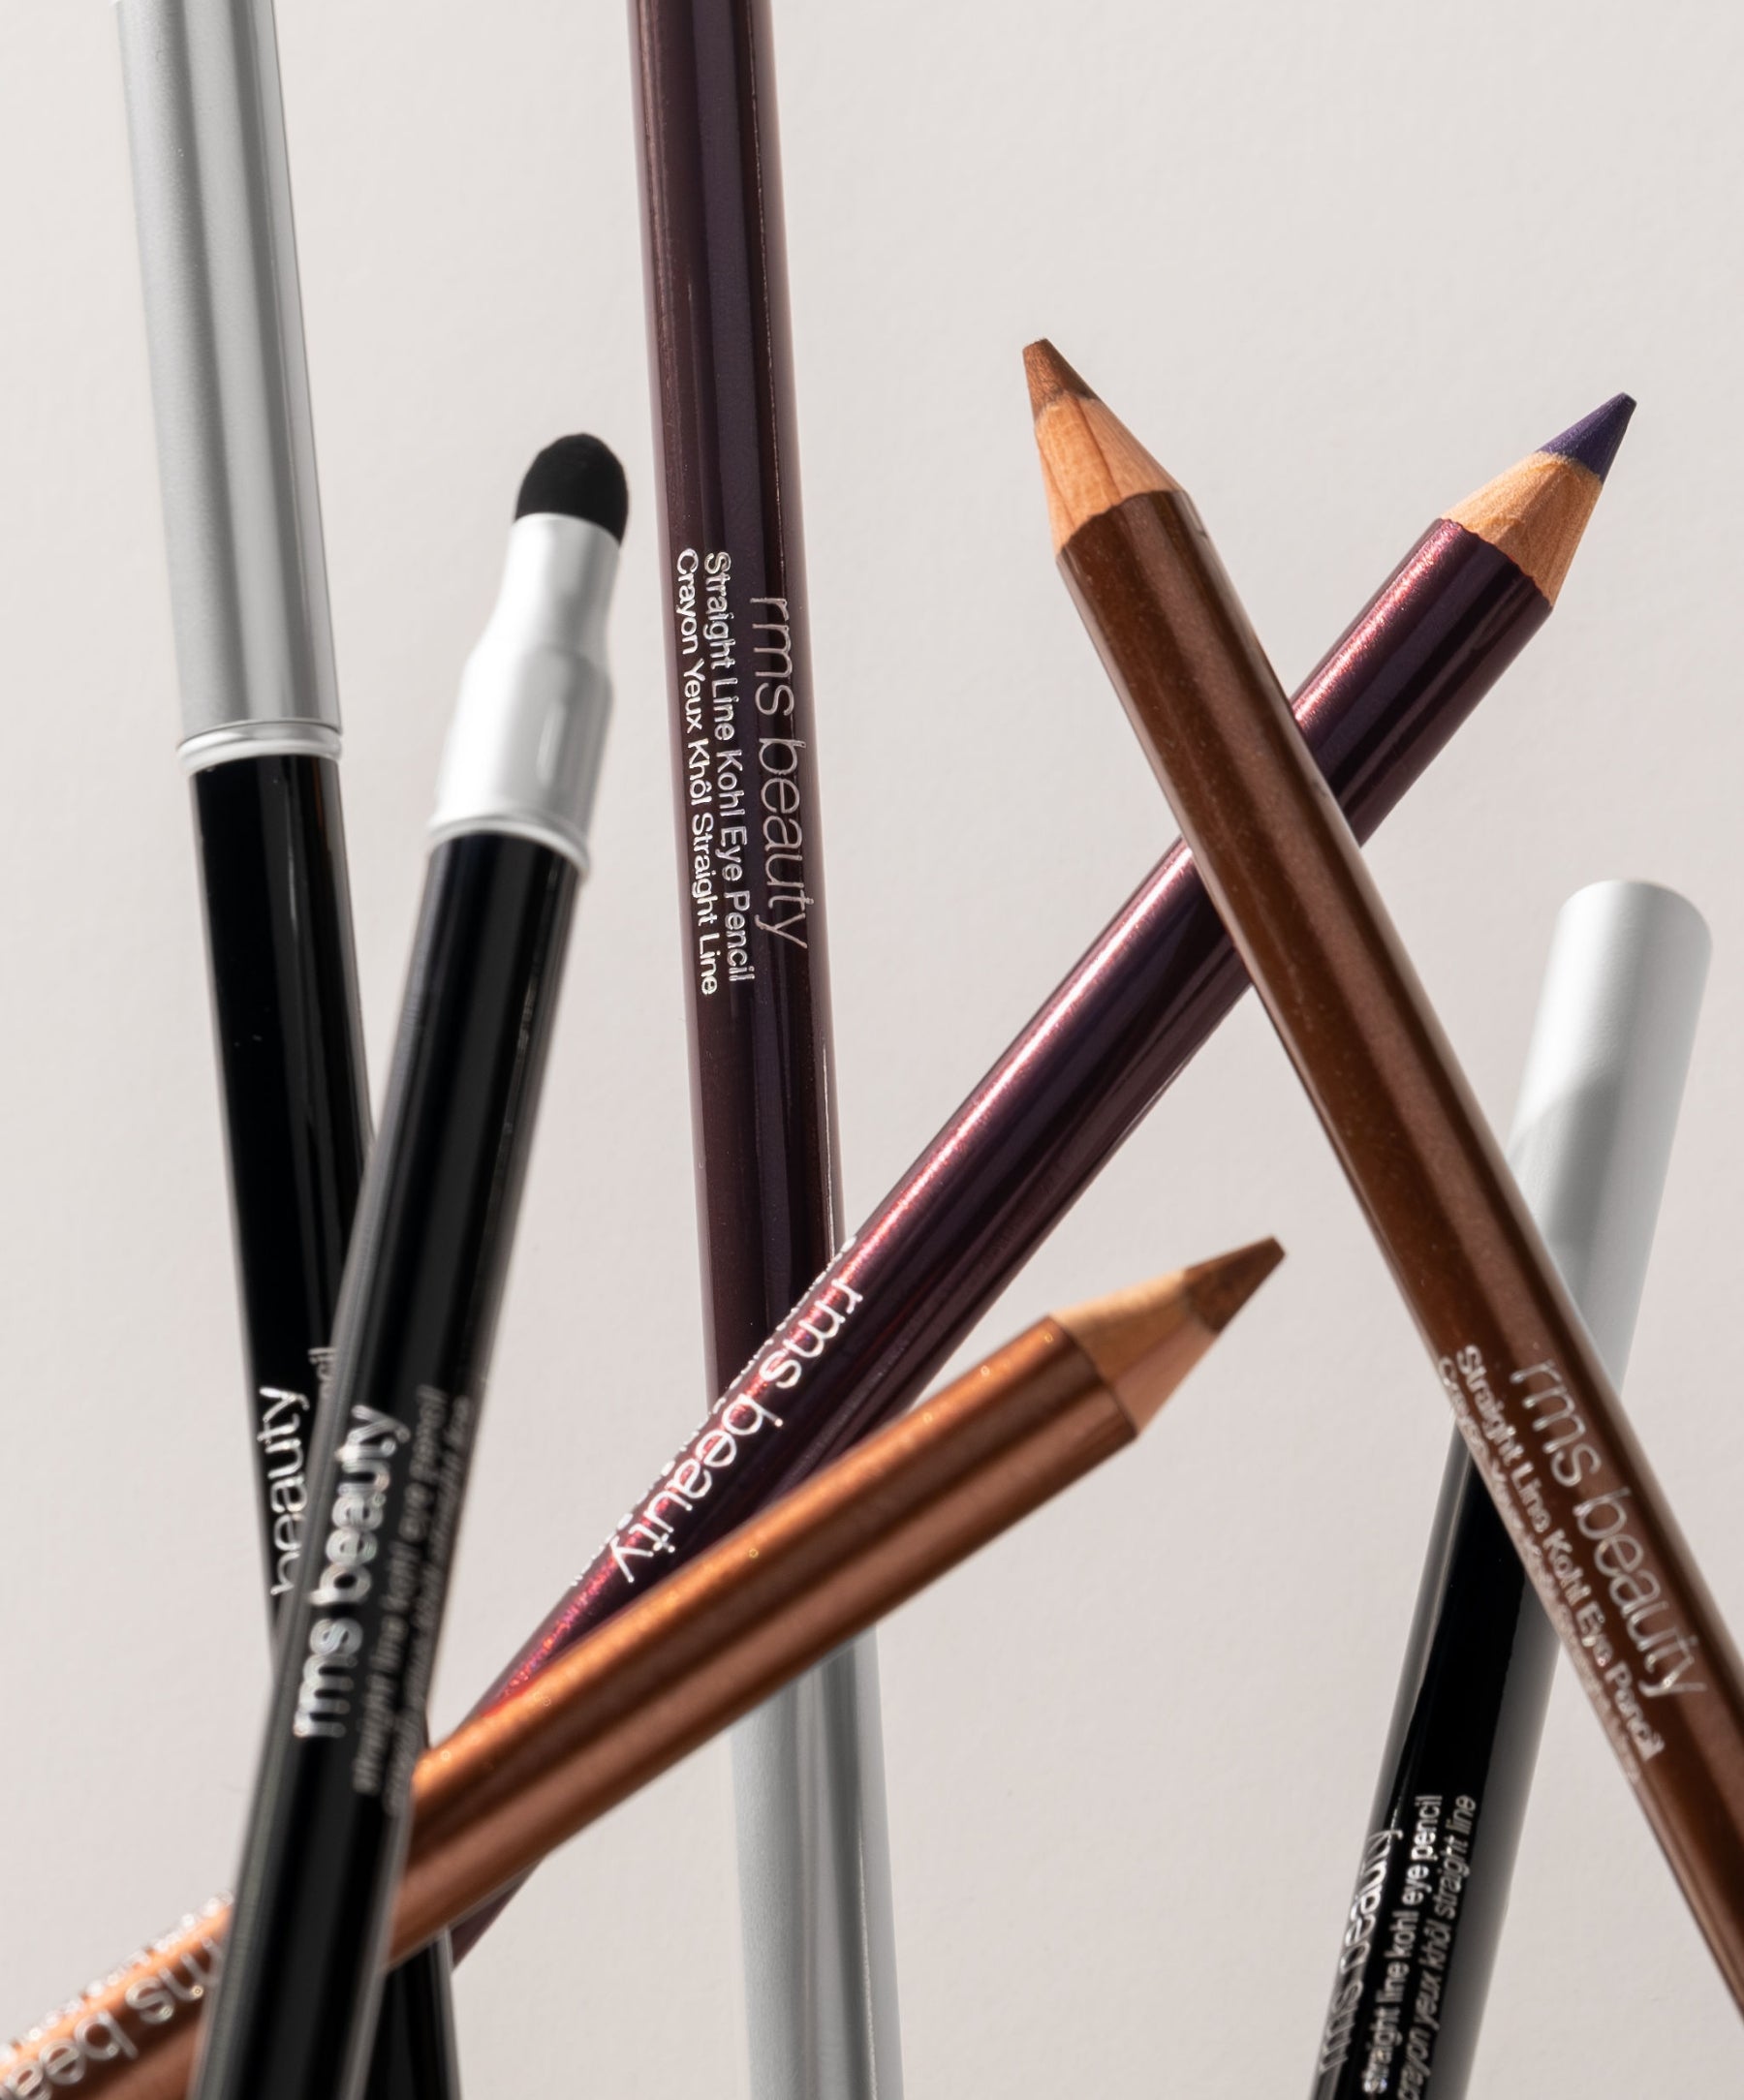
Straight Line Kohl Eye Pencil