Skip to main content

How To Apply Eye Makeup: Your Ultimate Makeup FAQ

Eye makeup can be intimidating for even the most adept makeup enthusiasts. Get it right, and your eye makeup will showcase your eyes perfectly, highlighting the windows of your soul with the perfect balance of enhancement and natural beauty.
Get it wrong, and your eye makeup may look more suited for a Halloween costume than your everyday nine to five.
Although the RMS Beauty philosophy has always promoted a more natural makeup look, certain occasions call for a bit more glitz and glamour. Here’s how to apply full eye makeup like a makeup artist, and do it with finesse.
How Do I Choose Eye Makeup Brushes?
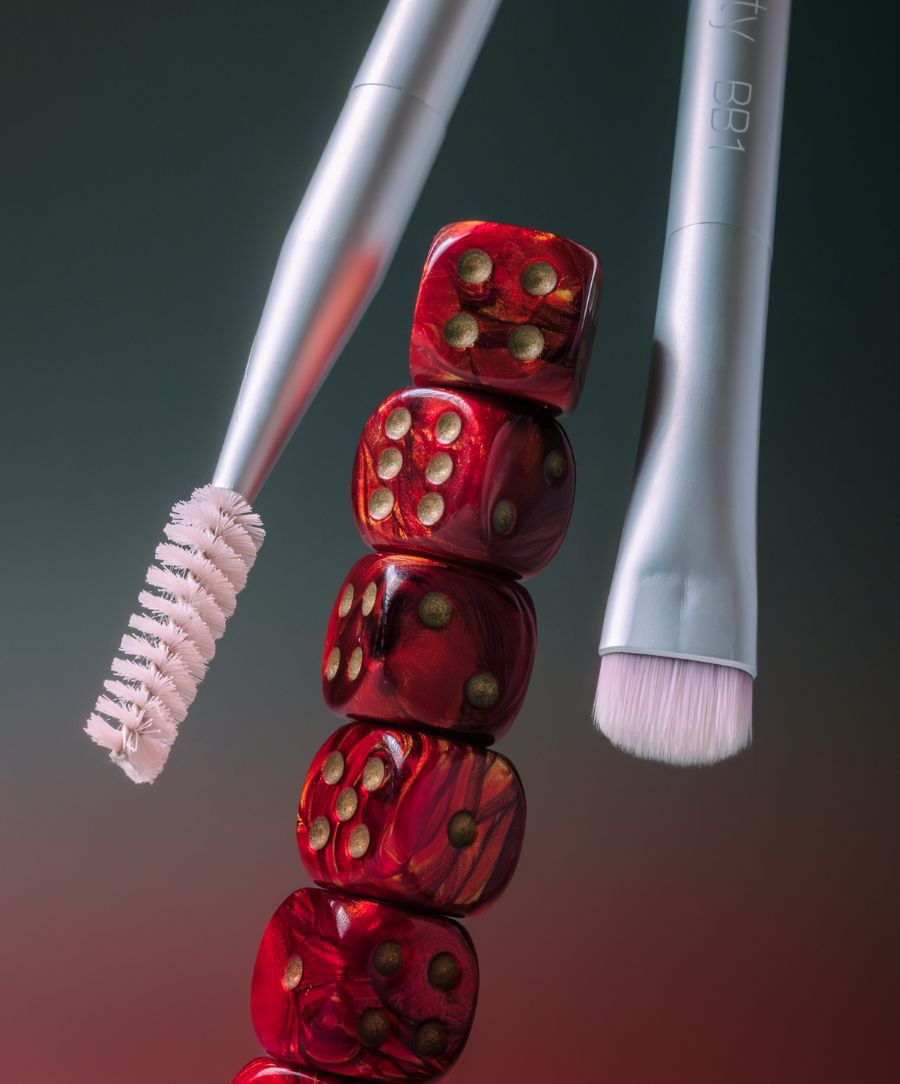
Makeup brushes make applying your eye makeup easy and also offer you the ability to perfect the application of eyeliners and eyebrow detail.
RMS Beauty’s makeup brushes offer durability, ease of application, and of course, zero involvement of animals.
- Eyeshadow brush. Although you can always rely on your fingers, when you’re applying several different shades of eye shadow, a shadow brush is the better option. Eyeshadow brushes have short, dense bristles. This brush may be angled at the end, which can help you apply shadow to the outer corner of your eyes.
- Blending brush. A blending brush will have slightly longer bristles, and less of them, making the brush more flexible. These brushes are used for blending shades together once you’ve applied more than one color to your upper lid.
- Pencil brush. These types of brushes are short and slightly pointed at the end, somewhat like a pencil. They allow you to add precise lines and create greater detail.
- Flat brush. A flat brush helps you add all-over color and is a wonderful tool for applying a single shade to your eye.
You don’t need to use brushes, and you certainly don’t need to use all the brushes. Use the ones that make application most comfortable for you.
Do I Need To Use a Primer?
You don’t have to use an eyeshadow primer before you apply your shadow, but if you have oily skin it may be wise to use a primer to dry your lid so your shadow lasts a bit longer.
Avoid using primer on more mature skin. The skin of the eyelid is very thin, and is drier than the skin on the rest of your face. Using a primer can dehydrate your lids and make them crepey.
Starting With Your Brows
Starting with your brows allows you to create a more definite brow shape with a light shade of eyeshadow or a concealer once you’ve applied eyebrow makeup.
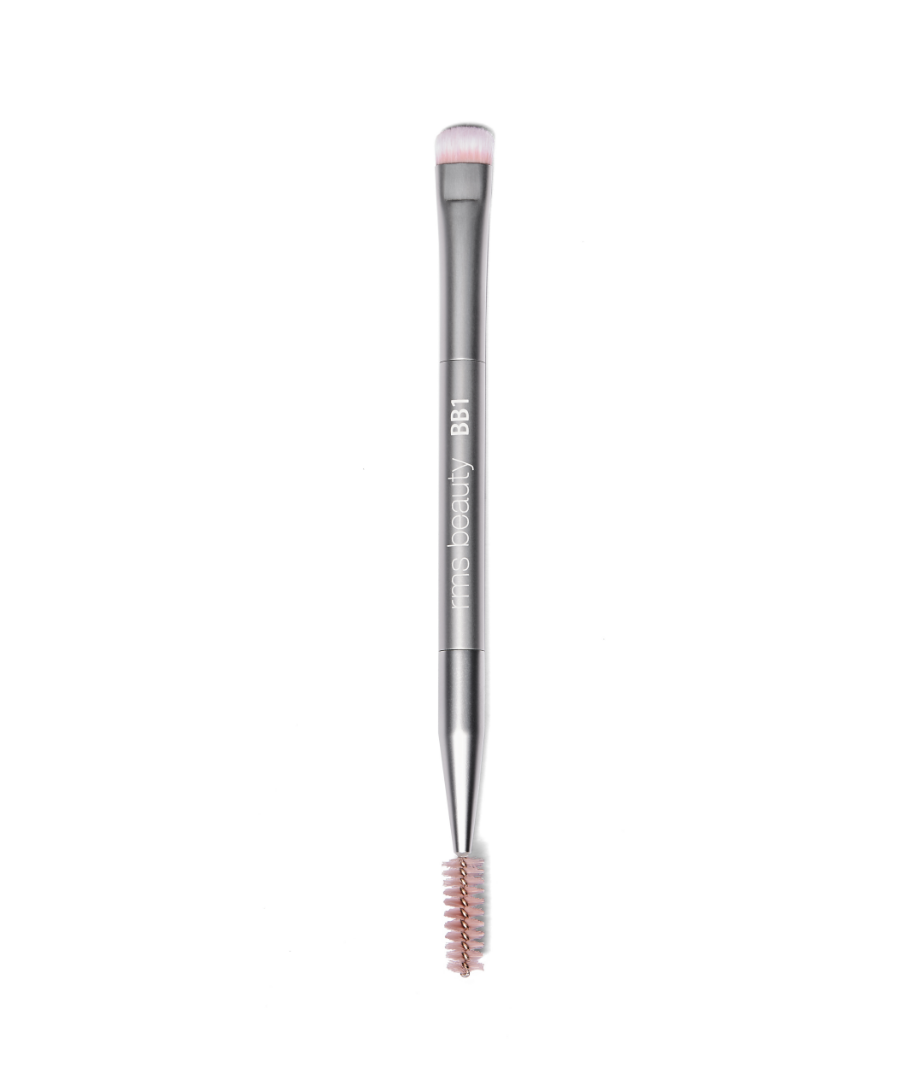
If you normally use a fair amount of eyebrow makeup, starting with your brows allows for easier clean-up on your upper lids if you make a mistake. RMS Beauty’s user-friendly back2brow powder and back2brow brush kit includes all the tools you need to make this process a breeze. The brush is dense, firm, and slightly rounded, allowing you to get product as close as possible to the skin without extra effort for a natural look.
Using an eyebrow brush, gently brush your brows upward before applying the product.
Step One: Find Your Shape
Generally, your brows should follow angles that have a vertex on the side of your nose at its base. If you placed a pencil alongside your nose, your brow would begin where the pencil crosses your brow bone.
The arch will lie at the point where the pencil could be turned enough to hit your brow bone. The end of your brow should align with the edge of the pencil if it was turned from the side of your nose at a 45-degree angle.
Step Two: Outline Your Brows
If your brows are sparse, you’ll outline them to create a more definite shape. For more natural looks, you can skip the outline and go directly to filling them in. Use a brow pencil to outline your brows in a shade lighter than your brow color.
Step Three: Fill Your Brows
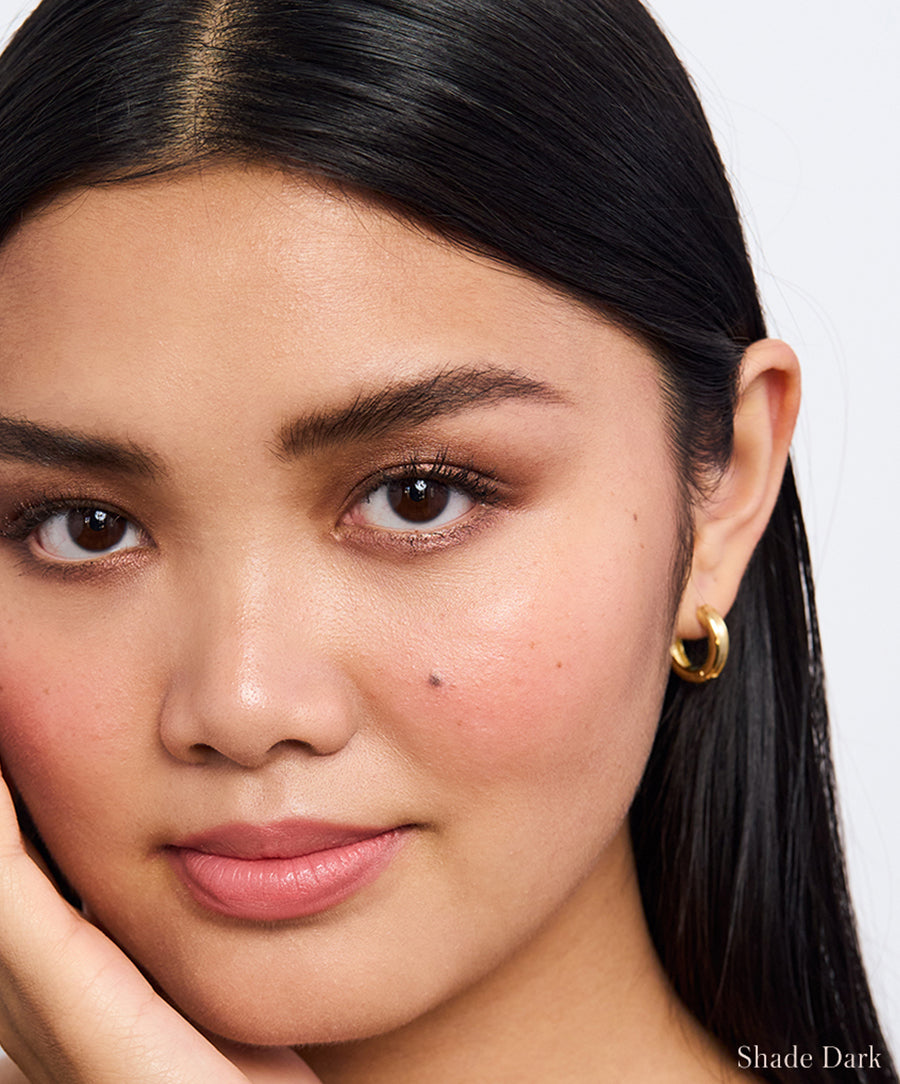
Filling in your brows is a fine art. It’s important to pick a brow color shade that closely resembles your natural brows. Although it’s tempting to go a few shades darker, especially if you have light-colored eyebrows, this can make your brow look heavy and furled. If you have darker skin, make sure to choose a color with just a hint of brown, rather than jet black, to avoid harsh lines.
A plush, dense brush will allow you to fill in brows with just a few sweeps of powder for a soft, natural look. You can then go back in with the spoolie end of the brush to blend in the powder a bit more and diffuse the look.
Next, Move Onto Eyeshadow
Eyeshadow can seem complicated if you’ve spent any time watching eye makeup tutorials. Thankfully, it’s really quite simple. You can create looks that truly make your eyes pop with just a few shades.
If you’re working with an eyeshadow palette, resist the temptation to load all the colors on your lids at once unless it’s pride month and you’re doing a rainbow lid. Otherwise, you want an eyeshadow look that is mostly natural to your complexion, even if you are prepping for a special occasion.
Step One: Choose Your Shape
Eye makeup application gets dicey when you attempt to create looks you see on movie stars or achieve a perfect smokey eye. If you’re a novice, keep it simple, and build on the looks you are able to ace with ease.
Begin by creating a look that can easily dial up the drama using different eyeshadow colors. It will be easier to create glamour with shadows than it will to create a particular shape or effect (like a cat eye, for instance).
Step Two: Fill in Your Base
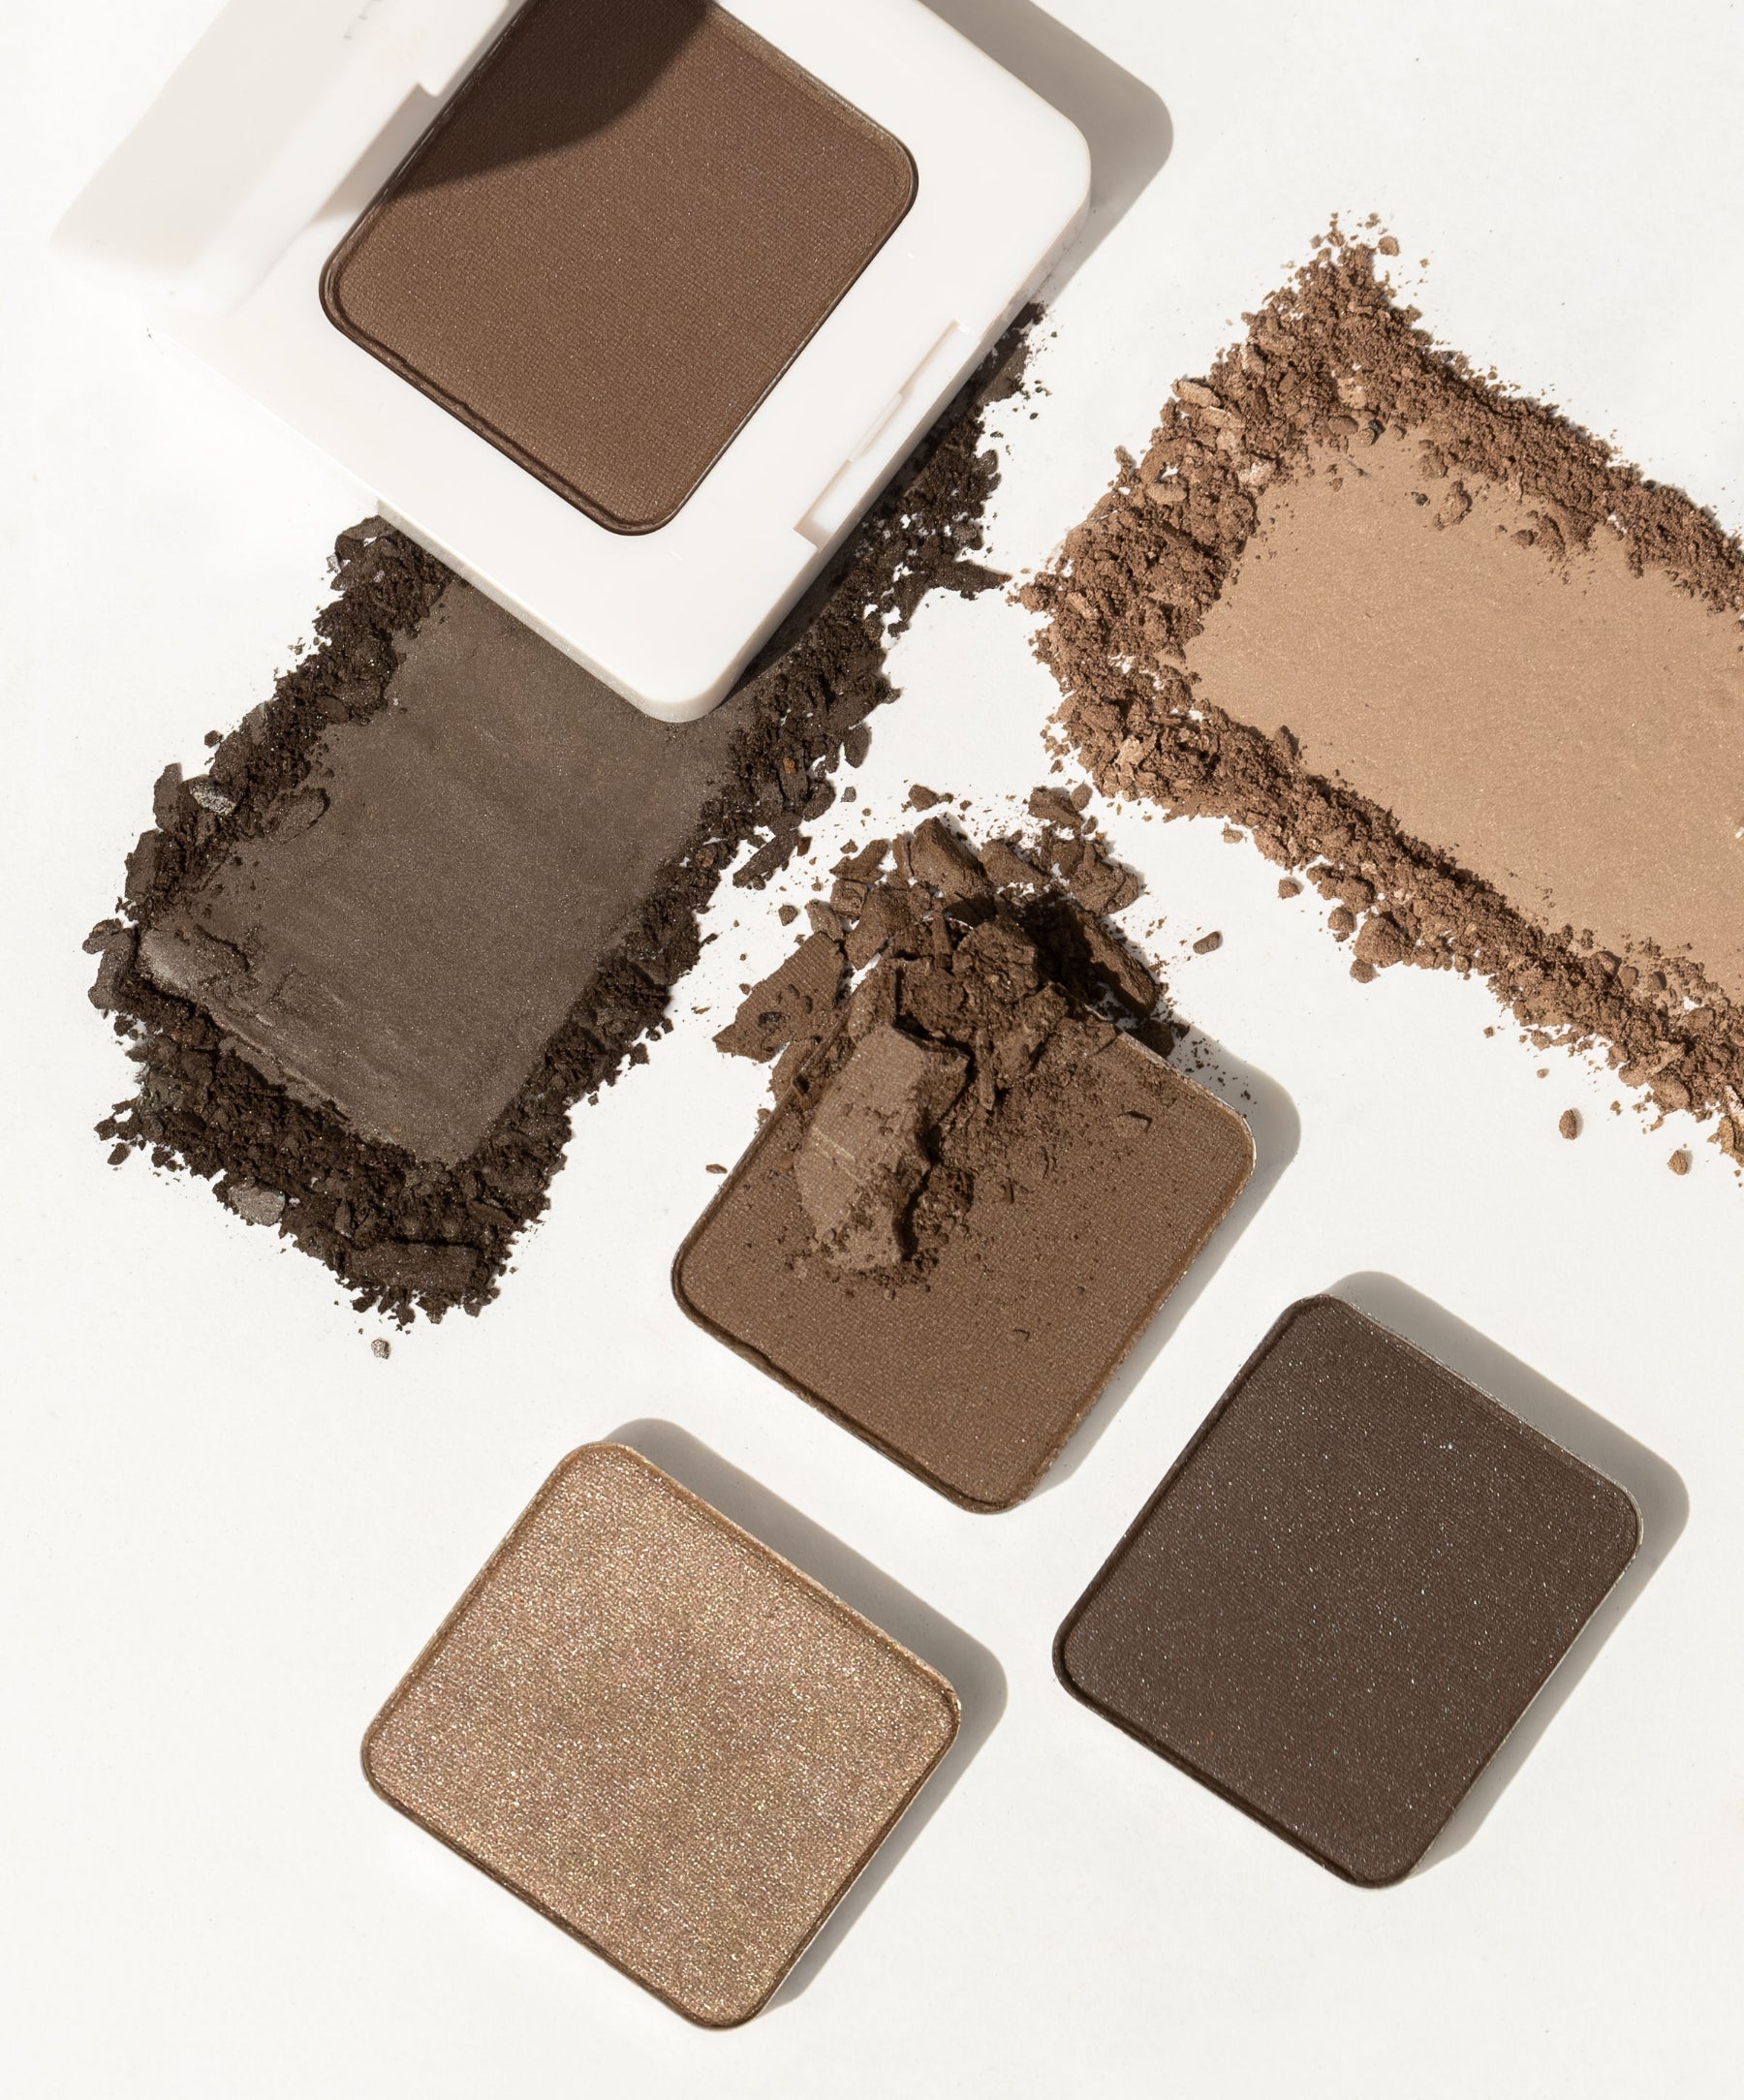
The base shade should be placed over your entire lid. To do this, you’ll choose your lightest shade, usually a shade or two darker than your skin tone (like nude or beige). Keep in mind the natural color of your eyelid may be lighter or darker than the skin on your cheeks.
For darker skin tones, use a shade that is a shade or two lighter than your natural skin tone, or try a taupe or coffee color. The idea is to use your most neutral shade to cover your lid.
Step Three: Put a Darker Shadow in Your Crease
The crease of your lid is where your eyelid naturally folds above your eyes. Pick a shade slightly darker than your light shade (the one you used as your base in the previous step). Apply this medium color to your crease, from the inner corner of your eye to the outer corner of your eye.
If you have monolids, you won’t have a crease in this area. For monolids, use your two lightest colors as your base shade and your midtone. The midtone will be applied in the middle of your lid, about two-thirds of the way up from your lower lash line.
Step Four: Place Your Darkest Shade in Your Outer “V”
This step tends to make people nervous. Likely because you’ll be using a dark shade and creating a contouring effect that will elongate the eye and create a more polished look.
Beginning at the outer edge of your upper lash line, create a soft “V” shape that extends to the top of the crease you just defined. You’ll want to blend the makeup at the outer corner of the eyes, but smudges don’t work here.
From the outer corner, blend inward, gently, just enough to soften the “V” shape and make it more natural.
Step Five: Highlight Your Inner Corner and Brow Bone
You’ll use a highlighter to create dimension and draw attention to the eyes. You can highlight both the inner corner of the eye and brow bone, or just choose one. If you’ve already used concealer to shape your eyebrows, using a highlighter may make it white or frosty.
Darker skin tones look beautiful with copper or bronze eye shadows in the inner corner and on the brow bone.
Step Six: Blend, Blend, Blend!
Using a large brush, blend your eye makeup over the entire lid where it is needed. Essentially you’re attempting to smooth any harsh lines or obvious angles that make your lids look unnatural.
Isn’t There an Easier Way?
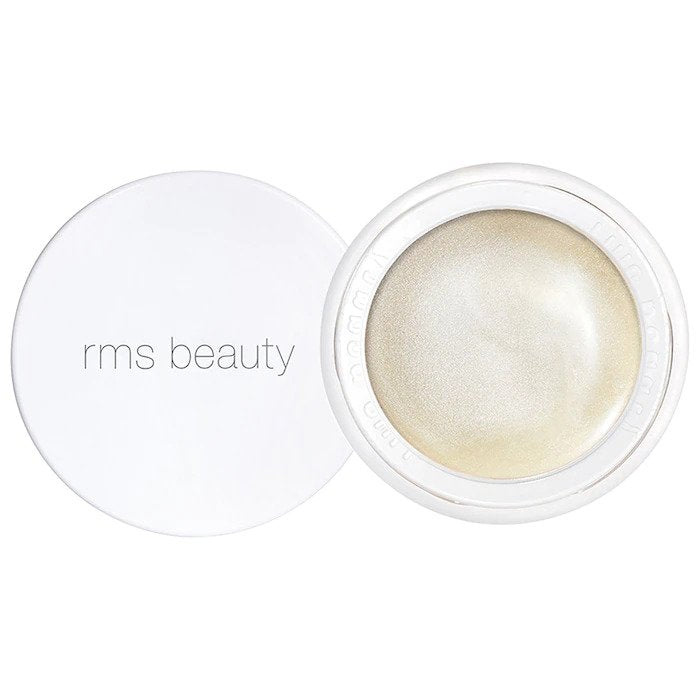
Why yes, we’re glad you asked. You can get a beautiful, natural look that creates a little glamour and looks natural by simply using a product that’s capable of achieving both.
RMS Beauty’s eye-polishes are formulated with hydrating ingredients that naturally reflect light and draw attention to the eye area.
How Can I Perfectly Apply Eyeliner?
The key to applying any kind of eyeliner perfectly — liquid liner, pencil eyeliner, or powder eyeliner — is practice. Concentrate on making a thin, barely-there line from about a third of the way from the inner corner of your eye on both the bottom and top lash lines.
Use a pencil if you’re new. Liquid eyeliner takes time to truly master.
Any Mascara Tips?
The best way to get naturally beautiful lashes is to take better care of them. That starts with using the cleanest mascaras, free of drying ingredients that could cause your lashes to become brittle and break easily.
If you’re addicted to false eyelashes, consider giving them up for a few months to allow your natural lashes to regrow and get healthy again.
When applying mascara, curl your top lashes using an eyelash curler to open the eyes and create a more awake look. Apply no more than two coats to your top lashes, and one to your bottom lashes.
Don’t Forget Setting Powder!
If your eye makeup tends to slide off within a few hours after application, using a setting powder can help hold it in place longer.
RMS Beauty’s Un-Powder is a translucent, talc-free powder that can hold your eye shadow creation in place, as well as the rest of your makeup.
Conclusion
Applying eye makeup will feel easier and more comfortable the more you do it. Using natural eyeshadow products that are safe and hydrating for your skin, plus using a few of these simple tricks, can give you easy looks that are natural and long-lasting.
Sources:
Is There a Squirrel in Your Makeup Bag?|PETA.org
Does the upper eyelid skin become thinner with age?|PubMed
Campaign for Safe Cosmetics - Making Cosmetics Safer for All
Shop The Blog
Back2Brow Brush
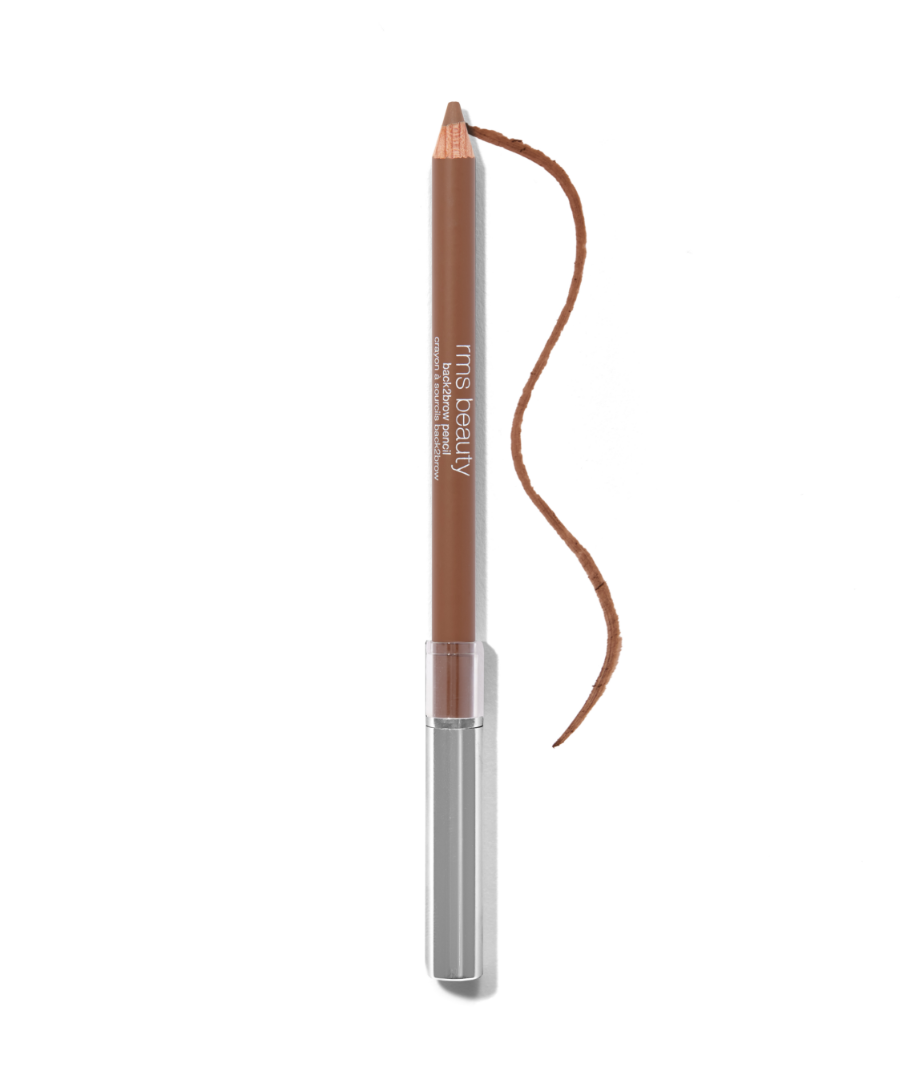
Back2Brow Pencil
Back2Brow Powder

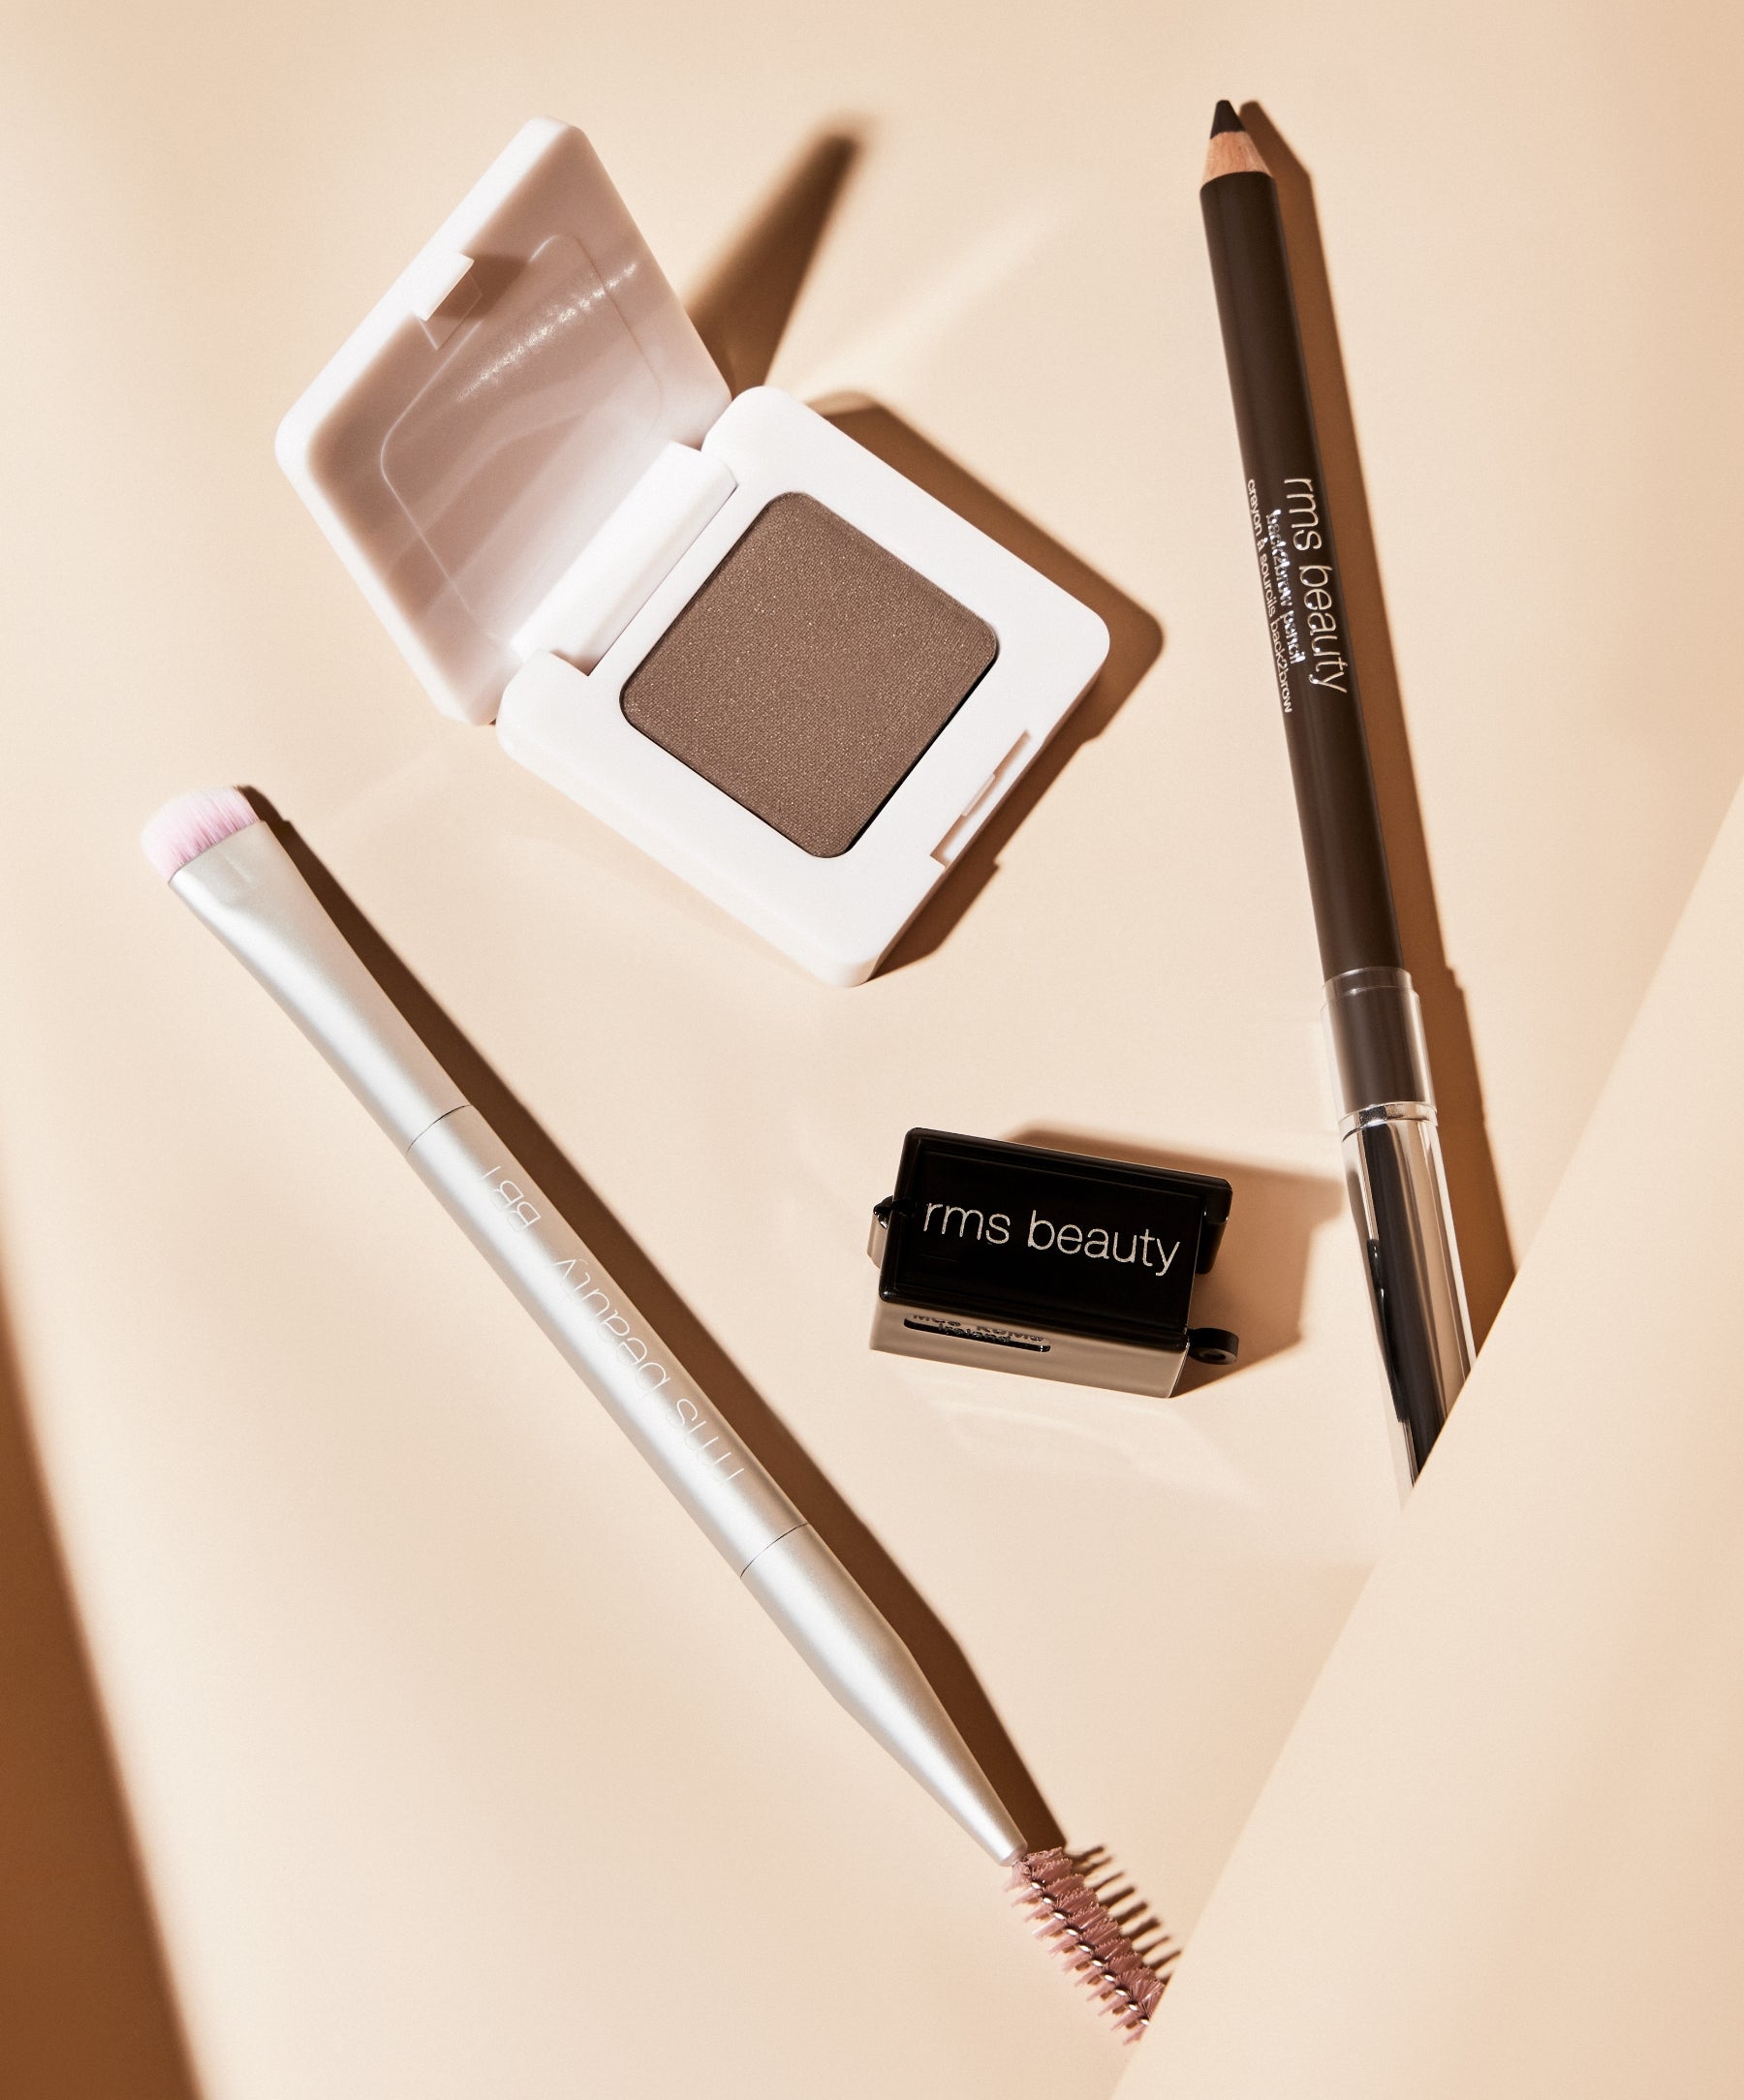
Ultimate Brow Kit
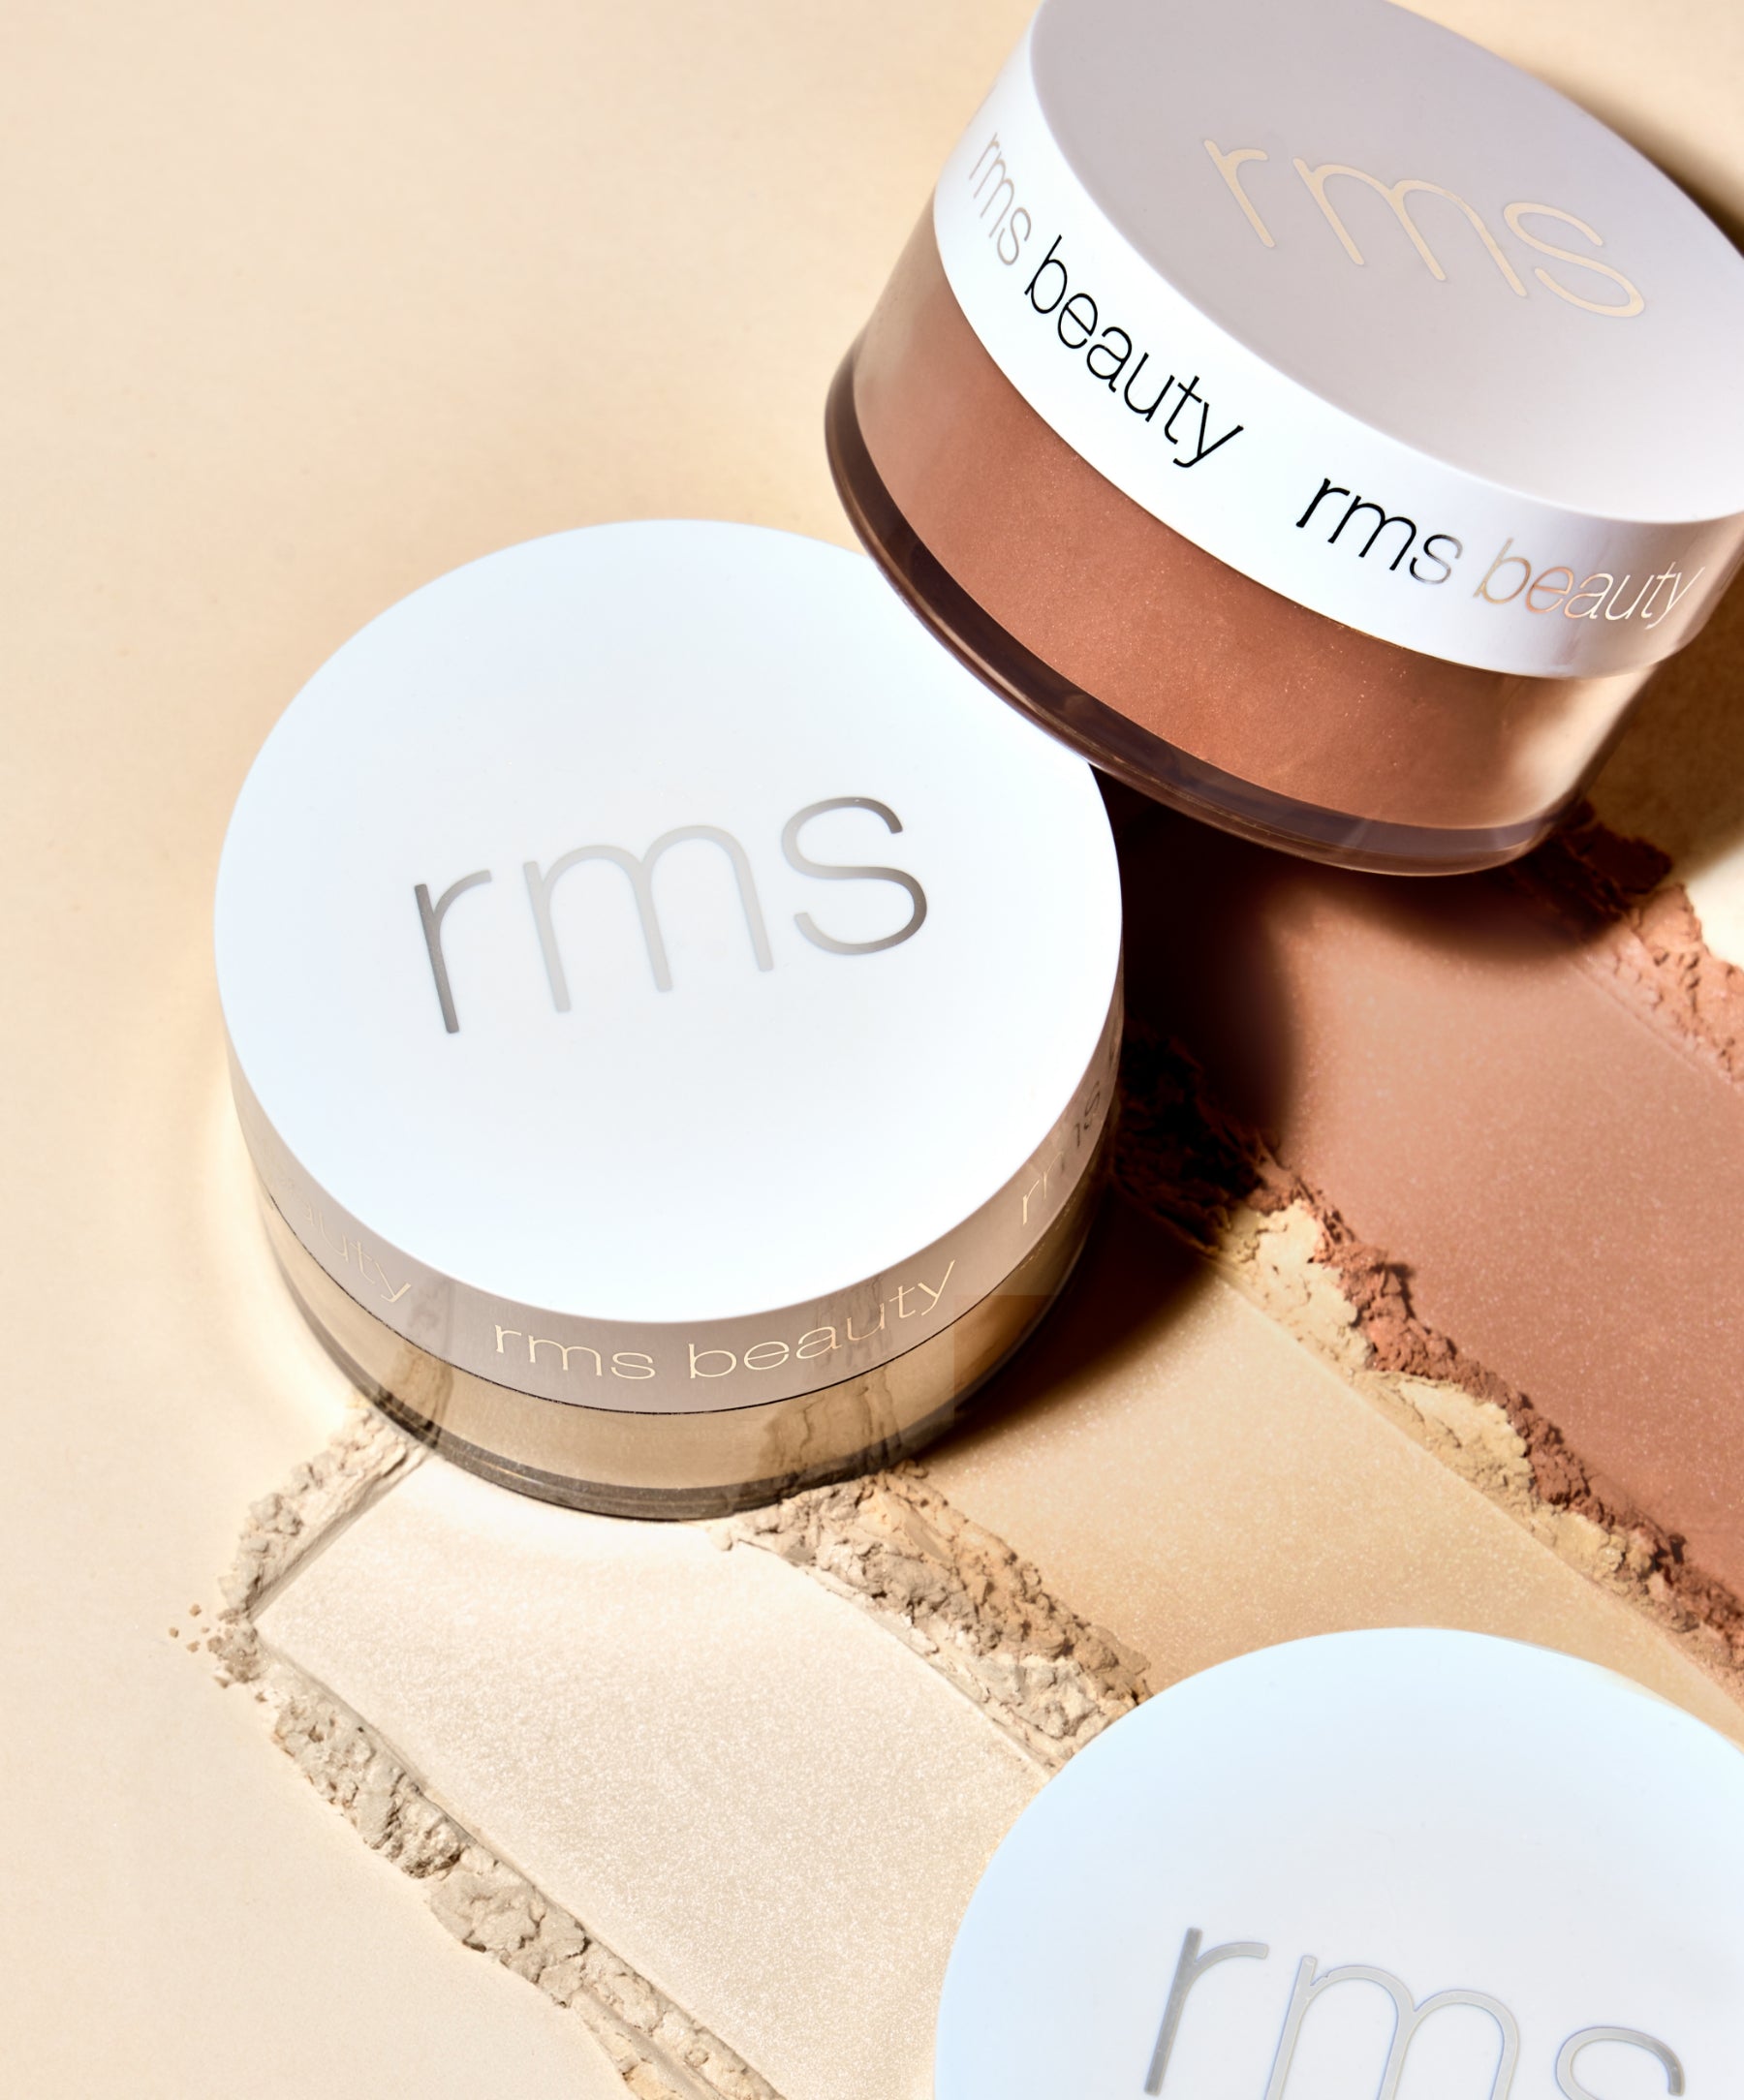
Hydra Setting Powder
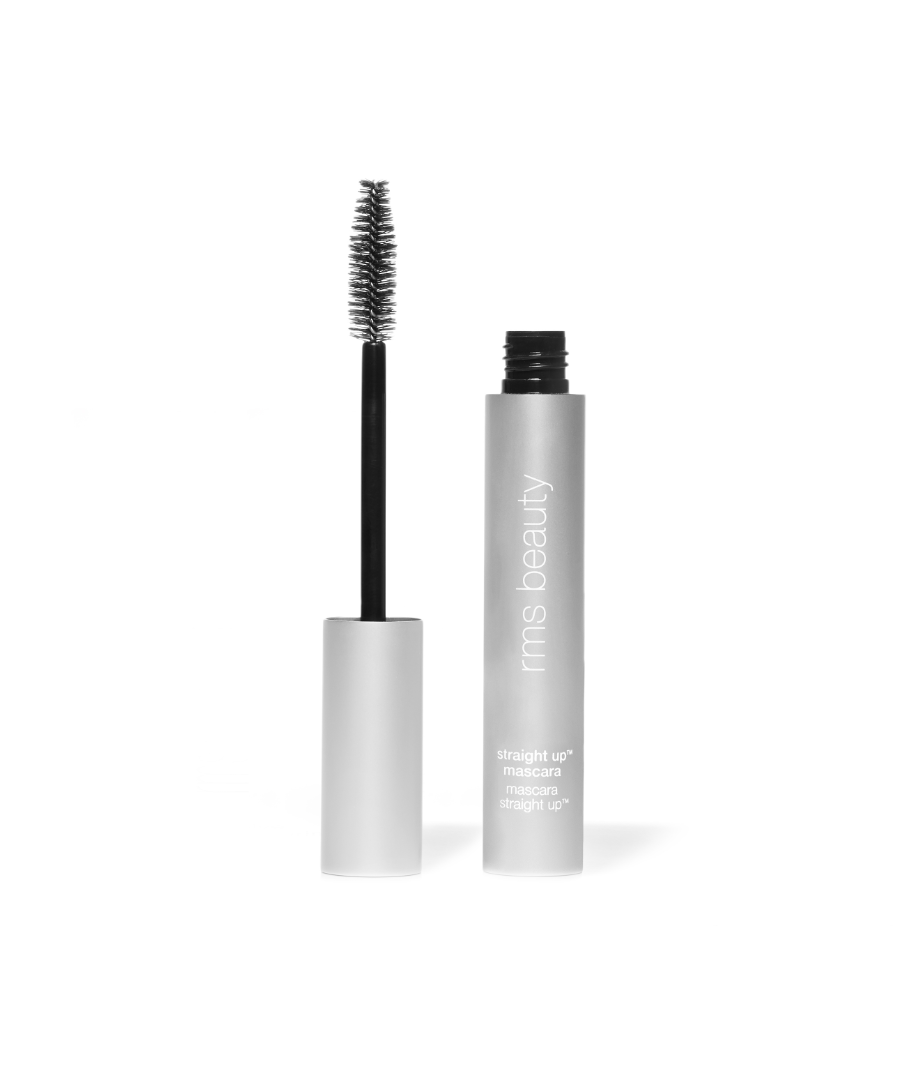
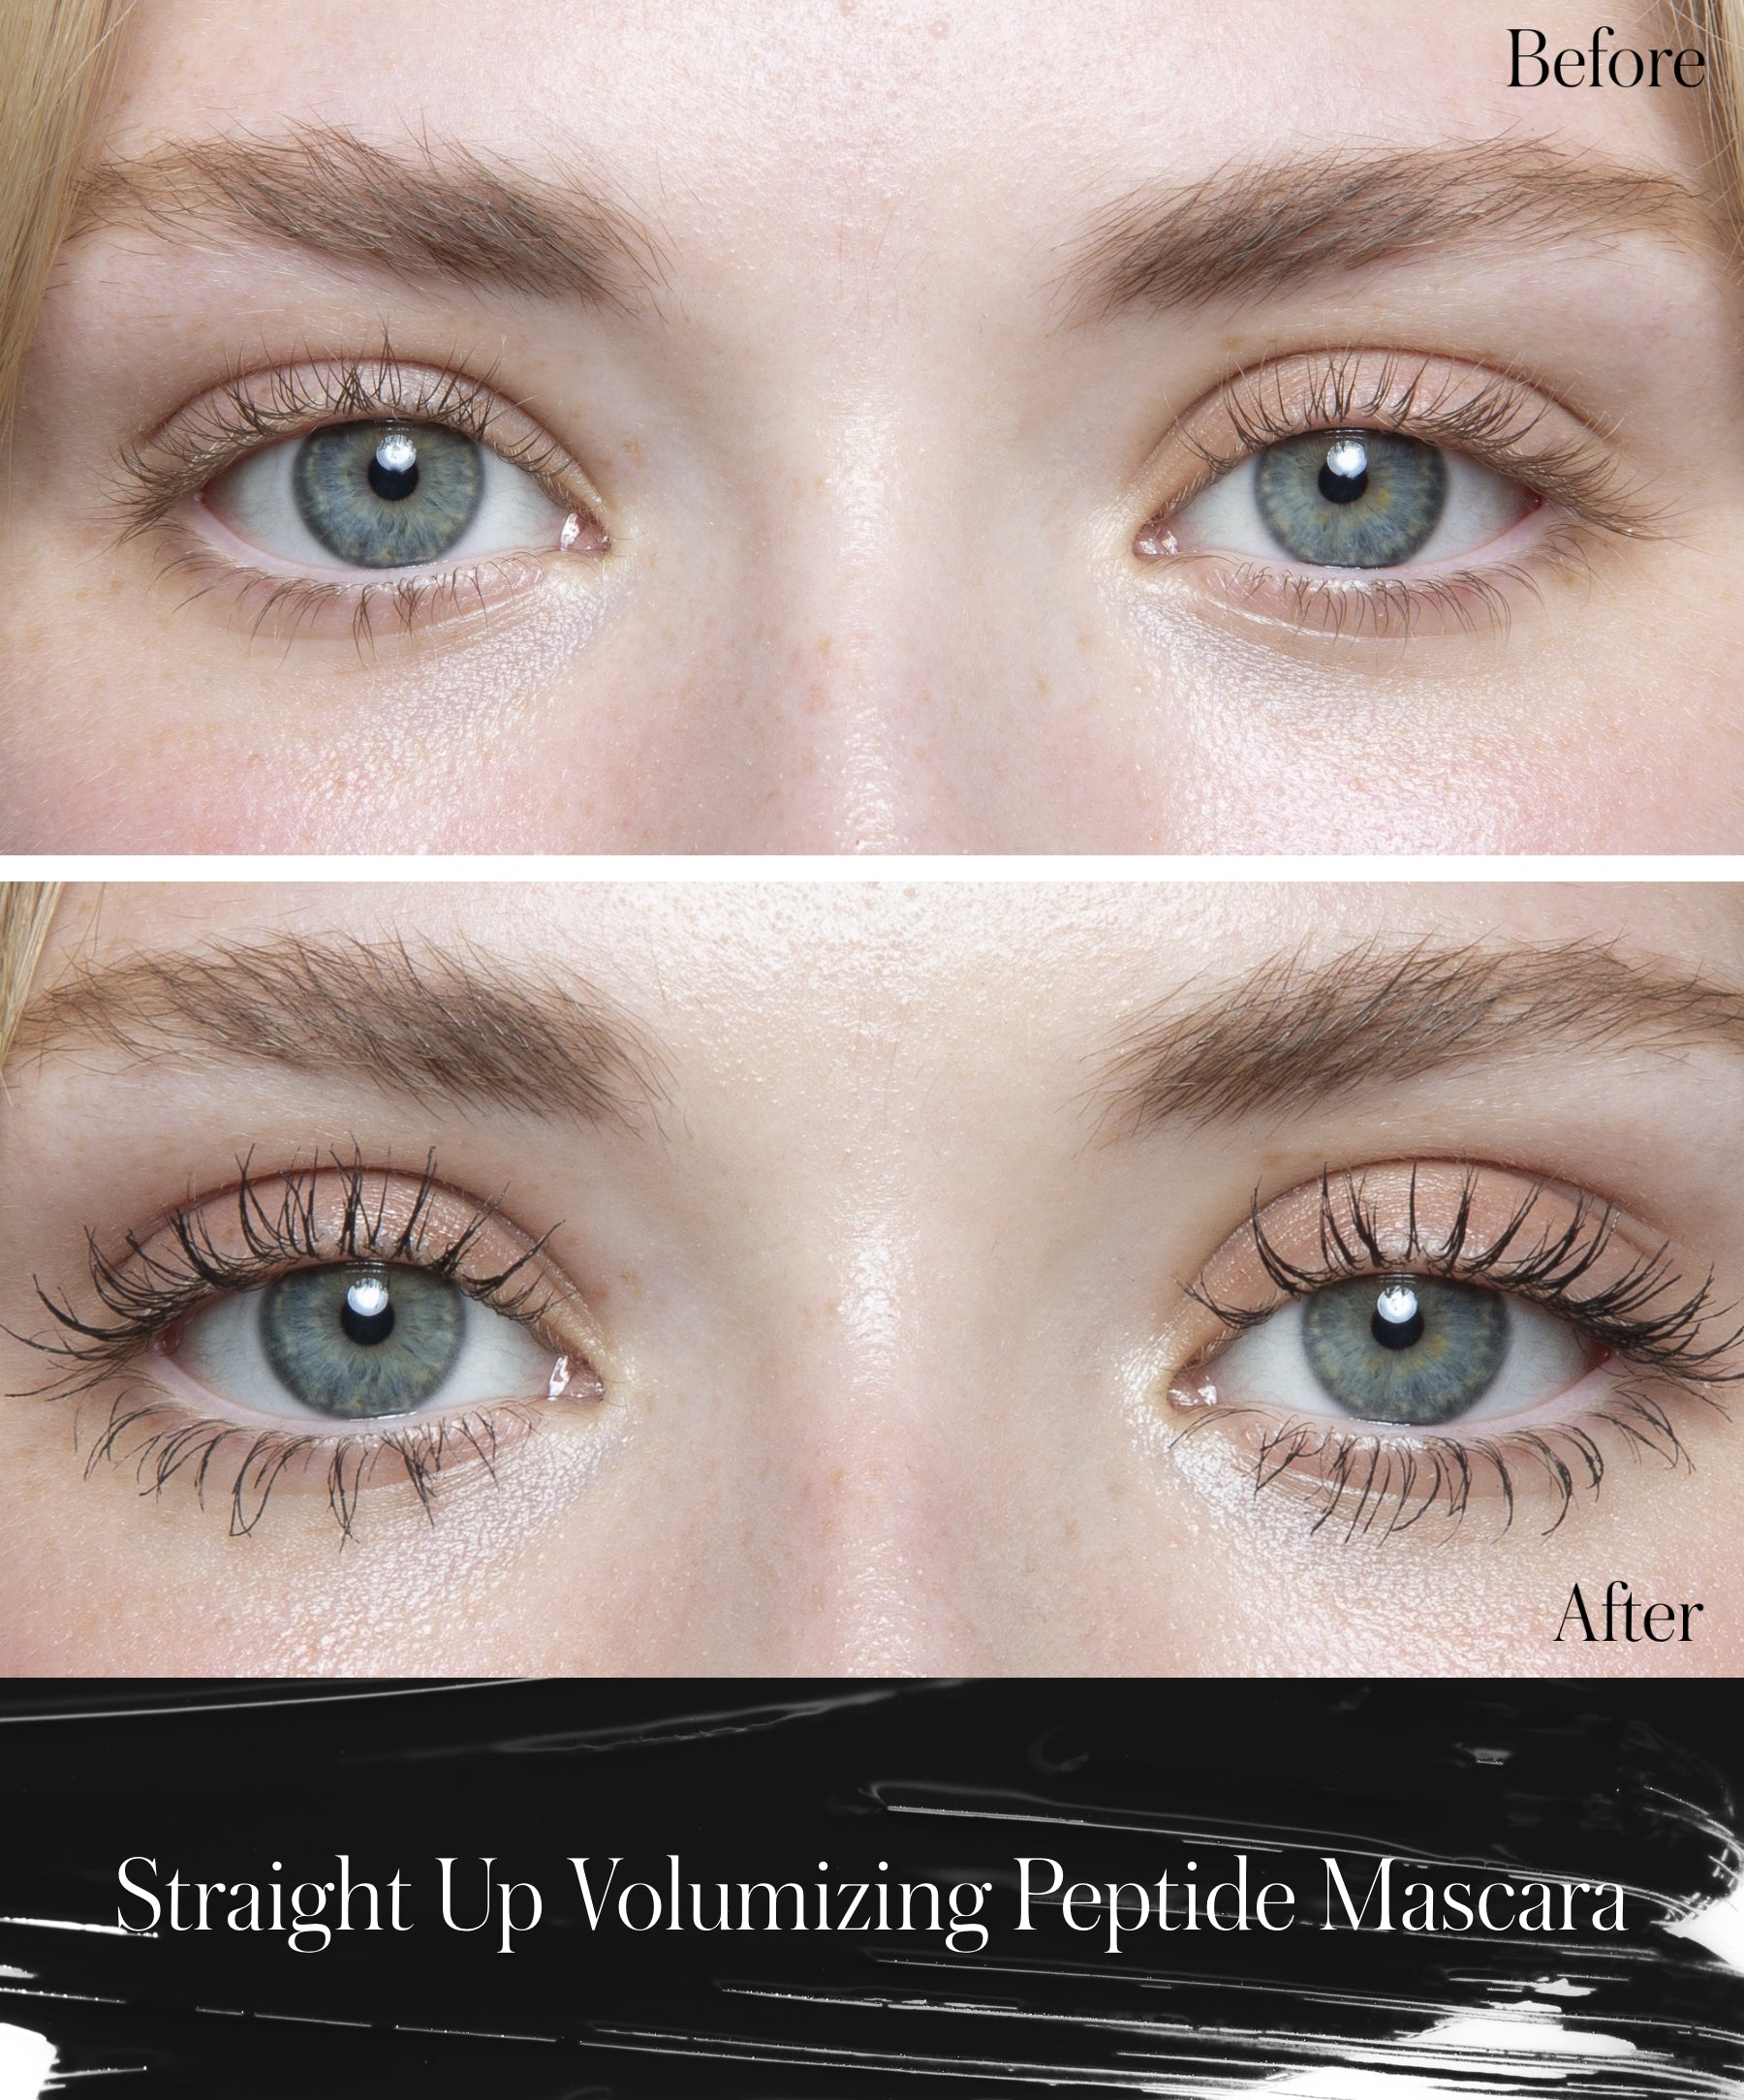
Straight Up™ Volumizing Peptide Mascara