Skip to main content




How To Use an Eyelash Curler for Lifted, Damage-Free Lashes
Longer, fuller lashes are one of the most sought-after beauty goals, and the lash extension industry alone is now valued at over $1.6 billion. But you don't need salon appointments or adhesive strips to get a wide-eyed, polished look every morning.
An eyelash curler is one of the most underrated tools in any makeup bag. Used correctly, a good curler opens up the eye, lifts straight lashes, and makes every coat of mascara look more dramatic. Used incorrectly, though, the same tool can crimp, break, or even pull out lashes.
Here's how to curl your lashes safely, choose the right curler, and build habits that keep your lash line healthy.
What an Eyelash Curler Actually Does
An eyelash curler won't make your lashes longer or fuller, but the lift and curve it creates make the eye appear wider and more open. Lashes that point upward catch more light and frame the eye in a way that draws attention naturally.
Curlers are especially helpful for lashes that grow straight, point downward, or are naturally short. Even a few seconds of gentle pressure at the root can shift the angle enough to make a noticeable difference before any product goes on.
Who Benefits Most From Eyelash Curling
Anyone with straight or downward-pointing lashes will see the biggest payoff. Almond, hooded, and monolid eye shapes also benefit because the curl lifts lashes away from the lid, preventing them from pressing flat against the skin throughout the day.
How To Choose the Right Eyelash Curler
Not every curler fits every eye. A few features make the difference between a tool that works and one that pinches.
- Width that spans your full lash line. Some curlers are too narrow and miss the smaller lashes at the outer and inner corners.
- Flexible silicone pads. Silicone grips are gentler than rubber, won't snag fine hairs, and cushion the tiniest lashes against crimping.
- An edge-free design. Curlers without sharp side edges won't pinch the delicate skin at the corners of your eyes the way a traditional design might.
What To Skip
Poorly padded curlers or designs with exposed metal edges are more likely to crimp lashes and leave creases instead of a smooth, rounded curl. Spending a little more on a well-engineered curler pays off in comfort and lash safety.
How To Curl Your Eyelashes Step by Step
Once you have the right tool, the technique is simple. Curl before applying any product to your lashes, ideally after moisturizing and priming your skin.
1. Brush Your Lashes First
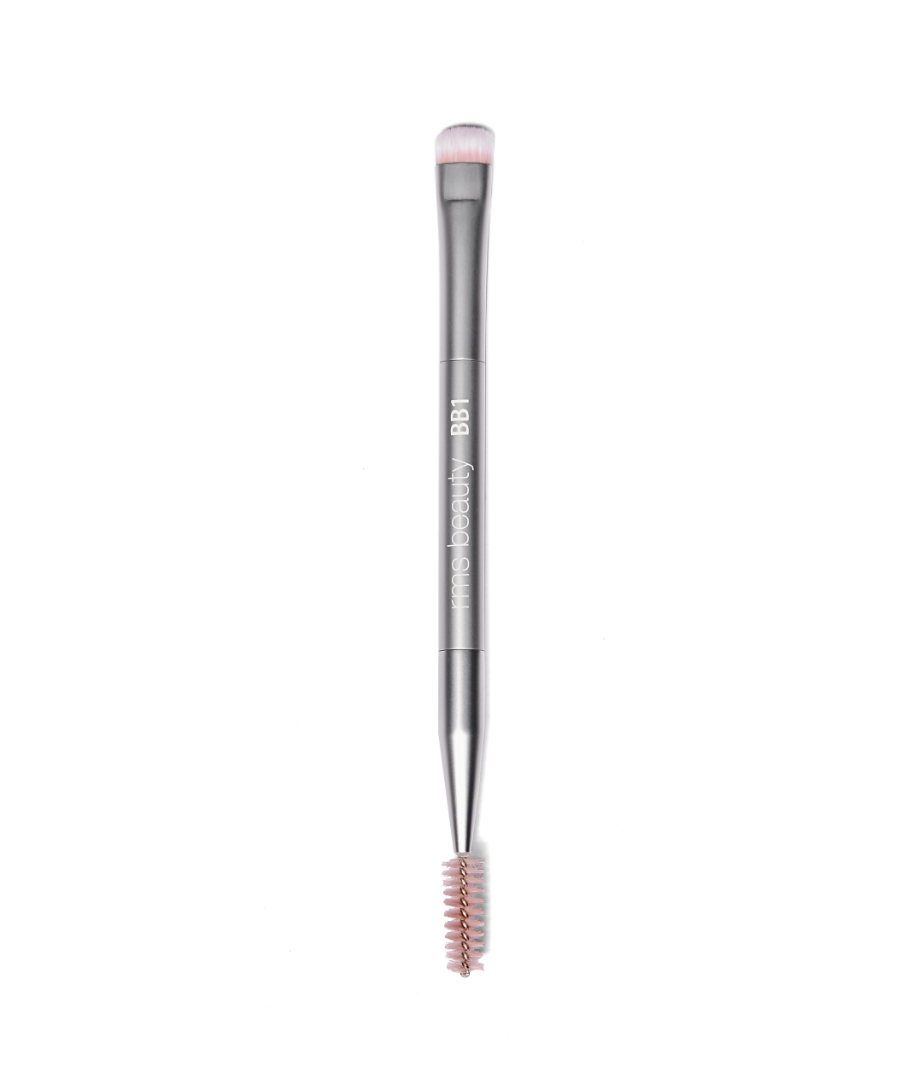
Using a clean spoolie, brush lashes from root to tip to separate them and remove any leftover product. RMS Beauty's dual-ended brow and lash tool has a spoolie on one end that works perfectly for combing through lashes before curling.
2. Clean Your Curler
Never use a dirty eyelash curler. Wipe the silicone pads with a cotton swab and a little rubbing alcohol, especially if product has built up. Make sure the curler is completely dry before bringing it near your lash line.
3. Position and Squeeze for About Eight Seconds
Open the curler wide and position it at the base of your upper lashes. Using your index finger and thumb, gently squeeze the handle and hold for about eight seconds. Too much pressure will pinch; too little won't hold a curl.
4. Walk the Curl From Root to Tip (for Straight Lashes)
For particularly straight lashes, release and reposition the curler slightly farther along the lash, repeating with gentle squeezes about four times per eye. Moving in small increments from root to tip creates a soft, rounded curve rather than a sharp, L-shaped bend.
5. Apply Mascara After Curling Only
Never curl after mascara. Mascara coats make lashes stiffer, and curling over dried product increases the risk of breakage and crimping. Always curl first, then apply your formula.
6. Curl Gently and Give Lashes a Break
Aim to curl once a day at most. On days when your mascara provides enough lift on its own, skip the curler altogether. Lashes benefit from a rest, and a nourishing formula can do a lot of the work for you.
Eyelash Curler Features at a Glance
| Feature | Why It Matters | What To Look For | Red Flag |
|---|---|---|---|
| Pad material | Cushions lashes against crimping | Soft, flexible silicone | Hard rubber or no pad |
| Width | Catches every lash, corner to corner | Spans your full lash line | Too narrow for your eye shape |
| Edge design | Prevents skin pinching | Smooth, edge-free sides | Exposed metal edges |
| Spring tension | Controls pressure | Gentle, even resistance | Stiff or uneven squeeze |
| Pad replacement | Keeps curler hygienic over time | Replaceable silicone refills | Non-removable pad |
Five Ways To Protect Your Lashes Every Day
1. Always Curl on Clean, Bare Lashes
Product residue on the curler pad or on your lashes increases friction and the chance of breakage. Start with freshly washed lashes and a clean curler every time.
2. Replace Silicone Pads Regularly
Worn pads lose their cushion and expose the metal clamp underneath. Swap in a fresh pad whenever the silicone shows nicks, dents, or hardening.
3. Skip the Blow Dryer Trick
Heating your curler with a blow dryer is a popular hack, but the risk outweighs the benefit. There's no reliable way to gauge how hot the metal gets, and the delicate skin on your eyelid is especially vulnerable to burns.
4. Use a Nourishing Mascara
A peptide-infused formula can strengthen lashes over time, which means less reliance on the curler. RMS Beauty's peptide-enriched volumizing mascara delivers 12 hours of dramatic volume and lift while pro-peptides help strengthen and thicken lashes with every wear.
5. Replace Your Curler When Tension Fades
A curler that no longer holds even pressure is doing more harm than good. Once the spring feels loose or the hinge wobbles, swap in a new one.
Frequently Asked Questions About Eyelash Curlers
How often should I curl my eyelashes?
Once a day is the safe maximum. On days when a good mascara gives you enough lift, skip the curler and let your lashes rest.
Are eyelash curlers bad for your lashes?
Not when used correctly. Gentle pressure on clean, bare lashes with a well-padded curler is safe for daily use. Damage happens when lashes are curled after mascara or with too much force.
Do eyelash curlers work for all eye shapes?
Most curlers fit a range of eye shapes, but an edge-free design with a wider opening works best across almond, round, hooded, and monolid eyes without pinching.
Can I curl my lashes after applying mascara?
No. Mascara makes lashes stiffer and more brittle, which increases the risk of crimping and breakage. Always curl first, then apply mascara once the curl is set.
How do I make the curl last all day?
Start with a root-to-tip curling technique, then lock the shape in with a formula that holds. Water-heavy mascaras tend to weigh lashes down, while a long-wearing, peptide-infused mascara helps maintain curl and volume from morning to evening.
What makes a peptide mascara different from a regular mascara?
Peptide mascaras go beyond styling. Pro-peptides work to strengthen, revitalize, and thicken lashes over time, so the formula is nourishing your lash line while delivering volume and lift. RMS Beauty's award-winning lash formula earned a 2022 ELLE Green Beauty Stars Award for exactly that combination of performance and care.
Final Thoughts
A good eyelash curler is a small investment that makes a real difference in how polished and open your eyes look, but technique matters as much as the tool. Gentle pressure, clean pads, and always curling before mascara are the habits that keep your lash line healthy long-term.
Pairing the right curler with a nourishing, clean mascara takes the routine even further. RMS Beauty's Straight Up Volumizing Peptide Mascara strengthens lashes with pro-peptides while delivering 12 hours of smudge-free volume and lift. Finish the look with a clean, precision lash and brow tool for a polished eye from start to finish.
Shop The Blog
Back2Brow Brush