
Beauty Sponge Application Tips For Beginners

Everyone you know is using a beauty blender, but you’re late to the party. It’s okay. Change is hard, and if you’ve been using a makeup brush or a foam wedge, a cylindrical sponge can seem difficult to master.
Don’t worry. The professional team at RMS Beauty has you covered. We waited to release our signature Skin2Skin Beauty Sponge until we knew it was perfect. Now that it’s available, we’ve got all the tips and tricks you need to master application techniques.
Grab your favorite blending sponge and the product of your choice and get ready to learn how to master your makeup application with real techniques straight from the makeup artists who know best.

What Can A Makeup Sponge Do?
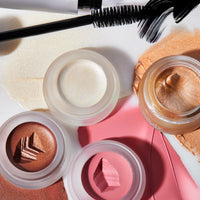
Of all applicators, the makeup sponge might be one of the most versatile tools in your arsenal. It’s long-lasting, easy to care for, and works for numerous different products. It’s also a great option for people who are uncomfortable using their fingers to apply their product.
Makeup sponges aren’t just for liquid makeup, either. They can work for tinted moisturizers, cream blush, powder, and even help smudge eyeliner for the perfect smokey eye. We especially love them for applying primer, foundation, and concealer.
Primer
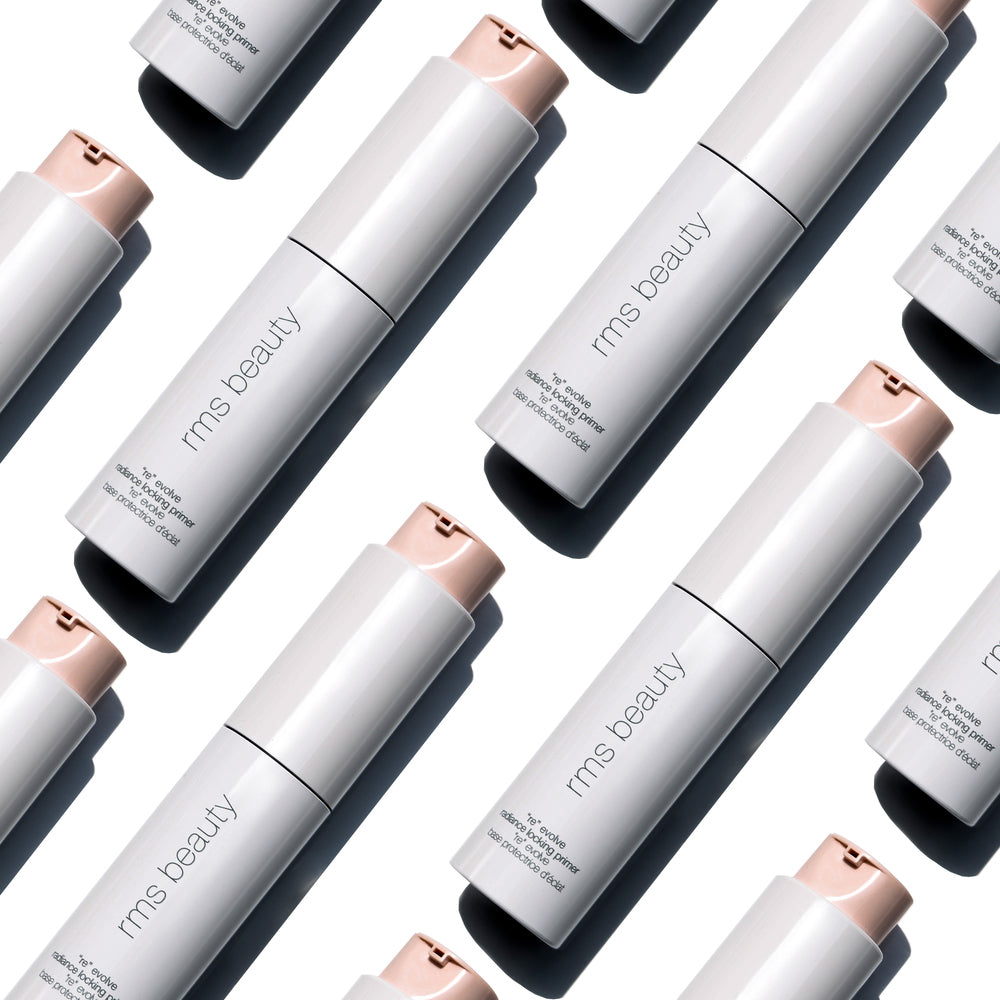
If you’ve been waiting for a clean, non-toxic primer that actually works, your wait is over. RMS Beauty’s “Re” Evolve Radiance Locking Primer is formulated with Tightenyl™, our exclusive skin-firming complex made from natural, fruit- and vegetable-based ingredients.
Although we usually recommend applying primer with your fingertips, a sponge can give you better accessibility in small, hard-to-reach areas.
Foundation
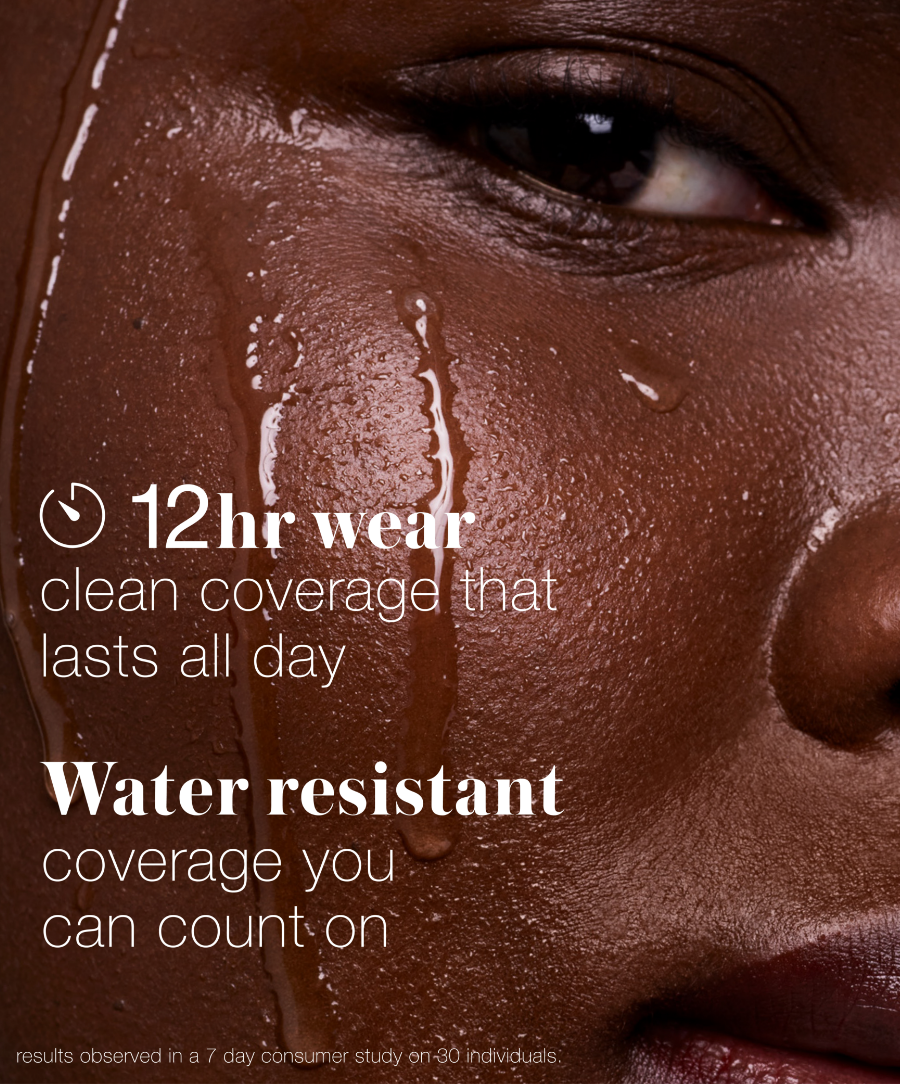
Foundation that is liquid or cream-based is ideal for use with a beauty sponge, though you can use our Skin2Skin Beauty Sponge for powder, too, if your heart desires. Traditionally difficult to apply, liquid foundation lines and streaks are distant memories once you master sponge technique.
For cream foundation, the wet application style helps thin the product, creating an even, flawless finish.
Concealer
Concealer can go from good to bad in a flash if you don’t apply it properly. Attempting to color-correct for dark circles can leave you with raccoon eyes. Select the wrong shade and you could draw more attention to a blemish instead of covering it.
A makeup sponge can help smooth, blend, and blur for natural-looking skin. RMS now offers two incredible concealers to choose from:
-
UnCoverup Concealer – A cult classic. Creamy, clean, and ultra-flexible, it corrects without masking your skin’s natural glow.
-
Revitalize Hydra Concealer – Our newest multitasking formula. It hydrates and smooths while offering buildable coverage and real skincare benefits thanks to ingredients like Tightenyl™, vegetable squalane, and organic jojoba oil.

How To Use a Makeup Sponge — Tips For Beginners
Sponges are virtually foolproof. The wet application method helps keep product fluid while you apply it, giving you time to adjust and blend before it sets.
For Primer
-
Wet your sponge and squeeze out excess water.
-
Pump a small amount of primer onto the back of your hand.
-
Dab the tip of the sponge into the primer.
-
Gently apply across your face in sweeping, upward motions, blending around your nose, jawline, and hairline.
-
Let primer fully dry before applying foundation.
For Foundation
We recommend UnCoverup Cream Foundation, made with nourishing ingredients like coconut oil, buriti oil, and jojoba oil.
-
Dampen your sponge and remove excess water.
-
Use a spatula to transfer product to the back of your hand.
-
Dab the tip of the sponge into the product.
-
Apply using a “bounce” technique across the face.
-
Use one end for application, the other to buff and blur.
Rose-Marie Swift’s go-to technique, this method gives you a natural, airbrushed finish without the heaviness.
For Concealer
Both the UnCoverup and Revitalize Hydra Concealer work beautifully with a sponge. Here’s how to apply like a pro:
For Under Eyes:
-
Gently press concealer into the inner corner and blend outward using the edge of the sponge.
-
Use quick, tapping motions—don’t drag—to blend and blur edges.
For Blemishes:
-
Use the bouncing technique to lightly press concealer over flaky or healing spots.
-
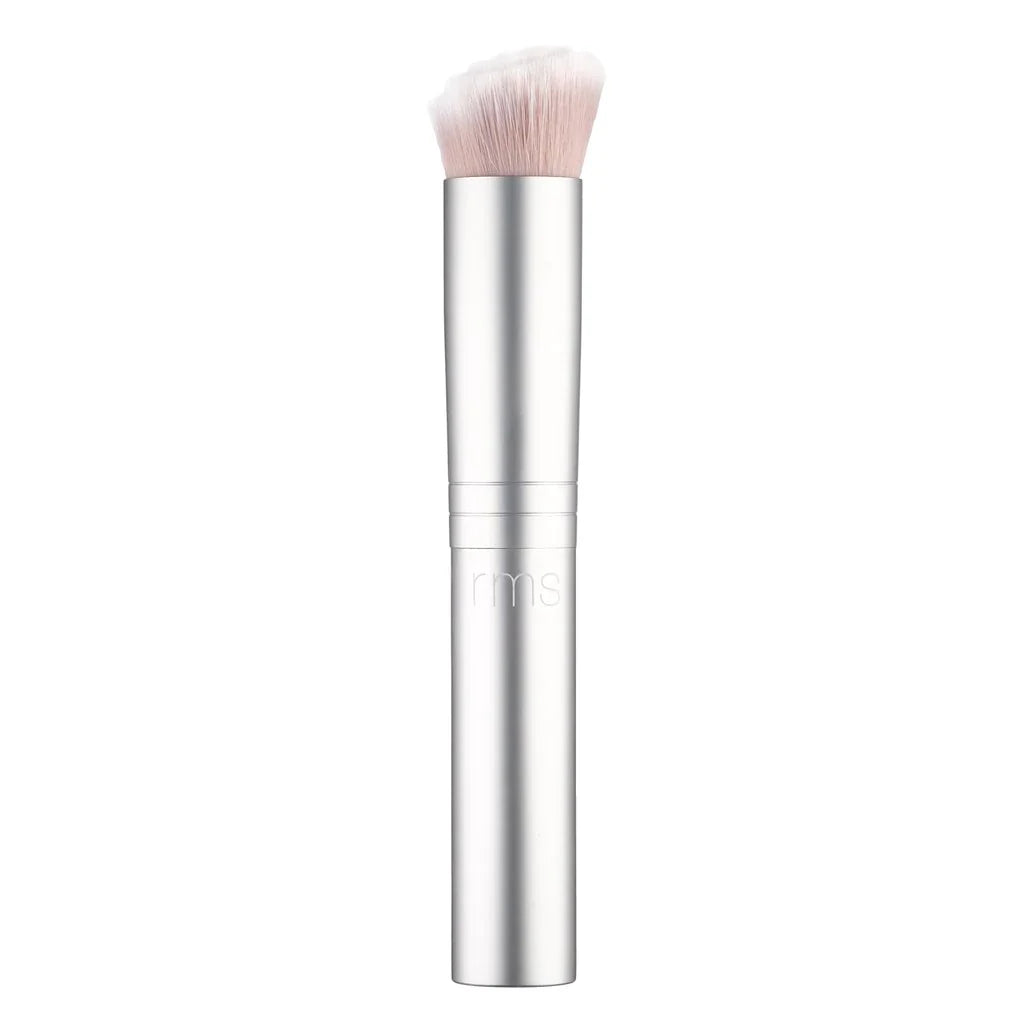
For red, raised blemishes, we recommend switching to a precision tool like the RMS Skin2Skin Concealer Brush. It deposits product exactly where you need it and helps avoid sliding.
For Redness:
-
Use the broad side of the sponge to sweep concealer across areas like the cheeks or nose.
-
Allow the first layer to dry before adding more if needed.
Tips and Tricks
-
Always squeeze out excess water. A damp sponge keeps product blendable and ensures it lands on your face—not inside the sponge.
-
Clean after every use. Use mild soap or shampoo (not your face wash) to keep your sponge fresh.
-
Avoid double-dipping. Scoop product onto your hand or a palette to keep containers clean and reduce waste.
Which Sponge To Use
Not all sponges are created equal.
-
Avoid latex. Even if you’re not allergic, latex can irritate skin.
-
Go cruelty-free. RMS Beauty never tests on animals—our sponges are 100% cruelty-free.
-
Shape matters. The swirl-tip on the RMS Skin2Skin Beauty Sponge mimics your fingertip for seamless, skin-to-skin blending.
-
Choose antimicrobial. Ours are made with antimicrobial foam to help keep germs at bay.
Complexion Sponges Made Easy
Makeup sponges are everywhere—but none are quite like RMS’s. Our Skin2Skin Beauty Sponge and Skin2Skin Concealer Brush are designed to pair perfectly with clean, high-performance formulas like our UnCoverup Concealer, Revitalize Hydra Concealer, and Cream Foundation.
Whether you’re new to blending or a seasoned sponge pro, trust RMS tools to help you create flawless, radiant looks with ease.
Sources:
What Does "Cruelty-Free" Really Mean? | peta2
Face and body sponges: beauty aids or potential microbiological reservoir?|PubMed
Shop The Blog
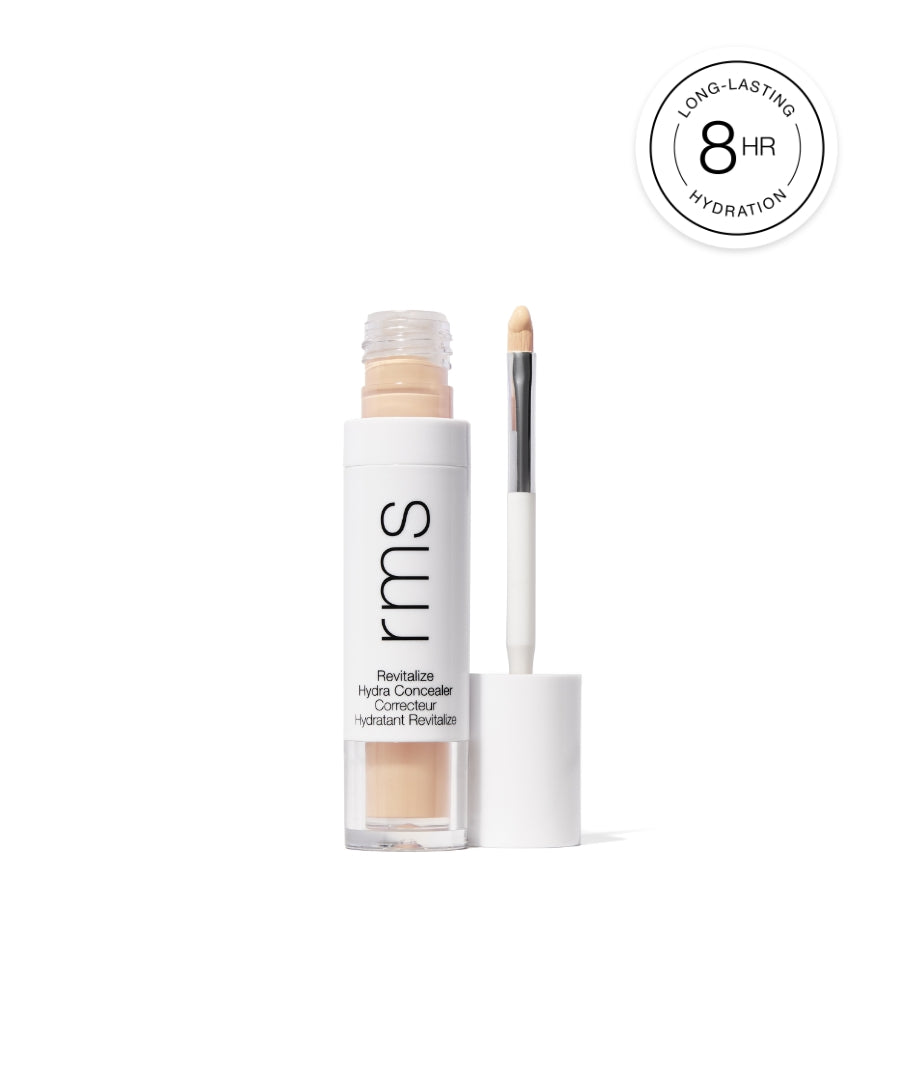
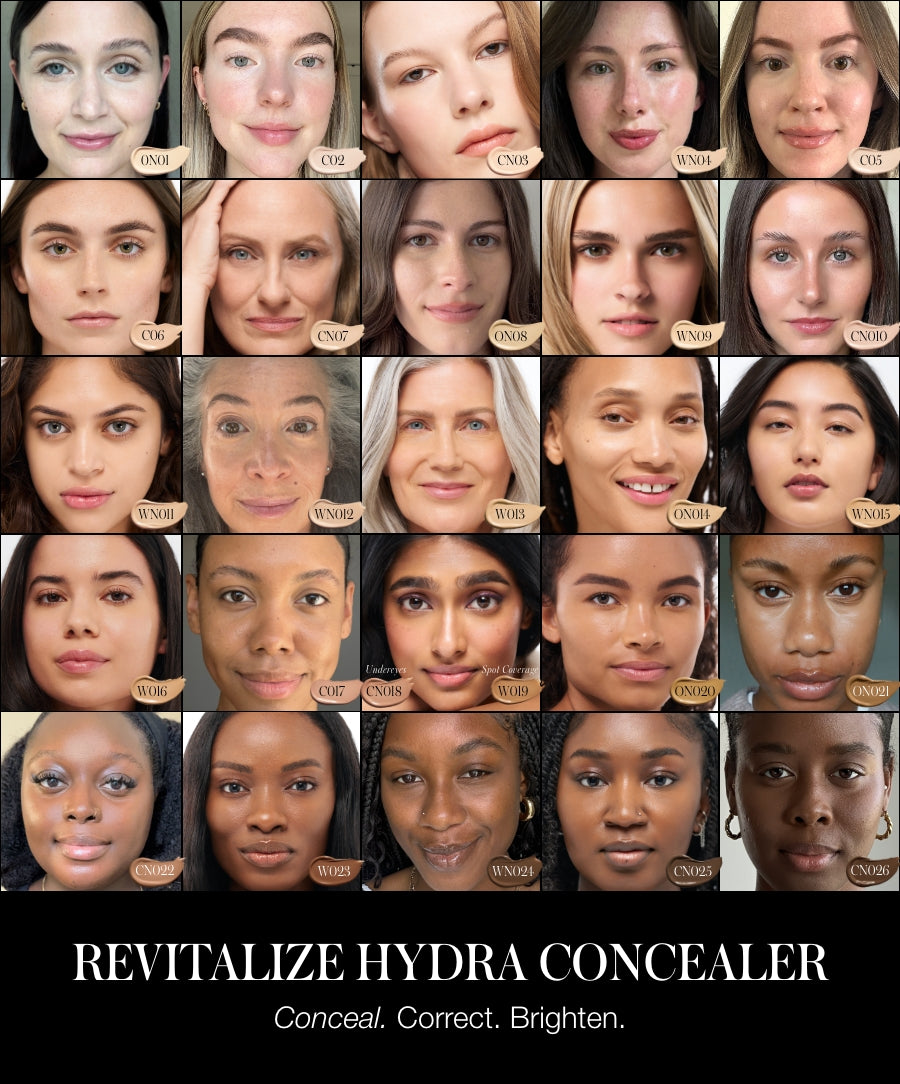
Revitalize Hydra Concealer
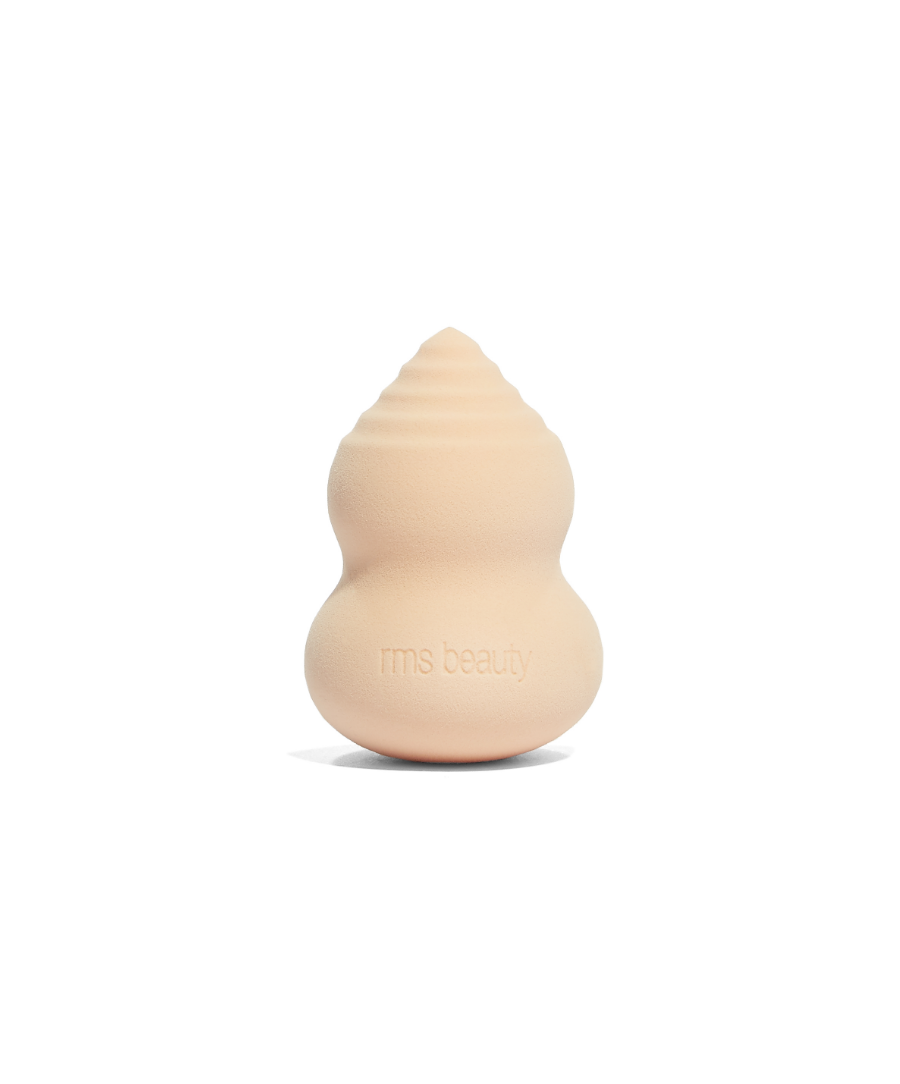
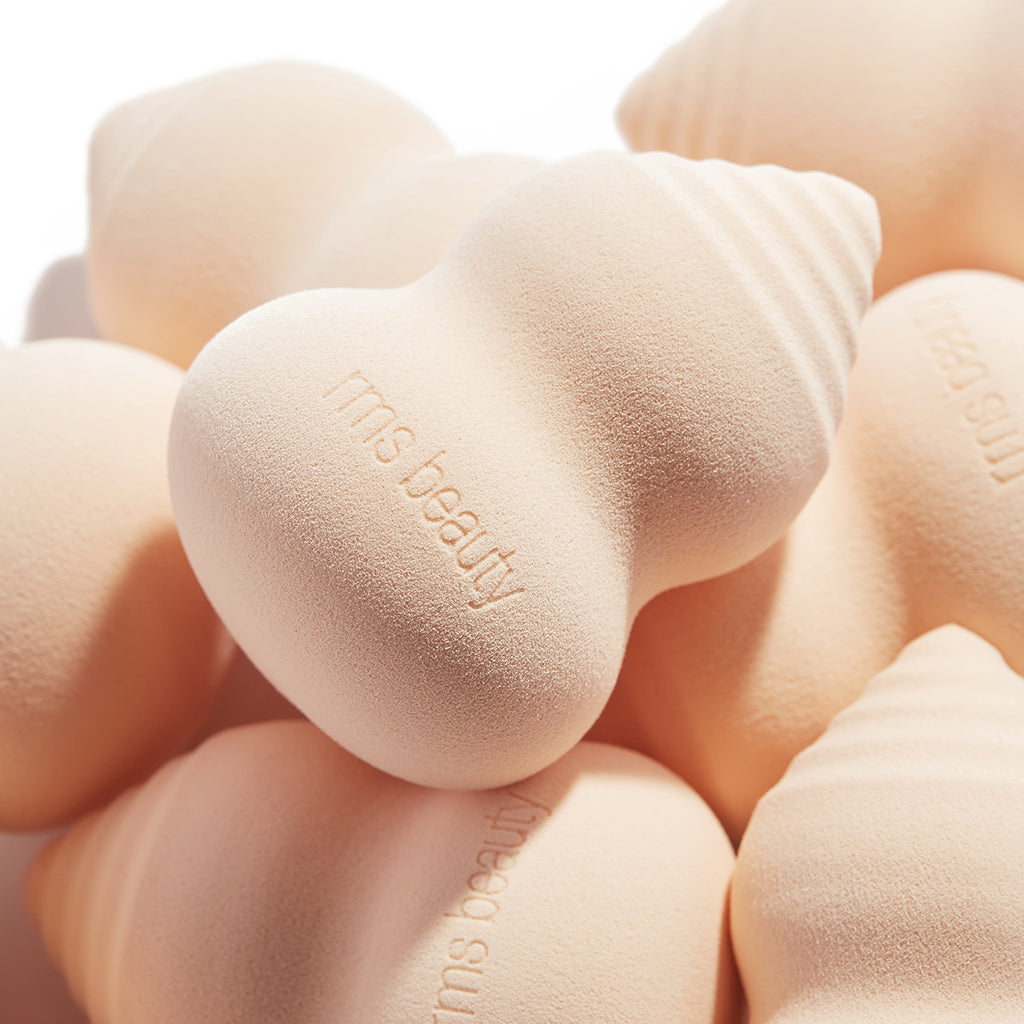
Skin2Skin Beauty Sponge
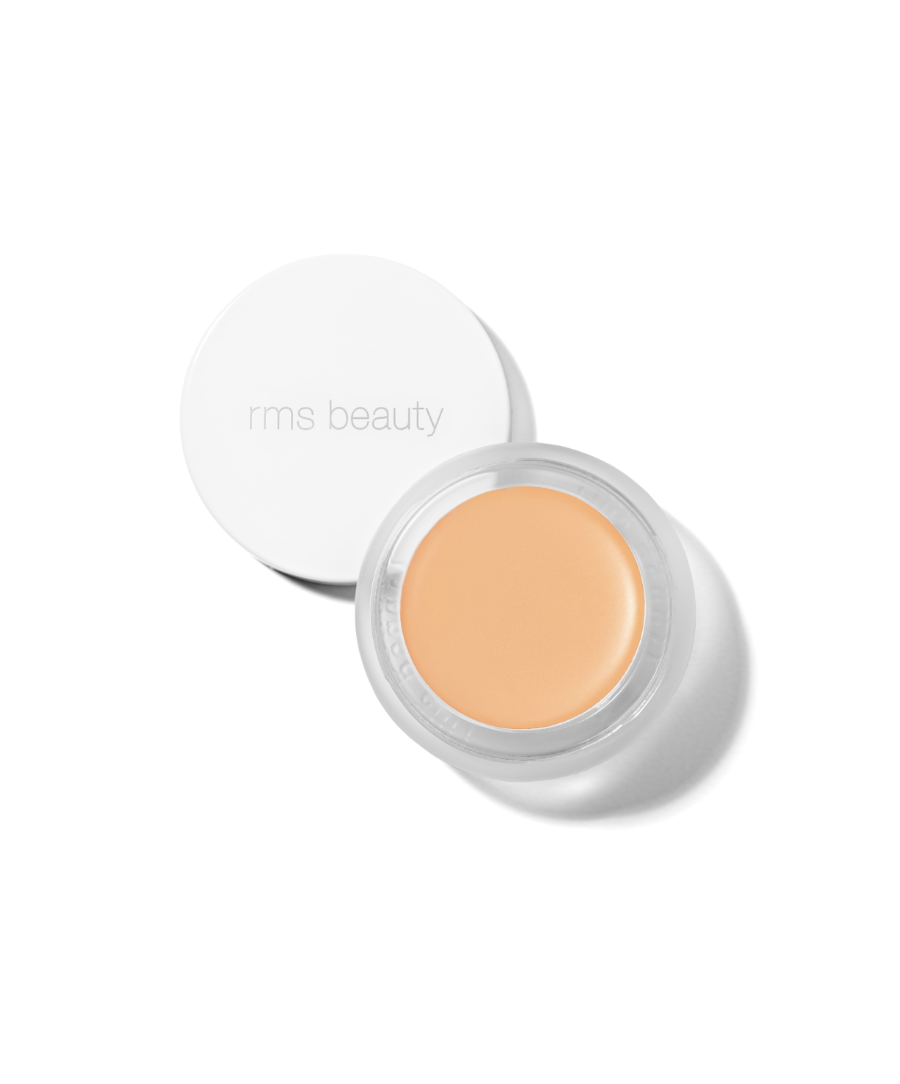
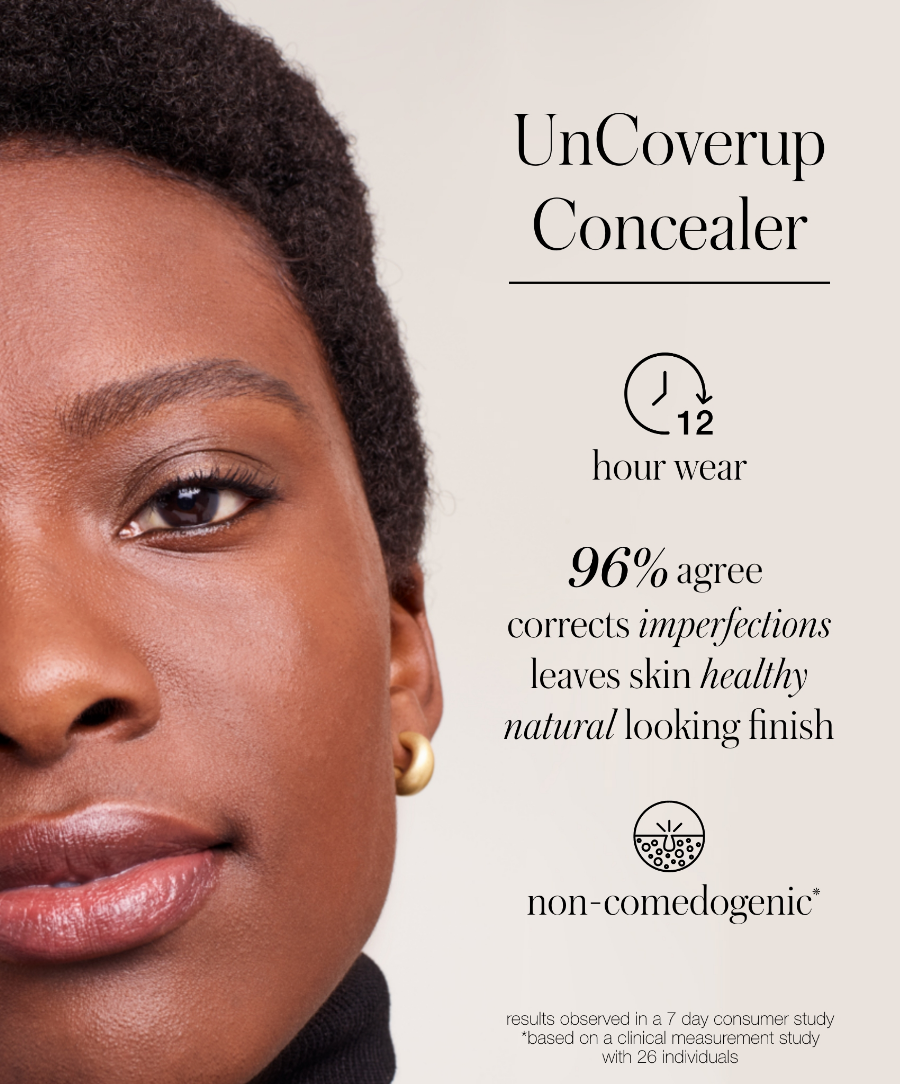
UnCoverup Concealer
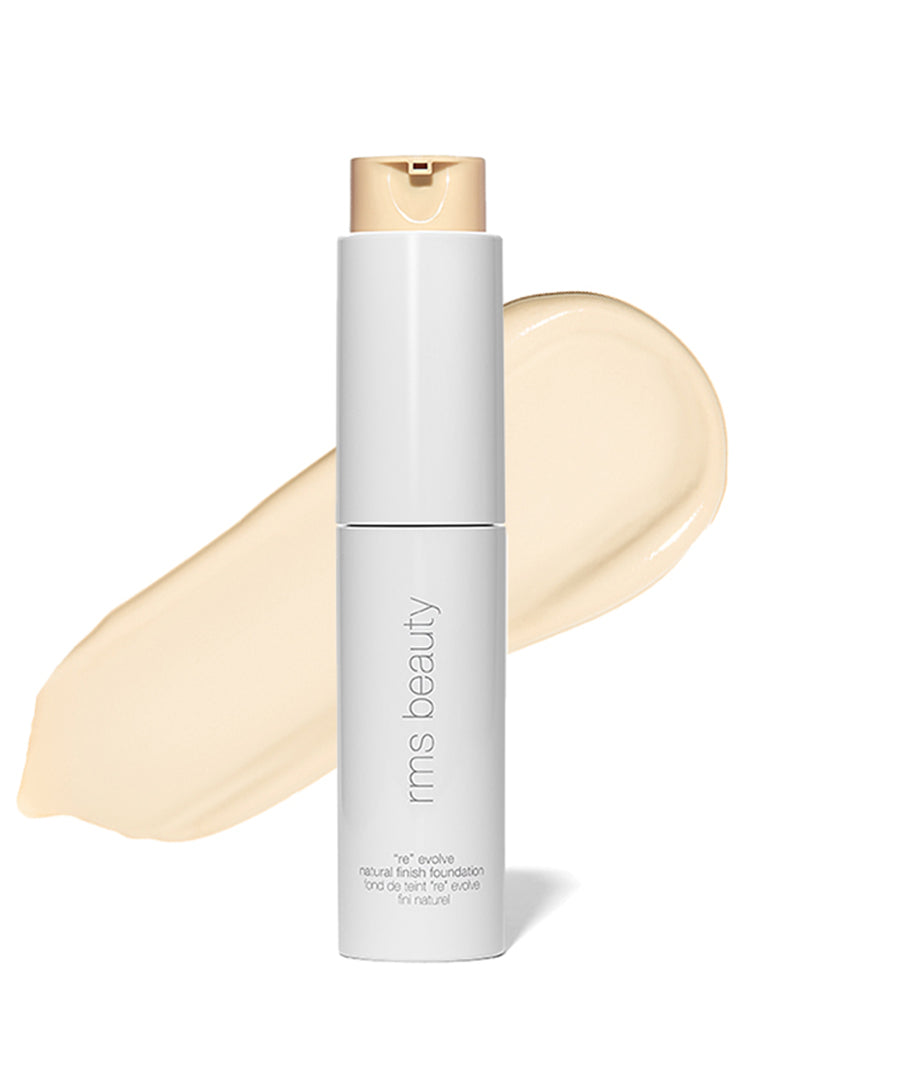
ReEvolve Natural Finish Liquid Foundation