Skip to main content

How To Clean a Makeup Sponge in 2026
You use it faithfully every day, but when was the last time you actually cleaned your favorite makeup sponge? This tutorial will discuss how makeup sponges function, what makes them hot zones for bacteria buildup, and how you can keep yours squeaky clean.
What Are Makeup Sponges?
Whether you’re a foam blender professional or a makeup sponge novice, we’ll help you understand what they are and how to use them.
Makeup sponges, also called beauty sponges, are absorbent tools that can be used to apply liquid or cream makeup smoothly and evenly in a wet or dry application method. These help blend cosmetics effortlessly and press makeup into your skin so that it doesn’t sit on top and look unnatural.
Makeup sponges can deliver an airbrushed look that is truly lawless.
How Do You Use Makeup Sponges?
You can use a cosmetic sponge for foundation, concealer, cream-based blush, shadow, or highlighter. Dampening them helps move makeup easily and “stipple” the makeup into your skin, which creates a more textured, true-skin look.
Different shapes and styles of sponges can make it much easier to apply makeup in hard-to-reach spots like corners of your eyes and nose and make blending near the hairline and jawline flawless.
How Are Makeup Sponges Made?
Most sponges are made of some type of foam. There are many different types of foam, but be wary of sponges that contain latex. If you have a latex allergy, using a makeup sponge that contains latex could present a life-threatening emergency. Even if you aren’t allergic to latex, it is a known skin irritant and is best to avoid if you have sensitive skin.
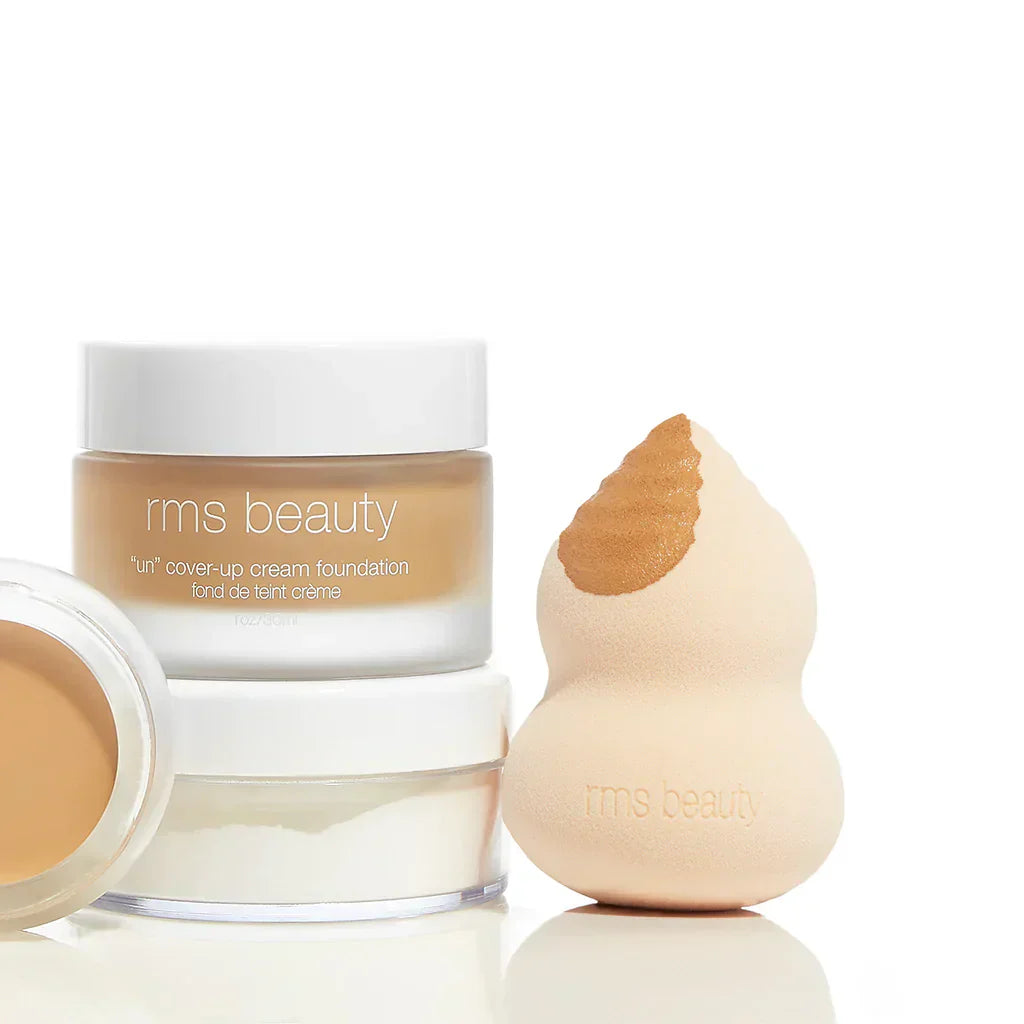
RMS Beauty’s Skin2Skin Beauty Sponge is made from high-grade, latex-free, antimicrobial foam to keep you safe and to resist the buildup of bacteria inside the sponge itself.
Are Makeup Sponges Hygenic?
Because of the nature of makeup sponges, they can be a breeding ground for a host of bacteria if you don’t clean them properly. Most makeup sponges are absorbent, which means they pull water inside them. Water that isn’t removed can feed bacteria and help them grow.
Day after day of continued use usually involves multiple product applications on the skin. Bacteria from the skin transfer to the sponge, and bacteria from the sponge can transfer to the skin. It can become a breeding ground for bacteria in just a few days if you don’t give it a good, deep clean.
The Science
In recent studies, researchers found that 70-90% of all cosmetic products tested were contaminated. The most highly polluted? Cosmetic blender-style foam makeup sponges. The researchers found the most contamination in beauty sponges contained:
- S. aureus. This is a classic staph infection bacteria, which is normally located on the skin in areas that are damp and dark, like the armpit and groin.
- E. coli. This bacteria is typically found in raw, undercooked meat and is the source of food poisoning. E. coli lives in the stomach and intestines but can be transferred to external sources through poor hand washing.
- Citrobacter freundii. There’s no delicate way to state this — this bacteria is found in human and animal fecal matter. We’ll just leave that right there.
These bacteria are most often associated with food poisoning, infections of the skin, and urinary tract infections. Much like a swab of cell phones would reveal, the items we touch the most are havens for some unpleasant germs.
When Should I Replace My Makeup Sponge?
No laws or regulations in the U.S. require a manufacturer to issue an expiration date on any cosmetic or cosmetic applicator, like makeup brushes or makeup sponges. That means it can be hard to determine if your product has passed its shelf life.
A good rule of thumb is to eliminate any product, including sponges, that have an “off” smell, are discolored, or have broken down. Those are all tell-tale signs that the item has lived past its usefulness.
Even a well-cared-for sponge that has been regularly and routinely cleaned should be replaced every 3-6 months, depending on your usage. If you use your sponge regularly (daily), consider replacing it sooner rather than later.
What Happens If You Use a Dirty Makeup Sponge?
So what’s the big deal with all this bacteria anyway? The big deal is that it could technically make you sick. Makeup sponges contain germs that could cause you to become physically ill, although it’s much more likely that they’ll simply lead to a breakout.
Developing patches of pimples or blemishes is very common when using a dirty sponge. Much like you always want to use a clean towel to dry your face, you always want to use a clean sponge to apply your makeup. That way, you won’t risk transferring bacteria that could infiltrate your pores and cause your skin to suffer.
How Do I Clean My Makeup Sponge?
Keeping your favorite beauty tools clean is a necessary part of your skincare routine. Use dirty beauty tools, you’ll end up with dirty skin. It’s that simple. Here, we’ve got a simple routine you can use to keep your beauty sponges squeaky clean.
1. Pick Your Cleanser
Although your facial cleanser will work to clean your sponge, you don’t need to waste your product. Instead, opt for mild dish soap, baby shampoo, or even a gentle cleansing bar of soap for a lightly soiled sponge. For heavier dirt, check with the manufacturer to see if you can toss the sponge in the washing machine inside of a garment bag.
If you use oil-based makeup, make sure your cleanser has a little oil. Coconut oil, for instance, has antimicrobial, antibacterial, and antifungal properties that help it clean deeply and loosen oil from cosmetics, breaking it down and helping remove it.
2. Suds It Up!
After you’ve used your clean makeup sponges to apply your makeup, you can add a squirt of liquid soap, liquid cleanser, or another cleaning agent to your sponge. Only use a small drop, as the foam will naturally create bubbles.
3. Lather and Massage
Using warm water, gently massage your sponge to loosen makeup, dirt, and oil. Running water works best to cut down on excess soap bubbles. If your sponge is particularly dirty, you can use hot water to clean it. You’ll know it’s clean when the water draining from the sponge runs clear instead of tinted with makeup.
4. Rinse
When rinsing the sponge, avoid twisting, which could damage the sponge or even cause it to rip or tear. If there’s a heavy oil or dirt buildup, repeat steps 1-3 until the water runs clear.
5. Soak
For stubborn spots that won’t lift, you can soak your sponge in soapy water for about 10 minutes to help break up the stain. Then, follow the first four steps until clean.
6. Dry
The best way to dry your makeup sponge is to allow it to air dry. Do not attempt to put it in the dryer or use any hot tool (like a blow dryer) to speed up the process. Heat could damage the fibers and even melt the foam, depending on the type of foam and its construction.
What Are Tips for Clean Makeup Application Every Time?
To cut down on the gross bacteria and ensure you are avoiding as many germs as possible, here are five steps to help you apply your makeup with fewer germs.
1. Always Wash Your Hands
Before you apply your makeup, start with clean hands. Hand washing is one of the most effective ways to combat germs and keep your makeup tools clean while you use them to apply your favorite beauty products.
2. Use Clean Tools
Your brushes don’t have to be brand new, but they should be in good condition and clean. Brushes that have been scraping the bottom of your makeup bag need not apply. If your brushes need a good cleansing, grab a brush cleaner and clean them up before you start using them on your skin.
3. Don’t Apply Directly From Your Product
Touching brushes and fingers to your product introduces bacteria to the product and the makeup tools. Instead, use a disposable spatula to dole out a small amount of product onto the back of your hand. Apply product from there, which will reduce contamination to your product.
4. Avoid Bad Habits
Blowing powder off your brush, wiping product away with your hands, or touching your face with dirty hands may be part of your application process, but these habits shouldn’t be. Avoid bad practices which can lead to contaminated products and dirty brushes.
5. Replace Your Products and Tools Frequently
Remember, there’s no requirement for expiration dates on cosmetics in the U.S. A good rule of thumb is to replace your products around three months if they haven’t yet been used. Old makeup, as well as old applicators, can house bacteria that can lead to breakouts and even skin infections.
Clean Your Sponges Like a Pro
It’s easy to keep your makeup application clean and your sponges bacteria-free. Use good habits and start with clean, antimicrobial sponges that are safer to use and gentle on your skin. Using plant-based, cleaner products can also help reduce irritation and breakouts. You can trust RMS Beauty to deliver the highest quality beauty tools and cleanest, greenest cosmetics available.
Sources:
Latex allergy - Symptoms and causes | Mayo Clinic
Shop The Blog


Skin2Skin Beauty Sponge