Skip to main content

How to Apply Makeup: A Step-by-Step Guide
Good makeup starts with knowing what goes where and when. Whether you’re building a full face or keeping your routine to five minutes flat, the order in which you apply each product determines how well everything sits, blends, and lasts.
Here is a straightforward breakdown of how to apply makeup step by step, from skin prep through setting your finished look.
What Is the Correct Order of Makeup Steps

Getting your makeup steps in order matters because each layer is designed to work with the one beneath it. Primer grips foundation. Powder sets cream. Color goes on top of a smooth, even base. When you shuffle the sequence, products can pill, crease, or fade within hours.
A Full-Face Routine vs. a 5-Minute Face
Not every day calls for a 13-step process. Below is a comparison so you can scale your routine to the time you have.
| Step No. | Full-Face Routine | Quick 5-Minute Face |
|---|---|---|
| 1 | Skincare + SPF | Skincare + SPF |
| 2 | Primer | Primer |
| 3 | Foundation | Tinted moisturizer |
| 4 | Concealer | Concealer (eyes only) |
| 5 | Setting powder | Light dust on the T-zone |
| 6 | Bronzer | Skip |
| 7 | Blush | Blush |
| 8 | Highlighter | Skip |
| 9 | Eyeshadow | Skip |
| 10 | Eyeliner | Skip |
| 11 | Mascara | Mascara |
| 12 | Lip color | Tinted balm |
| 13 | Setting spray | Setting spray |
How to Apply Makeup Step by Step for Your Base
Your base is foundation, concealer, and everything underneath. A solid base means less product overall and a more natural finish. Start light and build coverage only where you need to.
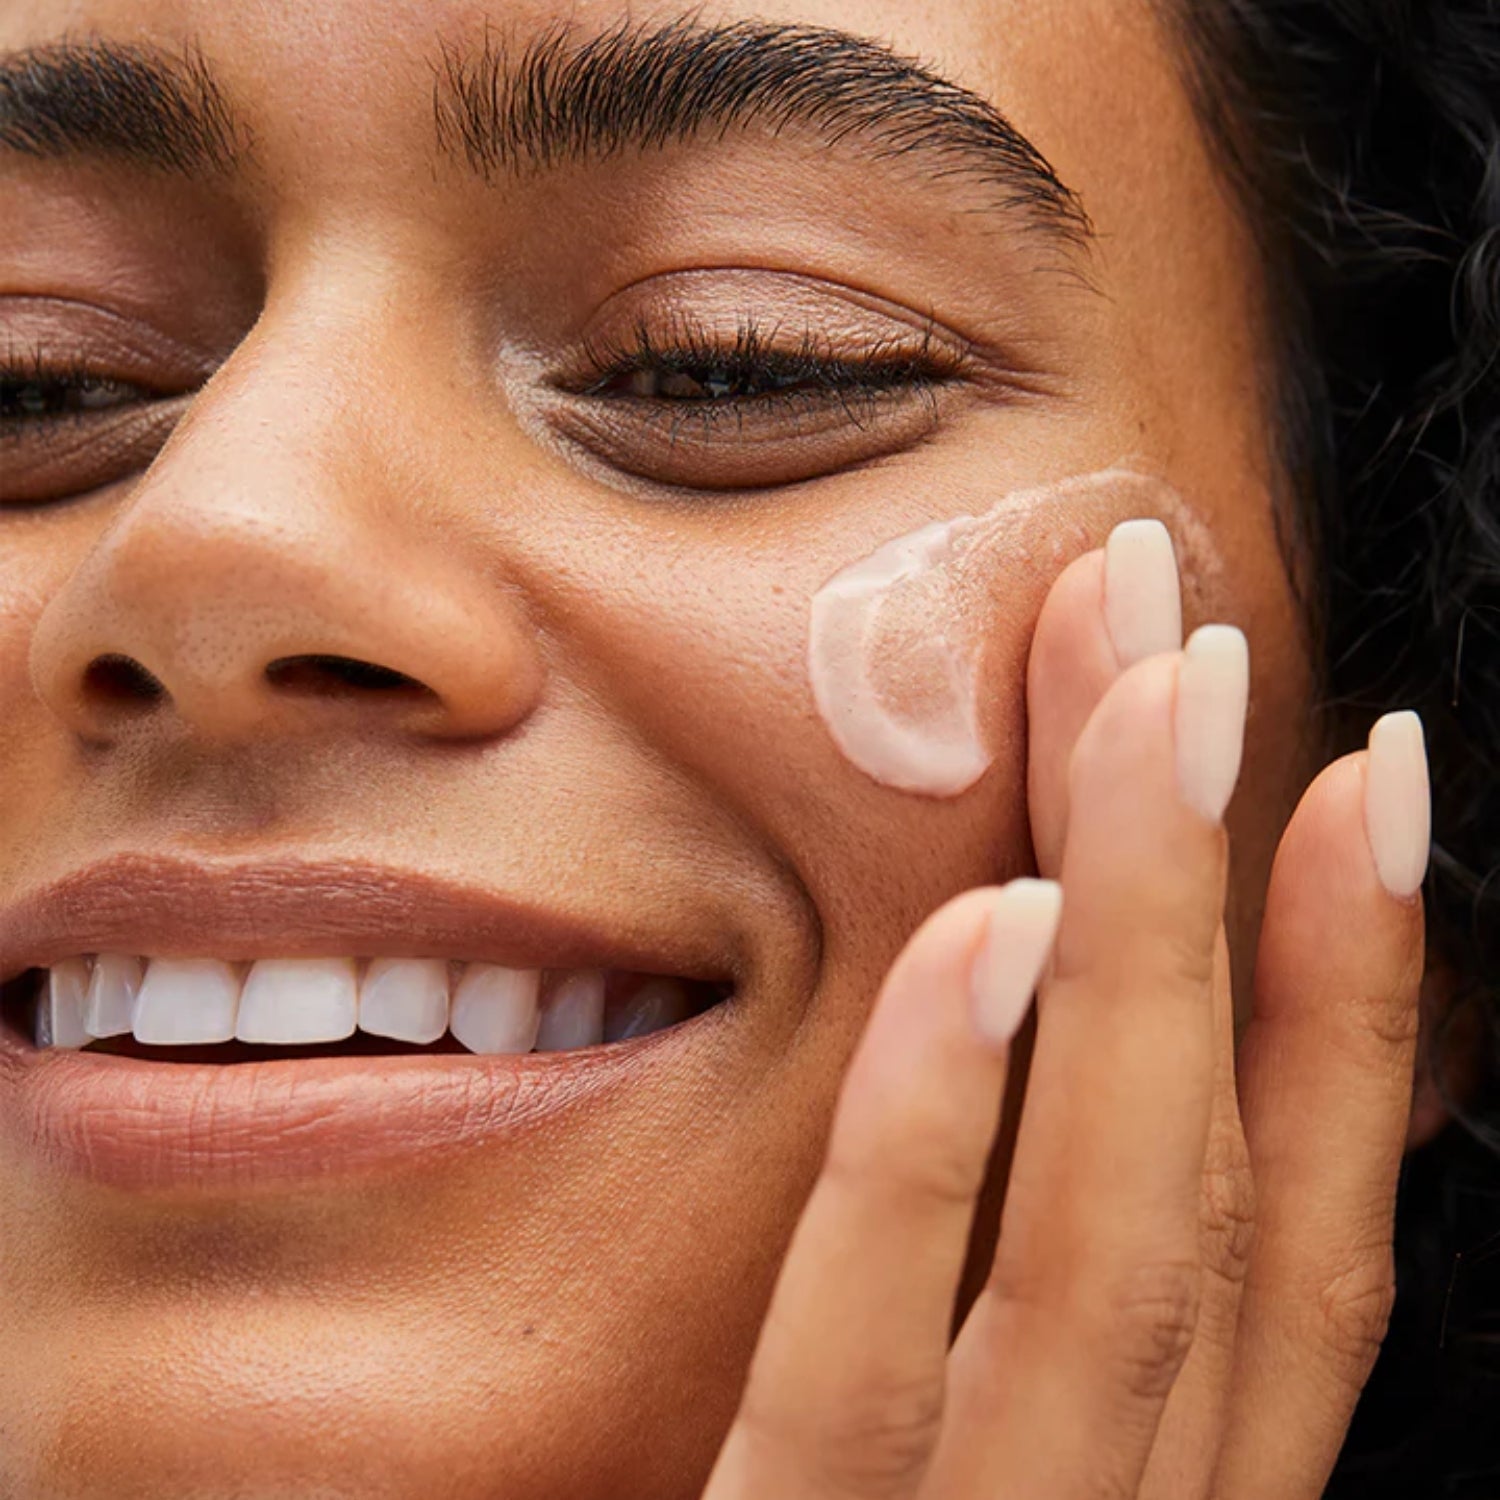
Step 1: Prep and Prime Your Skin First

Clean, hydrated skin gives every product that follows a better surface to sit on. Moisturize, apply sunscreen, then move on to primer.
A good primer smooths texture, controls oil, and helps makeup grip on. A silicone-free primer with hydrating ingredients like hyaluronic acid and vegetable squalane locks in skincare while prepping your canvas. Massage a small amount into the skin and give the product 30 seconds to set before moving on.
Step 2: Match Your Foundation and Apply From the Center Out

Foundation should match your skin, not mask your face. Swatch along your jawline in natural light, and the right shade will disappear without blending.
For step-by-step makeup for beginners, a lightweight liquid foundation offers buildable coverage that still looks like skin. Apply with a damp sponge or foundation brush, starting from the center of your face and blending outward into the neck.
-
Oily skin: Satin or matte-finish formulas work best. Set with powder on the T-zone.
-
Dry skin: Cream or dewy foundations sit well. Skip heavy powdering.
-
Combination skin: Apply foundation all over, then spot-set oily areas with translucent powder.
Step 3: Place Concealer Only Where You Need Coverage

Concealer is not a second foundation. Use a matching shade to cover blemishes, and a slightly lighter shade under the eyes to brighten. Dot a small amount onto the area and blend with your ring finger or a damp sponge.
A buildable cream concealer with a natural, skin-like finish blends without settling into creases. Wait a minute before powdering to let the product set.
Adding Dimension with Bronzer, Blush and Highlighter
Once the base is set, color brings life back to your face. Knowing where to place bronzer, blush, and highlighter matters more than the amount you use.
Step 1: Bronzer Adds Warmth, Not a Fake Tan

Bronzer belongs where the sun would naturally hit your face. Sweep along the hollows of your cheeks, across your forehead near the hairline, and lightly along the jawline. Do not go more than two shades darker than your natural skin tone.
Step 2: Where to Put Blush for a Natural Flush

Smile lightly and apply blush to the apples of your cheeks, sweeping upward toward the temples. For a sculpted look, place the color higher along the cheekbones.
A gel-to-powder blush gives a bouncy, weightless feel and builds from a soft wash to a vibrant payoff. Tap the color on with fingertips for a dewy finish, or use a fluffy brush for a diffused effect.
Step 3: Highlighter Goes on High Points Only

Place a small amount on the tops of your cheekbones, the bridge of your nose, your cupid's bow, and the inner corners of your eyes. A cream highlighter gives a sheer, lit-from-within glow that looks natural in person and on camera. Less is always more.
Step-by-Step Eye Makeup That Stays Put
Eyes often feel like the most intimidating part of a makeup routine, but the approach is simpler than most tutorials suggest.
Eyeshadow Basics for Any Skill Level

Start with one neutral shade across the entire lid. Blend a slightly deeper shade into the crease for definition. That is a complete eyeshadow look.
Apply shadow with a flat brush for color payoff, and use a fluffy blending brush to soften the edges. Build gradually to avoid fallout.
In case of a cream eyeshadow, apply to eyelids using a brush or fingers. Begin at the center of the lid and blend outward. Our cream eyeshadow formula is fast-drying, so blend swiftly.
Eyeliner Without the Wobble
Pencil liner is the most beginner-friendly option. Pull the lid slightly taut and draw small dashes along the lash line, then connect them. Press the pencil between your lashes for a tight, defined look.
Liquid and gel liners offer more precision once you are comfortable. Start at the outer corner and work inward.
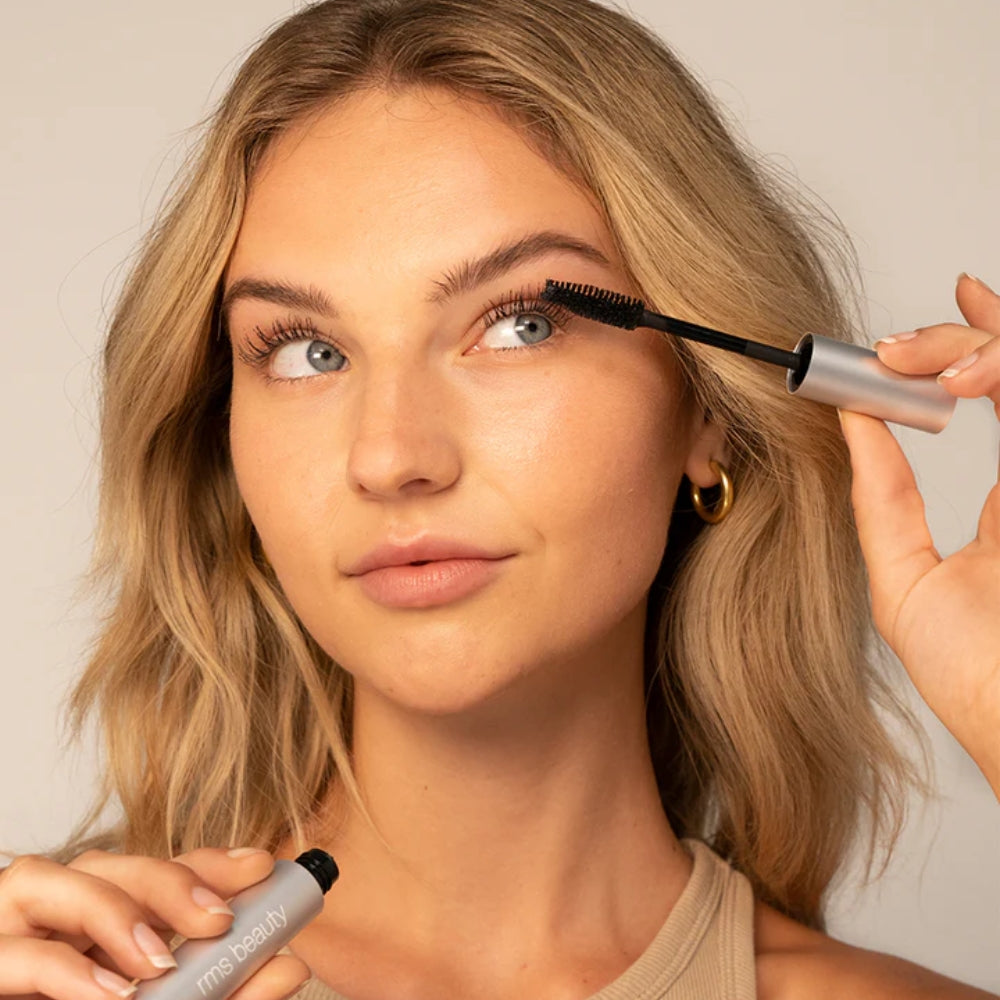
Mascara as the Finishing Touch for Eyes

Curl your lashes first, then wiggle the mascara wand at the root and pull through to the tips. One to two coats is enough.
Lip Color and Setting Your Finished Look
Lips and setting spray are the final steps in learning how to put on makeup step by step.
Pick a Lip Color

A multitasking cream color for lips and cheeks simplifies your routine because one product handles two steps. Dab onto the center of your lips and press together, then swipe a small amount onto your cheeks for a coordinated flush, in case you skipped the blush.
For a bolder finish, line the lips first with a lip pencil, then fill in with lipstick or gloss.
Lock Everything in With a Setting Product

An alcohol-free setting mist is the last step in your routine. Hold the bottle 8 to 10 inches from your face and spray an even mist with eyes and mouth closed. A quality setting spray keeps your look intact for up to 8 hours without feeling heavy or sticky.
Final Thoughts
Knowing your makeup steps in order takes the stress out of getting ready. Start with a good base, build color where you want dimension, and finish with a setting product. Perfection is not the goal. Feeling good in what you are wearing is
RMS Beauty makes clean, high-performing products formulated with skin-loving ingredients, free from parabens, sulfates, and synthetic fragrances.
Book a free artist advice session to find your perfect makeup routine!
Frequently Asked Questions
Q. What are the basic makeup steps in order for a full face?
The standard order is: skincare, primer, foundation, concealer, setting powder, bronzer, blush, highlighter, eyeshadow, eyeliner, mascara, lip color, and setting spray. Skip steps depending on the coverage you want.
Q. How do beginners apply makeup step by step without looking overdone?
Start with less product than you think you need. Use a damp sponge to sheer out foundation, apply concealer only where you see redness or dark circles, and stick to one eyeshadow shade. Building gradually gives a more natural result.
Q. Should concealer go on before or after foundation?
The foundation goes on first to create an even base. Concealer comes second, applied only to areas that need extra coverage. Using concealer after foundation means you use less product overall.
Q. What is the best way to make makeup last all day?
Primer before your base and a setting spray after your finished look are the two most important steps for longevity. Hydrating formulas with skin-gripping ingredients wear better than products that sit on the surface.
Q. Can one product be used on both lips and cheeks?
Yes. Cream-based multitasking products work on both lips and cheeks. Using the same shade on both areas creates a cohesive, pulled-together finish with fewer products.
Q. How often should makeup brushes be cleaned?
Clean your brushes at least once a week. Dirty brushes harbor bacteria that cause breakouts and uneven application. Rinse with gentle cleanser, reshape bristles, and lay flat to dry.
Shop The Blog
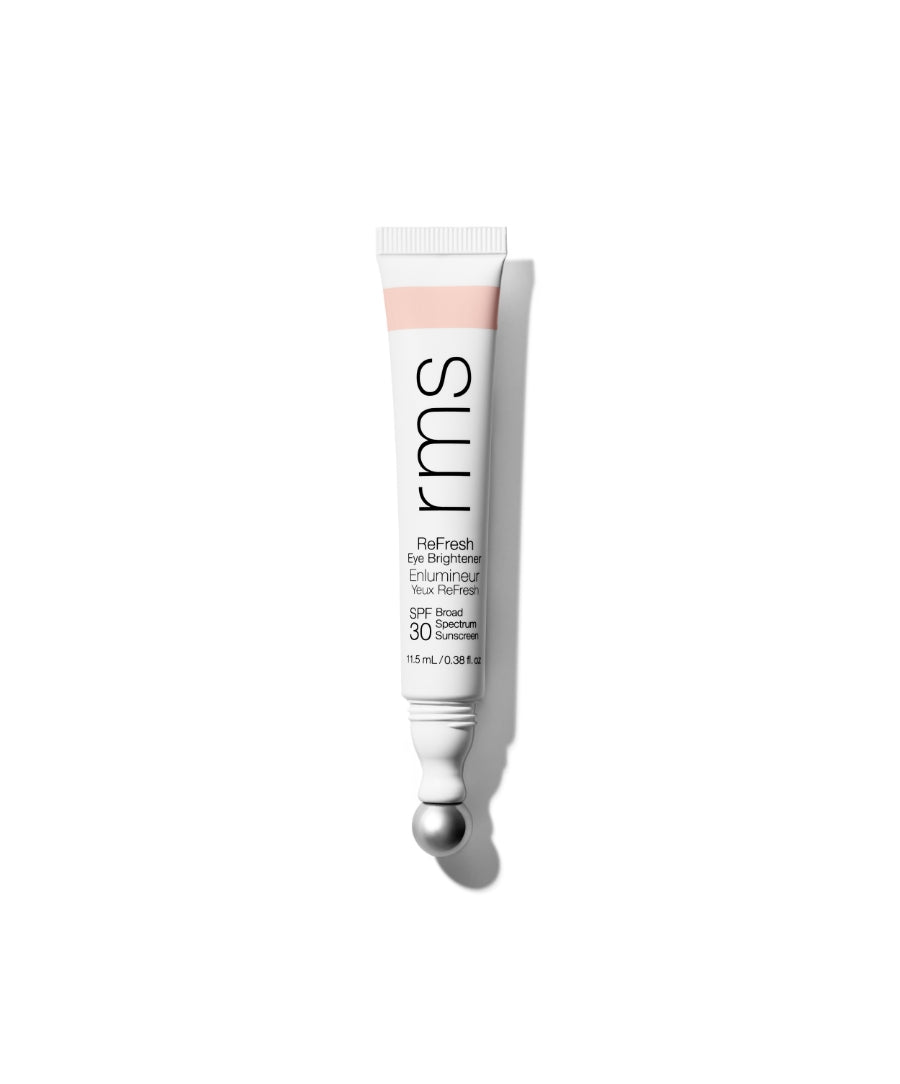
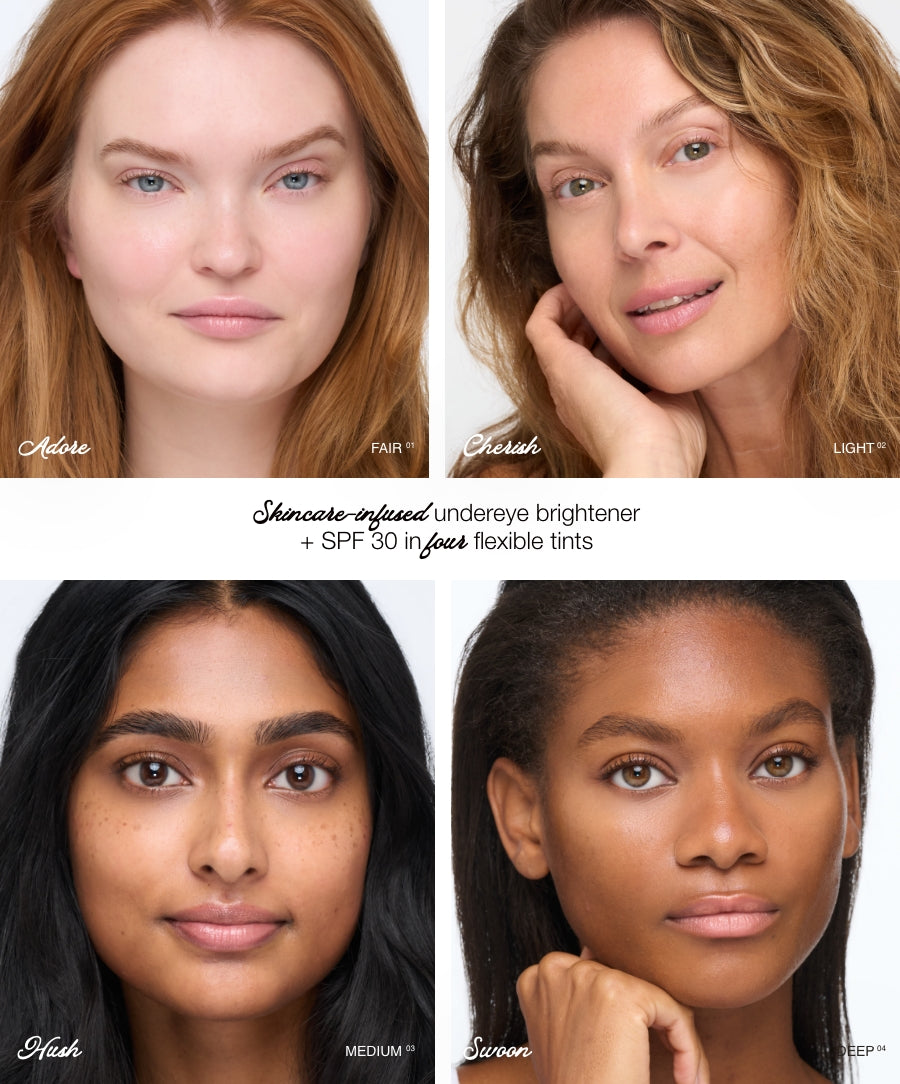
ReFresh Eye Brightener Broad Spectrum SPF 30 + Correcting Tint
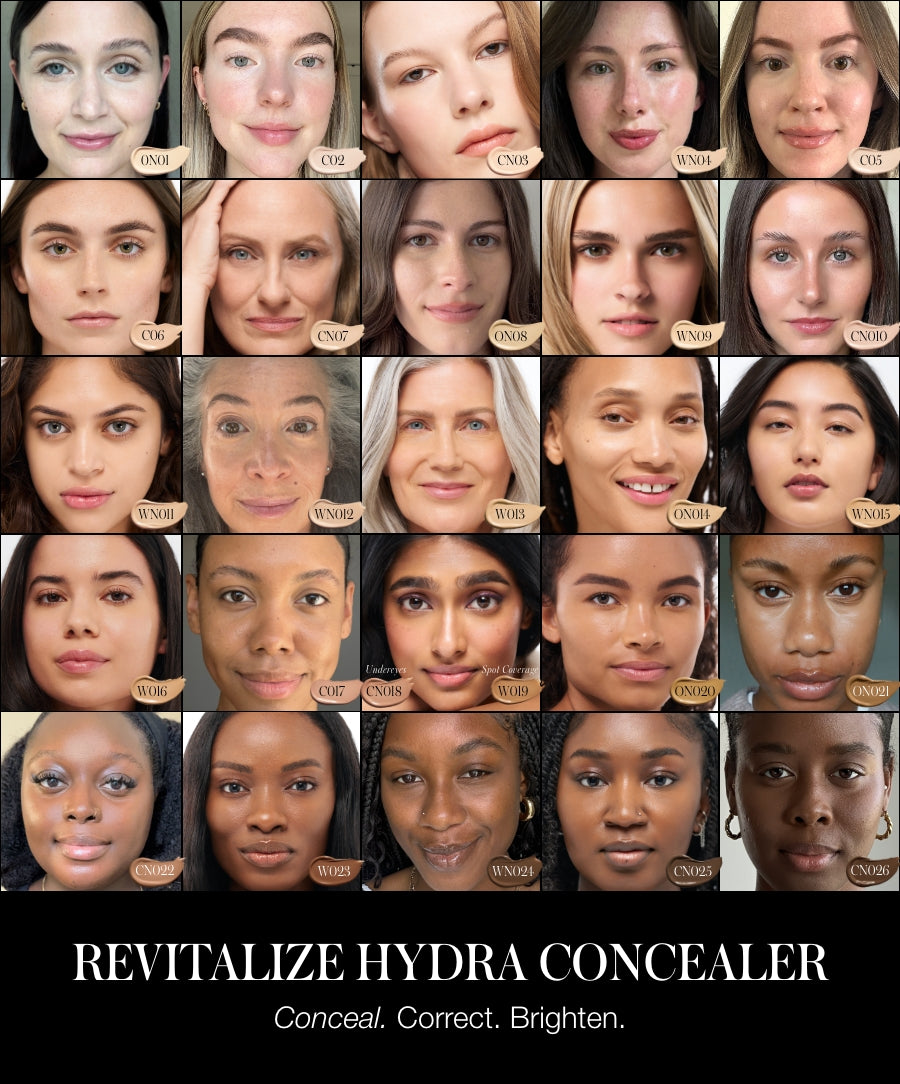
Revitalize Hydra Concealer