Skip to main content

What Is Contour Makeup?
To contour or not to contour: that might be your question, especially if you’ve seen enough makeup tutorials about it or wondered how some people get such a sculpted look with added dimension.
Contouring makeup isn’t necessarily a thing so much as it is a process. The team of makeup artists at RMS Beauty has developed this guide to introduce you to contouring, help you understand the basics, and give you some tips on how to do it right.
What Is Contouring?
Contouring is a makeup application technique that makeup artists have used for decades, but has recently become very popular thanks to social media and tutorials that helped people learn to do it themselves.
Contouring uses different colors of face makeup products to create shadow and light on the skin and give the illusion of a different bone structure.
Contouring can be done with two different methods:
1. Full face contouring or “mapping.” This method is mostly used by professionals or by people who are applying makeup for a special event or a photo shoot. This type of contouring requires a high level of skill and involves applying contouring color in different areas all over the face and blending it to create added dimension.
2. Partial contouring. Partial contouring is a method of contouring only one or two features on the face. This is helpful if you want to create the look of lifted cheekbones or an elongated face.
For beginners, it’s best to start with partial contouring. Learning how to fully contour your face takes time and practice.
What Tools Do You Need To Contour?
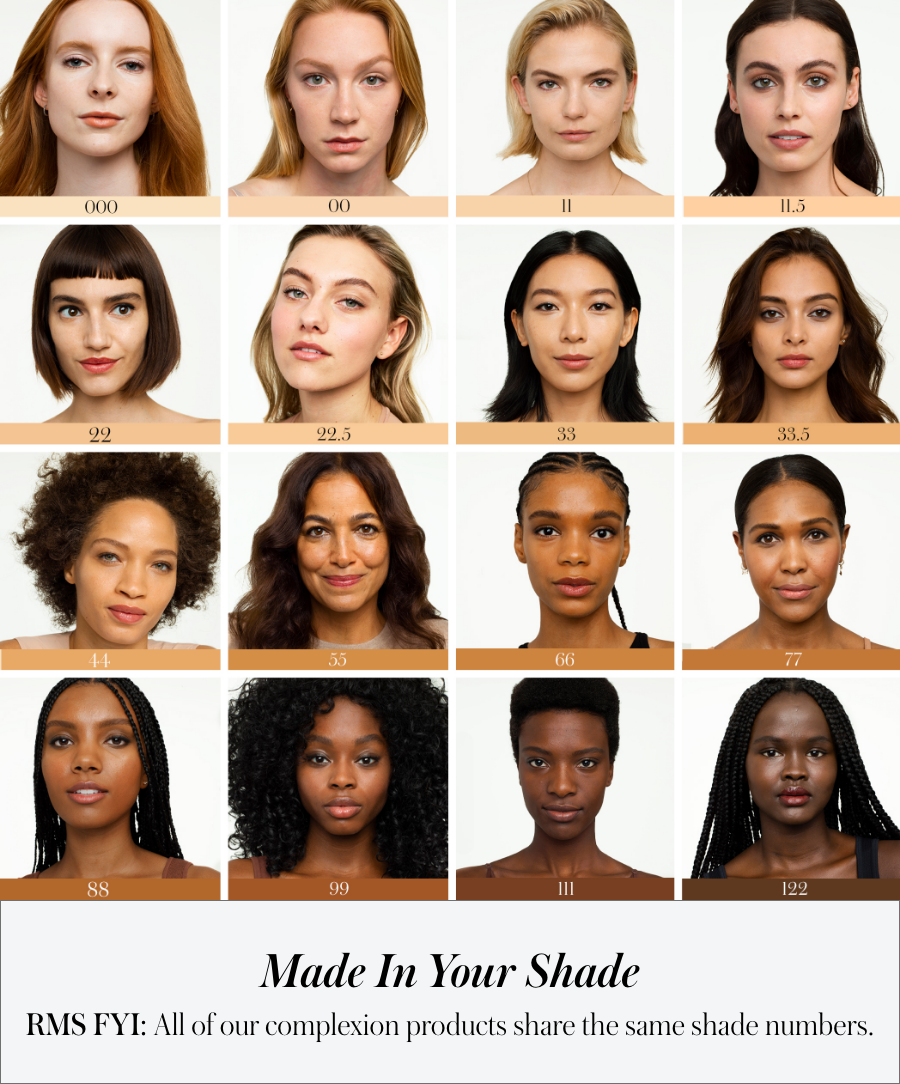
You’ll need a few different shades of your favorite concealer or foundation to get a good contoured look. Contouring requires a light and dark shade of face makeup that you can work with easily, is buildable, and is blendable. You’ll also need an assortment of brushes to apply and blend effortlessly.
Light Color Contour
For light contouring, we like RMS Beauty’s UnCoverup Concealer. Not only does this blend really easily, but it’s also incredibly buildable. This concealer is loaded with skin-nourishing oils like jojoba and coconut, which helps it melt into your skin for even easier blending. For perfect contouring, you’ll want to choose a shade that is a full shade lighter than your natural skin color.
Dark Contour Color
Your dark contour makeup shade should be about one-half a shade to one full shade darker than your normal face makeup shade. We recommend a half-shade for beginners because it’s more forgiving and allows you to build if necessary.
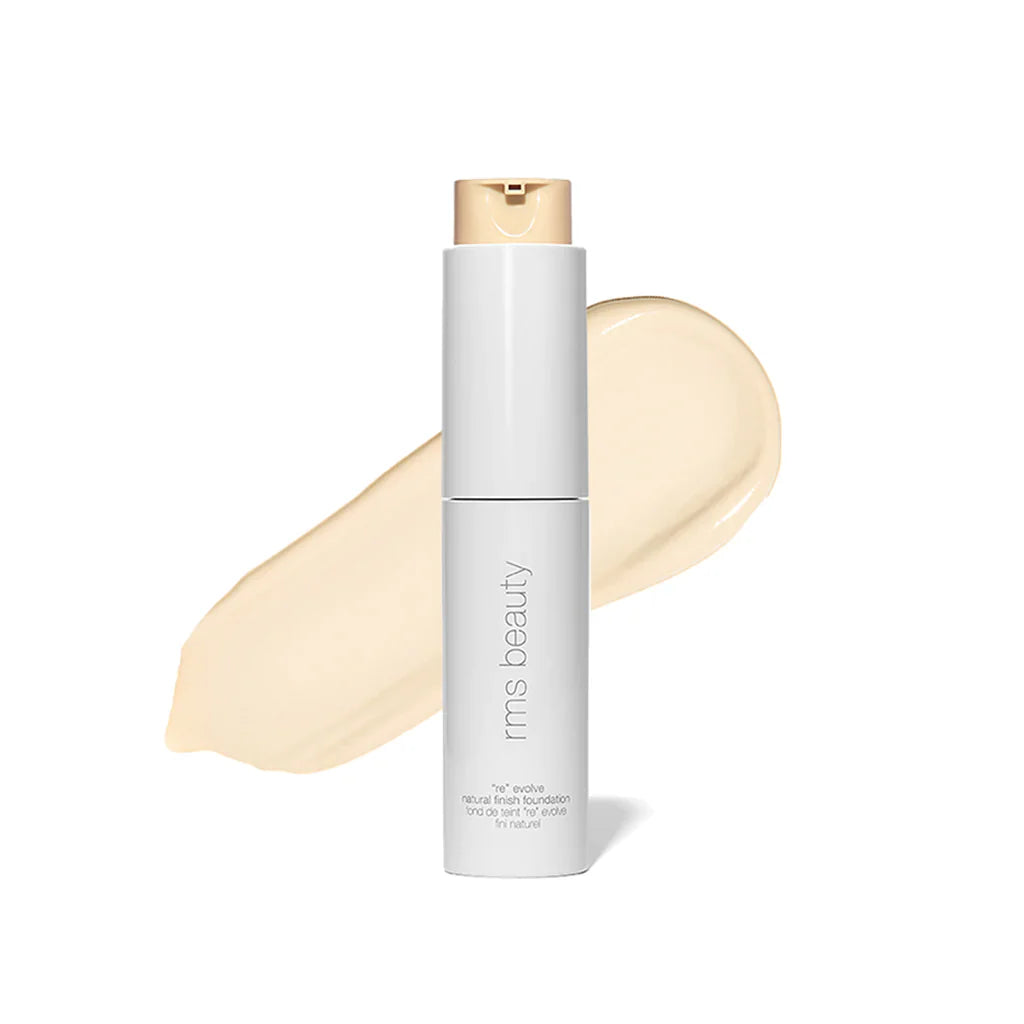
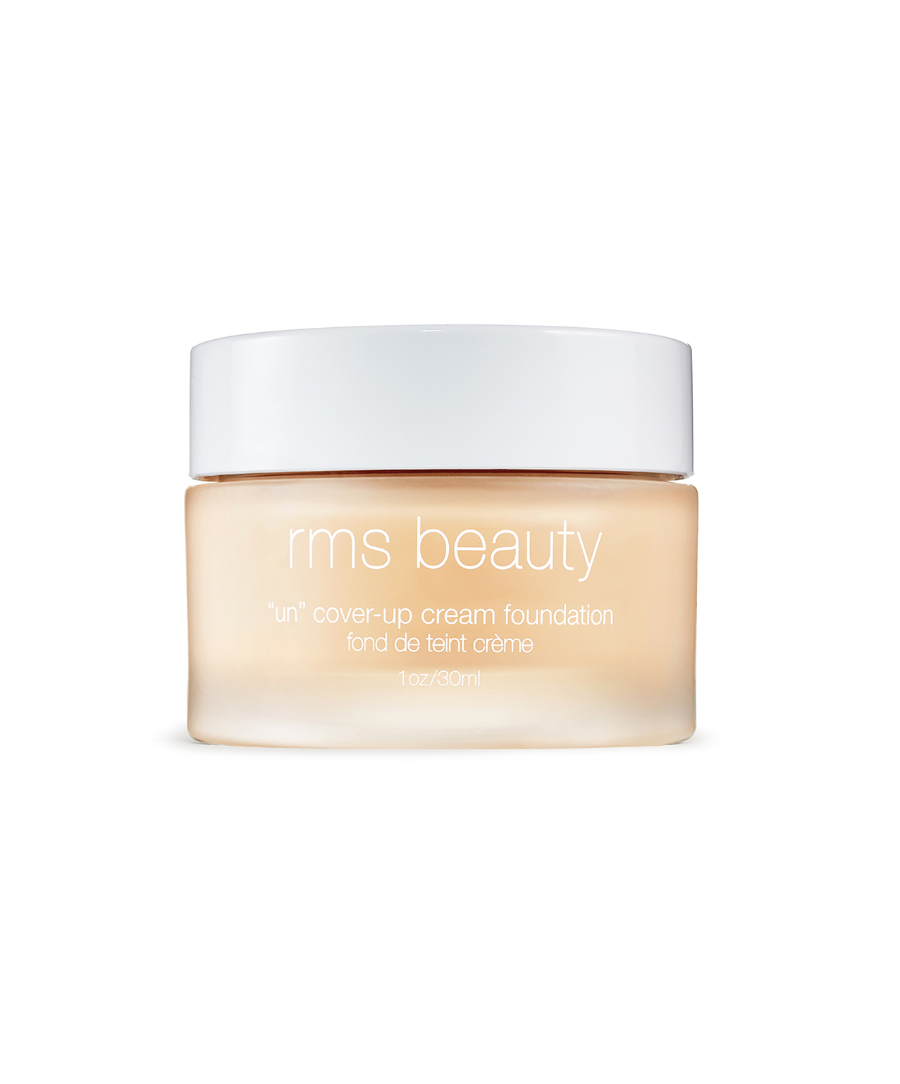
RMS Beauty’s UnCoverup Cream Foundation is buildable and doesn’t settle on the surface of the skin, creating a natural look that blends easily and won’t create awkward, noticeable streaks. Our foundation is formulated with iron oxides that give it a luminous color that looks natural and keeps your skin safe.
Brushes
Some tutorials may suggest an entire wardrobe of brushes to contour your face correctly, but you really only need three, especially when you’re just starting to learn how to contour.
- Foundation brush. An angled foundation brush is your go-to for most contouring tasks. It works to press makeup into the skin and help you blend it without going outside your contour area.
Avoid using blush brushes, which can be too light and fluffy to blend a cream or liquid product.
- Precision brush. A small brush is perfect for creating highlights around the lips and under the arch in the eyebrow. It’s also practically the only way you can fully contour around the edges so your nose.
You may want two styles of precision brushes, one with a rounded tip and one with a flat or angled tip, to get a thin, precise contour line under your brows.
- Beauty sponge. One of our favorite blending tools is the beauty sponge. The sponge makes blending your makeup effortless and also works when damp to help move product if you put it in the wrong spot.
Avoid using kabuki brushes, which are too large and will end up causing you to spread your contouring makeup too much. Unlike foundation, you don’t want to blend certain contouring colors too far away from where you originally applied them, or you’ll lose the look you are trying to achieve.
What Are the Basics of Contouring?
You can easily contour your face with the right tools and a little patience. It’s best to practice at home when you aren’t getting ready for the day or for an important event until you get it right.
Grab your tools, and let’s begin!
1. Before You Begin
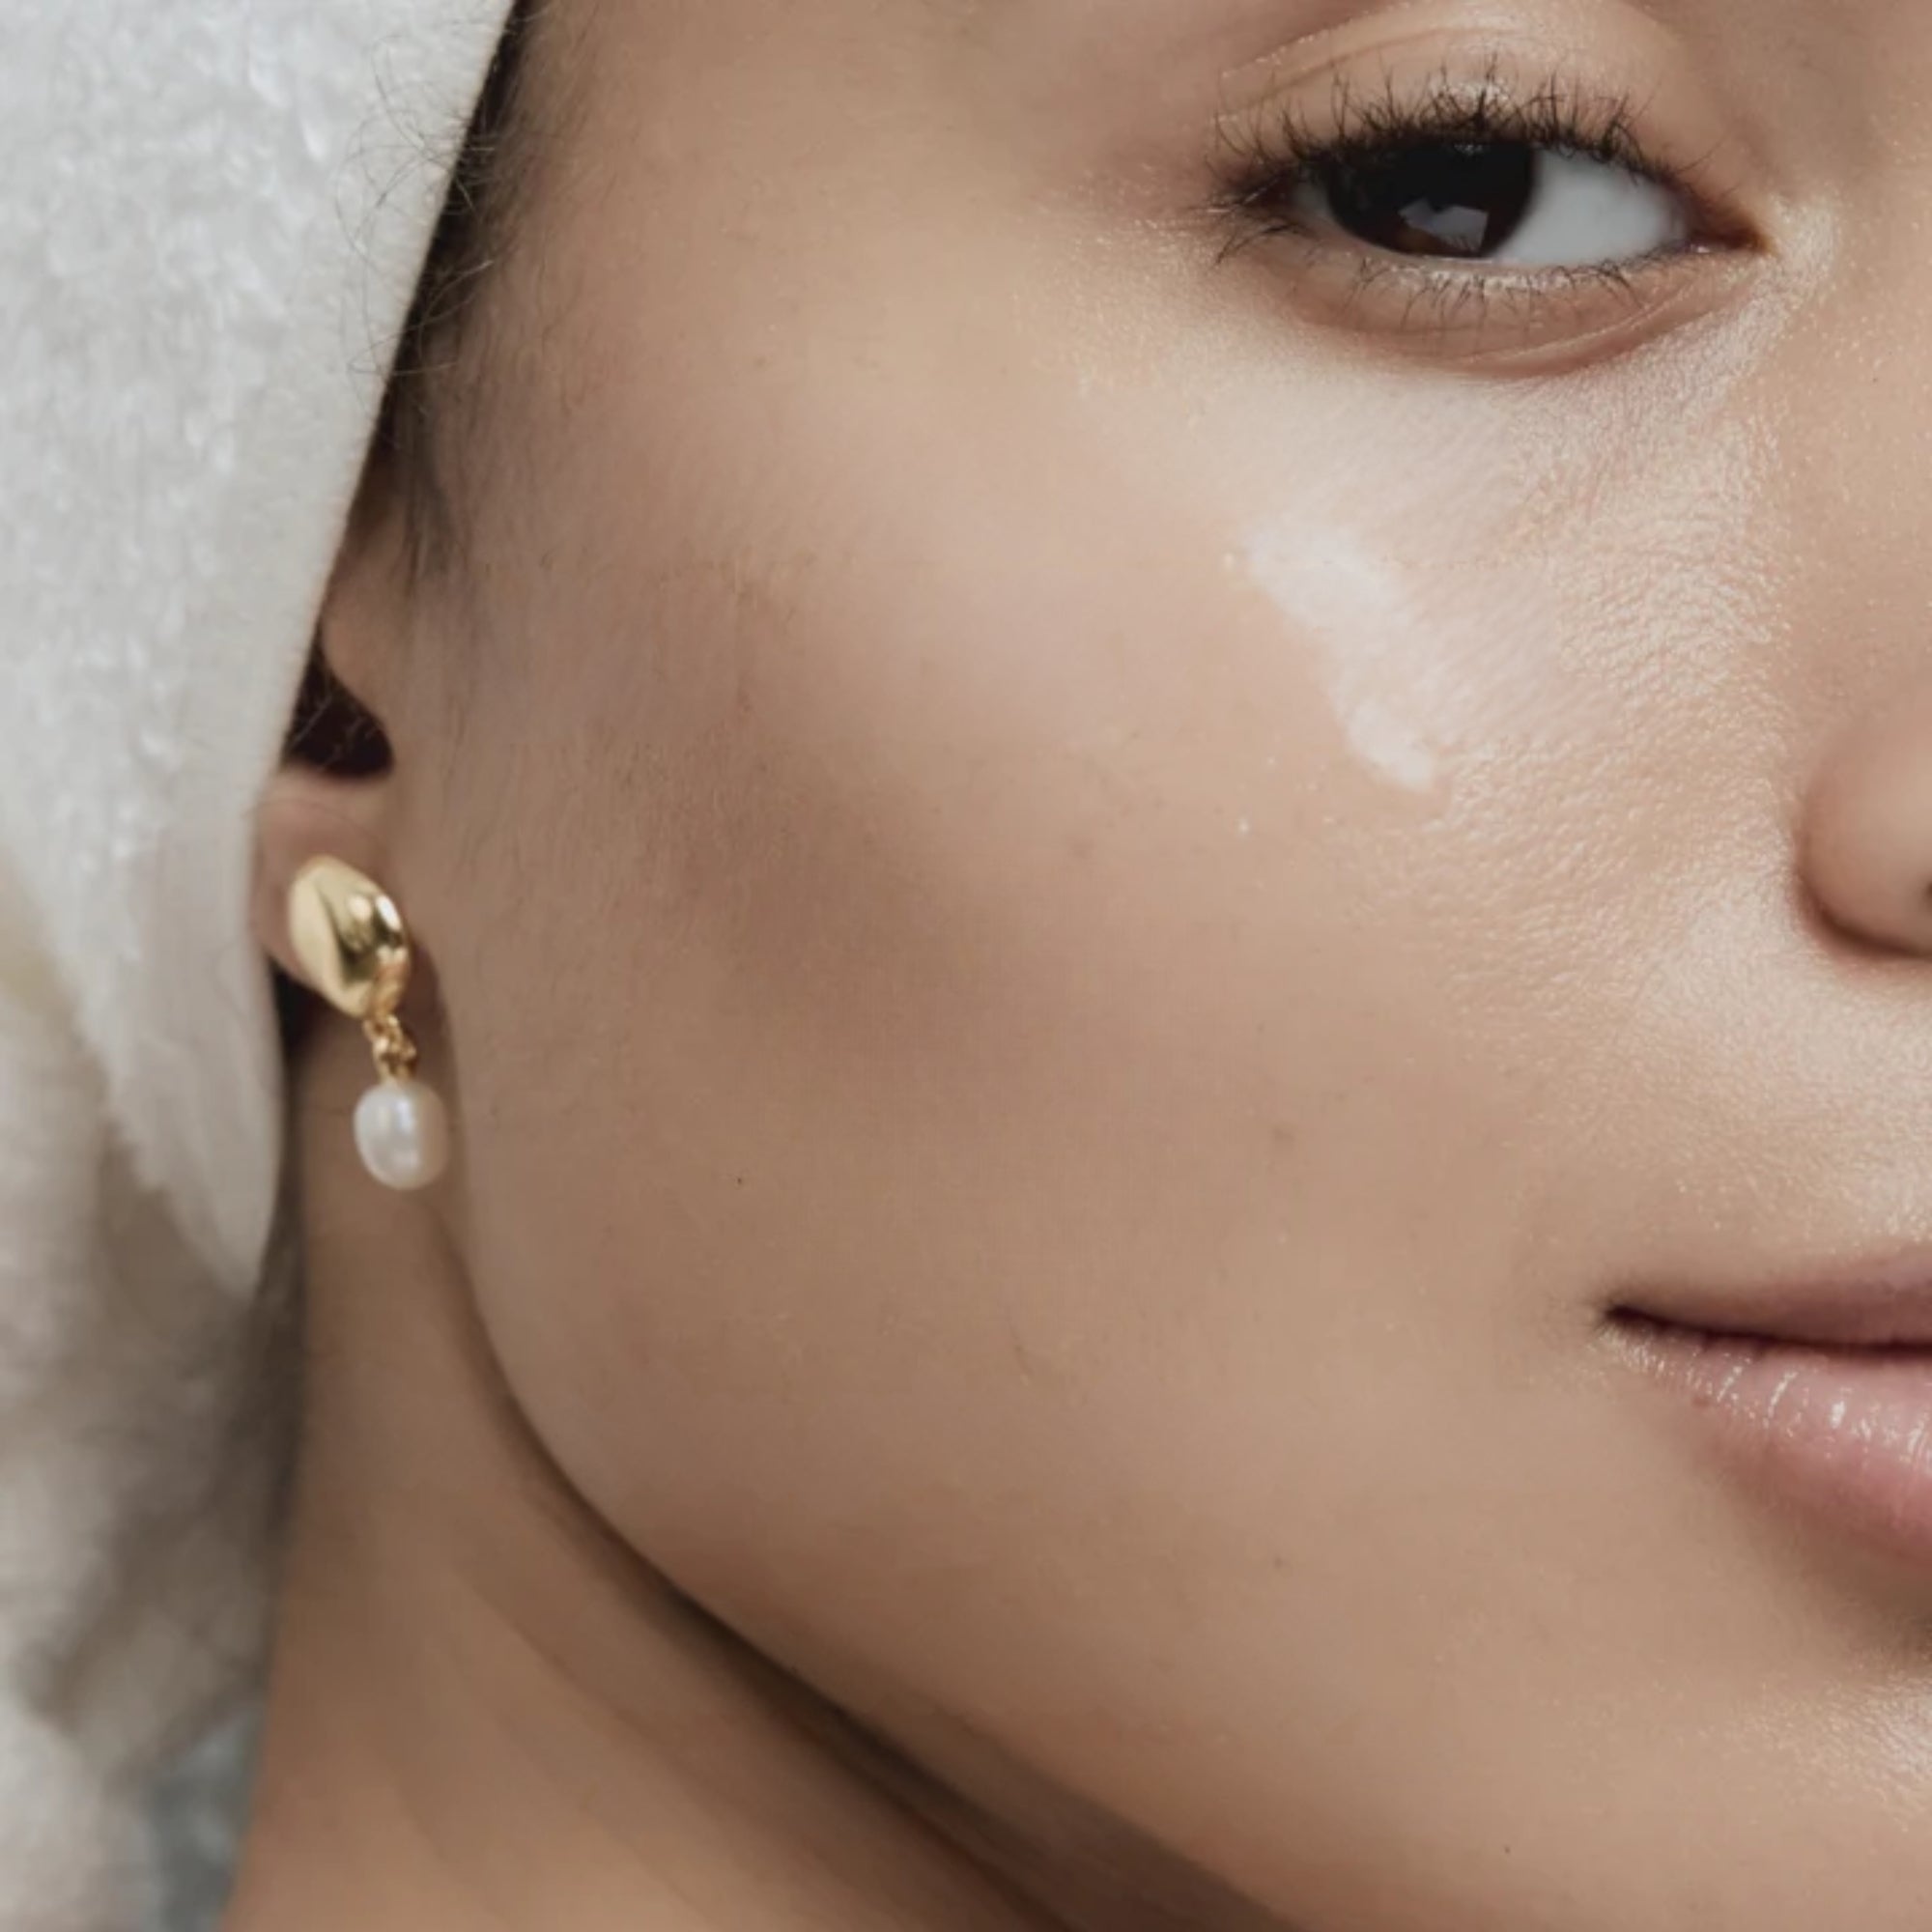
Start with skin that is freshly cleansed and hydrated. It’s also a great idea to use a primer to help create a smooth, even skin tone to work on and give your makeup something to grip. RMS Beauty’s ReEvolve Radiance Locking Primer is the MVP, helping keep skin hydrated, holding your makeup in place, and boosting skin’s radiance.
You’ll also want to apply your foundation and concealer before you begin contouring. It’s best to use a little less than you normally would because your contouring makeup is going to add additional coverage. Use enough to even out your skin tone and cover obvious blemishes.
2. Use Your Dark Contour Shade First
It’s important to contour in the right order. Create shadows first, and go back through with your lighter shade to create highlights later.
You can add shadow to several places:
- Your cheeks: Apply in the hollows of your cheeks, underneath your cheekbone.
- Your nose: Dark contour goes on both sides of the bridge of your nose and on the edges of your nostrils.
- Your jawline: You can apply contour one of two ways; either slightly above your jawline to elongate and thin out the face or directly under the jawbone to create a more sculpted jawline and chin.
Using your beauty sponge or foundation brush, blend the edges of your contour color into your skin to create subtle shadows in these areas.
3. Create Highlights With Your Lighter Shade
Once you’ve blended in your darker contour shade and created the shadows you want, it’s time to brighten up the areas where we want to draw more attention for a full-dimensional look. You’ll apply your lighter shade to areas where light would naturally reflect on your skin.
Pro tip: Don’t get nervous if your makeup looks a little dark before you go in with your lighter shade. The lighter shade will create highlights and pull the look together.
- Forehead: Apply your lighter shade in the center of your forehead and blend downward in between your eyebrows.
- Nose: Use the lighter shade on the bridge of your nose and blend the edges slightly to create a more elongated nose.
- Eyes: You can use your lighter shade in the eye area but avoid putting too much of your lighter shade under your eyes, which can make you look like a raccoon. Instead, focus on putting a small dab in the corner of each eye.
- Eyebrows: Using your precision brush, draw a thin, precise line of your lighter color directly under your brow and extend it out to the edge, blending slightly downward, but not onto your lid.
- Cupid’s Bow: Add a dot of your lighter color just above your cupid’s bow and blend to create a natural, more defined lip.
It’s important to use a color that isn’t too light, which can make you look washed out. Also, avoid using a concealer that has red or green in it, which won’t work for contouring your skin.
Tips and Tricks
Be patient and give yourself time to get it right.
- Avoid the “3” method. Making the number 3 by applying contour makeup to your temples, cheekbones, and jaw usually results in a weird, squiggly line of dark makeup that is hard to blend and doesn’t create a true contour.
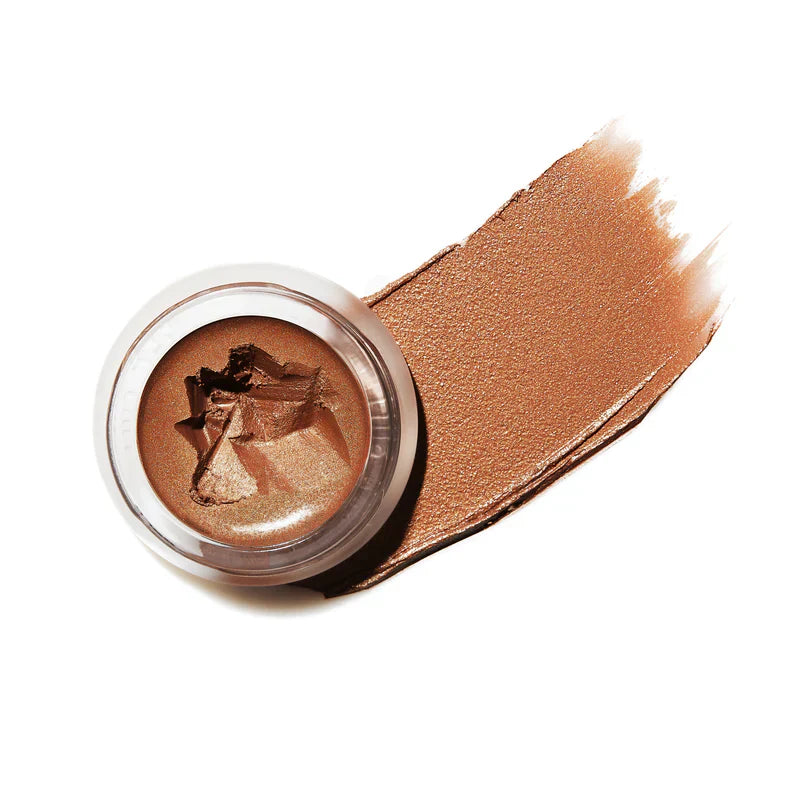
- For a lighter contour, you can use a highlighter or luminizer instead of a lighter contour makeup shade. You can also use a touch of luminizer or highlighter on top of the lighter shade to add additional luminosity and glow.
If you don’t get it right the first time, try again. Start off with one or two areas to contour and add more as you understand the method better.
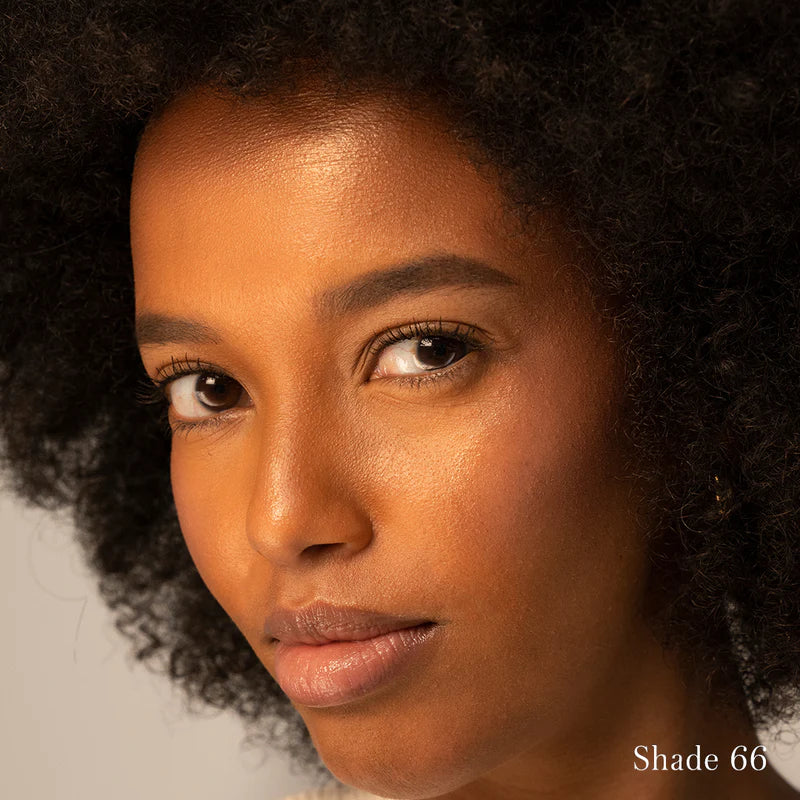
Create the Look You Love
Contouring is a solution for sculpting cheekbones and playing up your natural bone structure. It can be used to create completely different looks with a little practice. RMS Beauty makes contouring easy by supplying you with the tools and makeup colors that are safe for your skin and blend easily to create beautiful, believable looks.
Sources:
Jojoba Oil: An Updated Comprehensive Review on Chemistry, Pharmaceutical Uses, and Toxicity | PMC
Shop The Blog

UnCoverup Concealer
ReEvolve Radiance Locking Primer

UnCoverup Cream Foundation