Skip to main content

How To Blend Contour Makeup: Tips and Tools
Contouring is a favorite go-to for professional makeup artists for sculpting cheekbones, fading away certain areas of the face, and making other features prominent. With the right skill level and tools, contouring can help you create entirely different looks.
When contouring goes wrong, you can end up with unblended areas of dark and light meeting together. Thankfully, you’ve got the team at RMS Beauty at your back.
We’ll tell you how to contour your face, how to blend it like a pro, and which tools you need to do it right.
What Is Contouring?
Contouring is the process of using shades of makeup that are lighter and darker than your natural skin tone to bring forward certain features while fading others away. Using these methods, you can easily create the look of higher cheekbones, a more defined jaw, a thinner nose, or even a more prominent eyebrow arch.
What Can I Contour?
There are a lot of makeup tutorials available that show you have to contour every part of your face, right down to your temples. While contouring your entire face is possible, you don’t need to.
We recommend honing in on one or two areas you’d like to contour and sticking with those. Too much contouring can look artificial and is really only necessary when you’re under studio lights. For everyday contouring, less is more.
What Tools Do I Need for Contouring?
You simply cannot contour without the right tools. You need brushes that help you achieve precision and also help you blend. Here’s what we’re packing in our contouring arsenal.
1. A Beauty Sponge
One of the easiest ways to blend your contouring is with a sponge. Sponges can be used for wet or dry blending and can help press the product into your skin. RMS Beauty’s Skin2Skin Sponge is made with a unique fingerprint design that mimics your fingertip, allowing you to keep your blending even more natural.
2. A Foundation Brush
You’ll need a high-quality, angled foundation brush for contouring your jawline and cheekbones. A kabuki brush is too wide and will spread your contouring colors away from the intended area.
RMS Beauty’s Skin2Skin Foundation Brush is made with vegan, cruelty-free fibers and is specifically designed to press makeup into your skin instead of leaving it sitting on top, which can create harsh lines.
3. A Precision Brush
For contouring smaller areas like your lips and eyebrows, you need a brush that can deliver product without smearing it into nearby areas. Our go-to solution is the RMS Beauty Brightening Brush, which has a firm tip that easily fits into smaller spaces.
4. Light Contour Color
You can use either concealer or foundation for your contouring products. For larger areas like cheeks and jaw, you may prefer foundation, but concealer may be a better fit for smaller areas. Use whichever you are more comfortable with.
For our light contouring shade, we’re going in with RMS Beauty’s UnCoverup Concealer. This concealer is loaded with skin-nourishing oils and literally melts into your skin for easy blending. We’re using a color that is one shade lighter than our natural skin color.
5. Dark Contour Color
For creating shadows that help sculpt and define your bone structure, you’ll want a darker shade of face makeup. We’re going to use a shade that is about one-half shade to one full shade darker than our natural skin color.
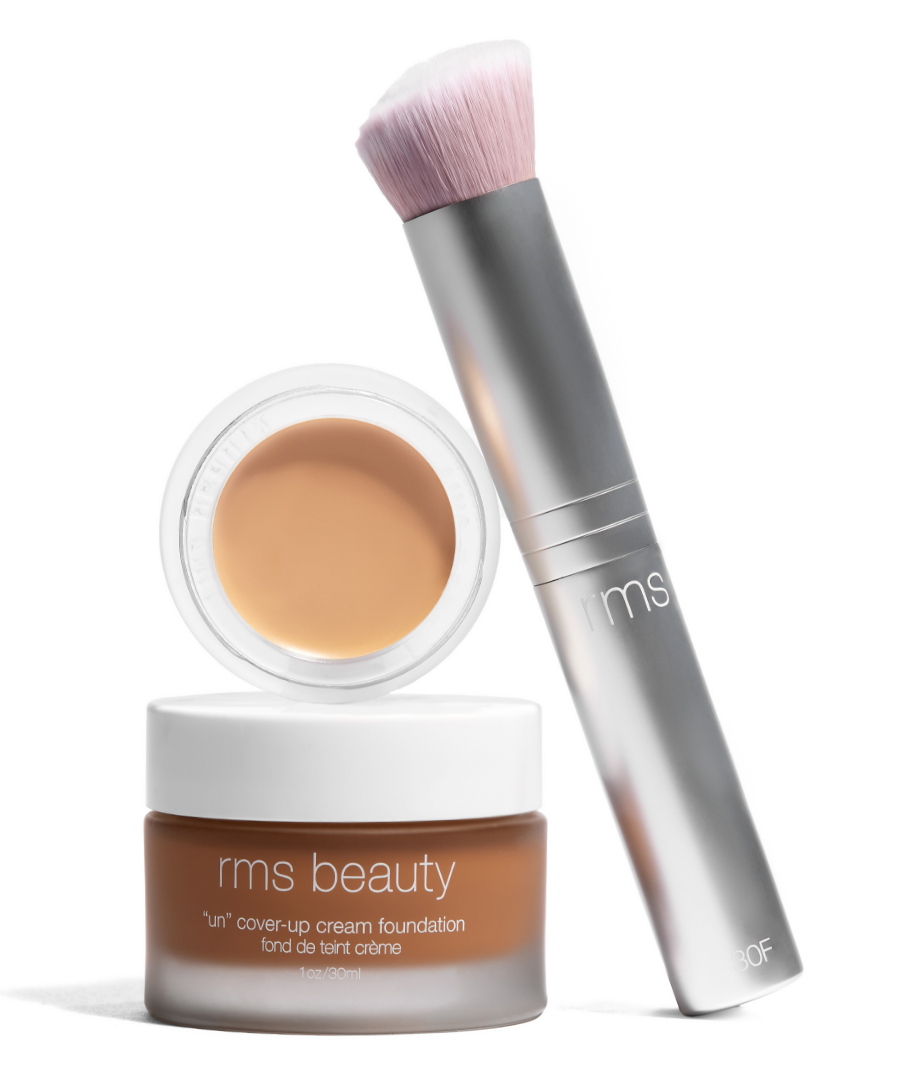
For the product, we’re using RMS Beauty’s UnCoverup Cream Foundation, which is light and buildable, so we can always go back through with additional product if needed while still maintaining a natural look.
How Should I Blend Contour Makeup?
Blending is critical to contouring correctly. Unlike blending foundation, you need to ensure you blend your contouring product in the right direction. While foundation or concealer usually just needs blending to help you avoid obvious lines and streaks, contouring needs to be blended in a specific area and in a specific way to create the sculpted look you want.
How To Contour Your Cheeks
To sculpt mile-high cheekbones, you’ll need to use your darker shade of contour, foundation brush, and beauty sponge.
After you have applied primer and foundation, take a small amount of your darker contour shade and apply it in an angled line in the hollow of your cheek. Using your foundation brush, blend the color in, but only in the hollow of your cheek.
It’s important to start with a small amount of product because it is easier to blend. You can always add more later if you need to build.
Avoid blending the dark contour shade onto your cheekbone or below the hollow of your cheek near your jaw. This will eliminate your contouring and look more like you just used the wrong shade of foundation.
Apply blush or luminizer to the apples of your cheeks and cheekbones to complete the sculpted, lifted look.
How To Contour Your Nose
It’s best to keep it simple when contouring your nose. You’ll need your light and dark contour products, your precision brush, and beauty sponge.
Start with your dark contour and brush. Draw a thin line from the inside corner of each eyebrow along each side of your nose to the tip. Apply a small, curved line around the inside edge of each nostril (where it meets your cheek). You can also create a small “v” on the tip of your nose.
Using your brush, gently blend this color outward, just slightly away from the nose.
Using your light contour color, come in directly down the center or bridge of your nose. Use your beauty sponge to blend this color in with the darker color.
Go light. It’s very easy to use too much contour on your nose. If you mess up, you may need to remove your foundation and start all over again. If you use just a little, you can always build as necessary.
Finish by applying highlighter to the bridge of the nose to create an elongated look.
How To Contour Your Jawline
Many people like to contour the jawline to create a more defined face structure. By adding lowlights to the jawline, you can fade back these areas to accentuate a sharp and structured jawline.
You’ll need your dark contour and your foundation brush.
Start by adding just a dot of your dark contour color directly under the top of your jawbone, literally underneath your jaw. Add another dot under your jawbone, under near your mouth, using the outer corner of your lip as a guide.
Using your foundation brush, blend the two dots together in an angled line.
For an even more contoured look, place the dots on your jaw, not under it, and blend. This will create a shadow on the bottom edge of your face, which can make your face appear thinner and longer.
If you notice a rigid line of color, use your beauty blender to gently blend the edges.
Avoid over-blending here because you can lose the contoured look and end up with a dark area on your skin.
How To Contour Your Eyebrows
You’ll do a bit less blending for creating a higher arch on your brows. It’s really simple. Grab your lighter contour color and your precision brush. Go in with a small line of color directly under the arch of your brow and extend it to the outer edge.
You can blend this line with your precision brush ever so slightly, but this line should be less blended and more structured to help give the illusion of a higher arch.
How To Contour Your Lips
Lip contour works best when you focus on your cupid’s bow. Adding a small dot of your light contour color directly above your cupid’s bow will help create a more defined look and a fuller lip. Blend within the philtrum only.
You can also use your precision brush to trace your cupid’s bow with a thin line of your lighter color for a more dramatic look.
The Bottom Line With RMS Beauty
While you’re learning how to contour perfectly, here are a few tips and tricks to help you stay on track.
- DO start light. Apply less than you think you need; you can always add more later.
- DO pick one area of your face to contour while you’re still learning. Trying to contour everything at once can be too difficult.
- DO blend within the lines. Unlike face makeup, you don’t want to blend too far outside of your contour area.
- DON’T use bronzer to contour. It will make your skin look ruddy.
- DON’T forget to use a clean brush to blend, or you could end up applying a completely different shade of color to your skin and spread germs if the brush is dirty.
- DON’T get frustrated. Practice makes perfect; you’ll get it!
As always, stick with RMS Beauty’s line of industry-leading clean beauty products so you know your skin is not only safe, it’s nourished and hydrated at the same time. Happy contouring!
Sources:
Campaign for Safe Cosmetics | Safe Cosmetics
How to clean your makeup brushes | AAD
21 Types of Makeup Brushes You Actually Need and How to Use Them | Cosmopolitan
Shop The Blog


Skin2Skin Beauty Sponge

Skin2Skin Foundation Brush
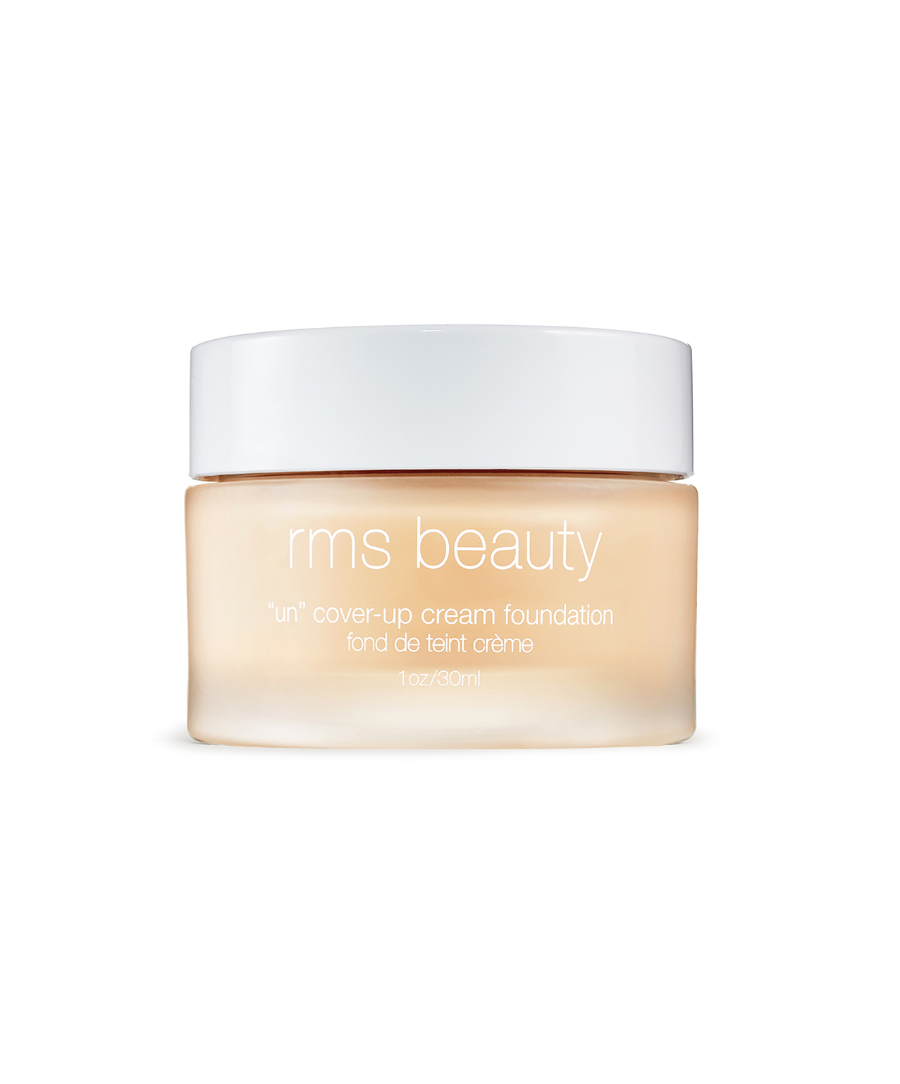

UnCoverup Cream Foundation

UnCoverup Concealer